
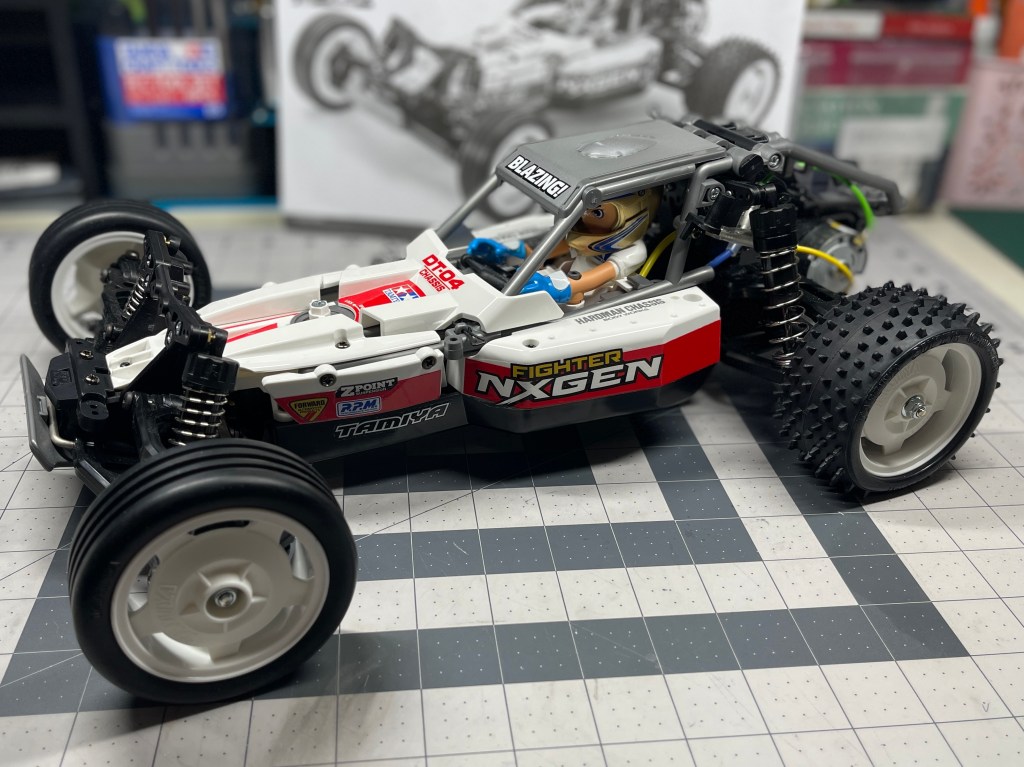
Buy your Tamiya DT-04 Fighter NXGEN
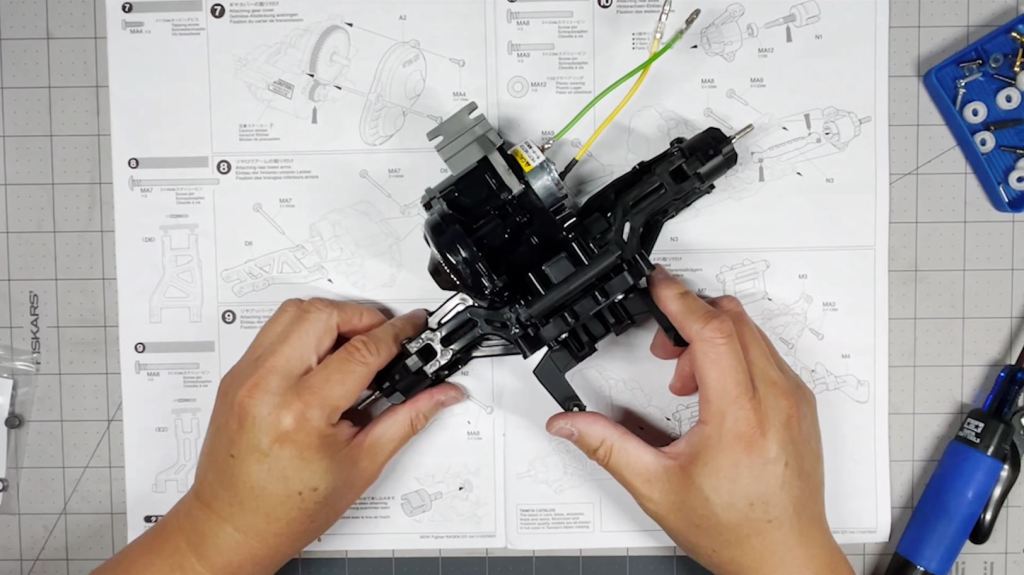
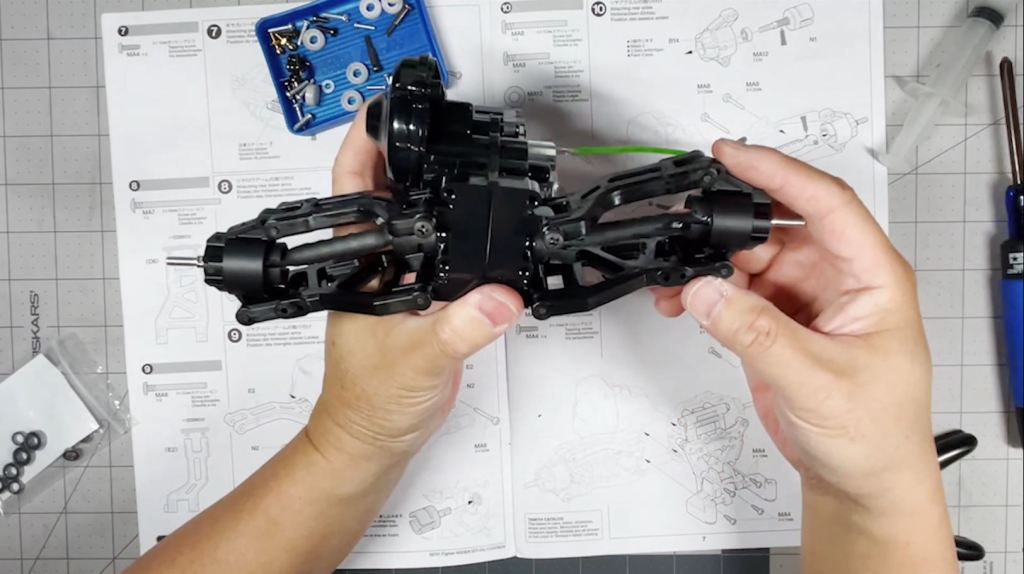
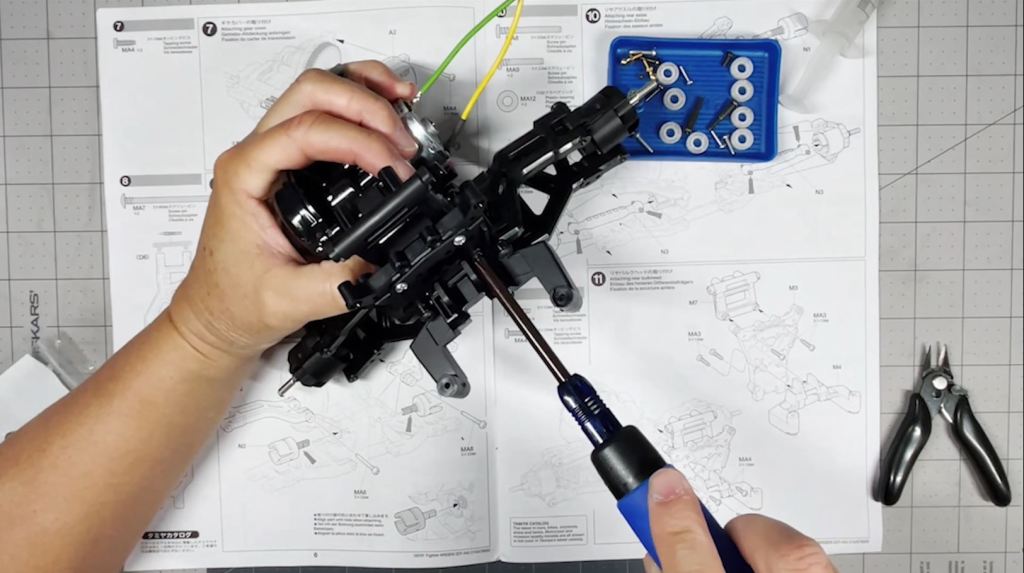
Now that we have assembled the gearbox, we are ready to mount the upper and lower arms, uprights and bulkhead. When we’re done, the entire rear end of the DT-04 chassis will be complete.
This article will cover Steps 7 to 11 of the manual.
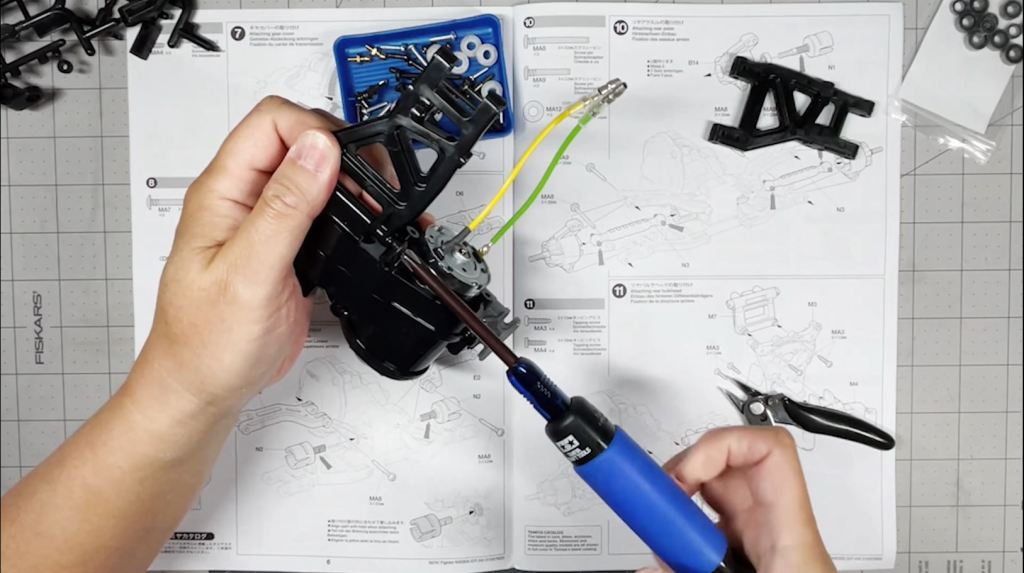
Let’s start by finding the lower arms and orientating them properly.
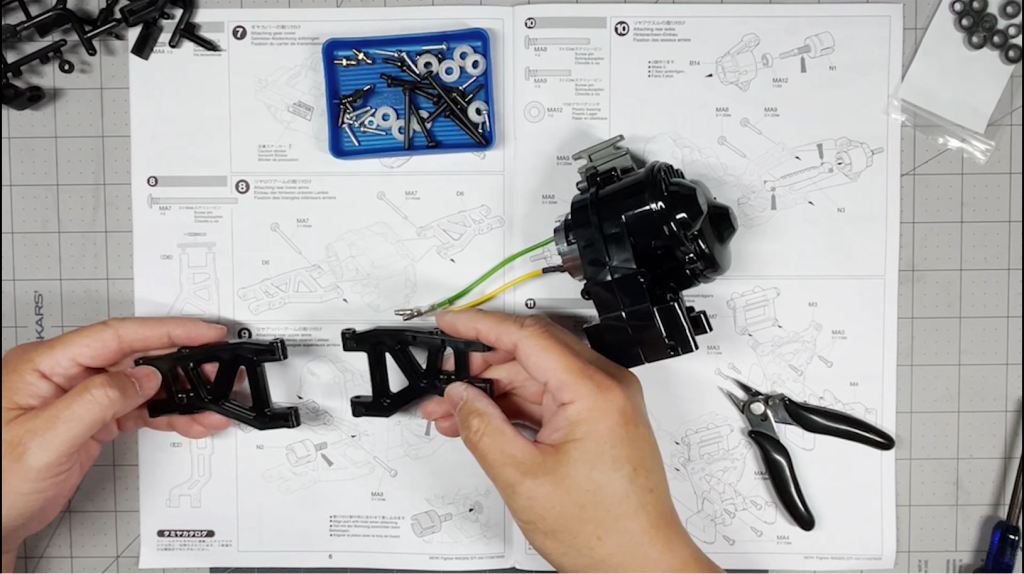
Make sure to identify and measure each pin to match the illustration in the manual. It is printed to scale.
Once we have lined up the lower arm and gearbox, we will thread the pin through both parts. Note which side the pin is inserted from.
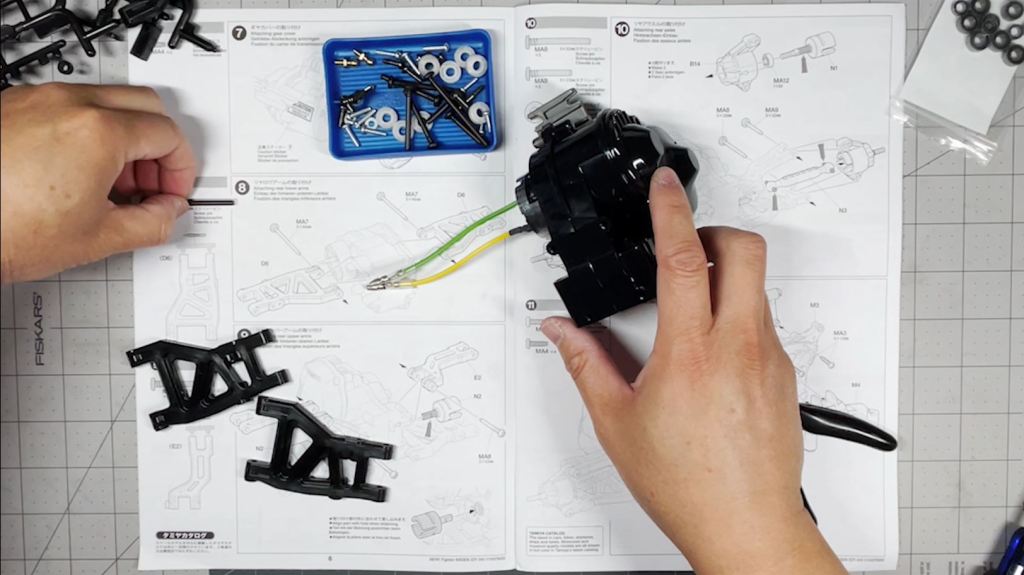
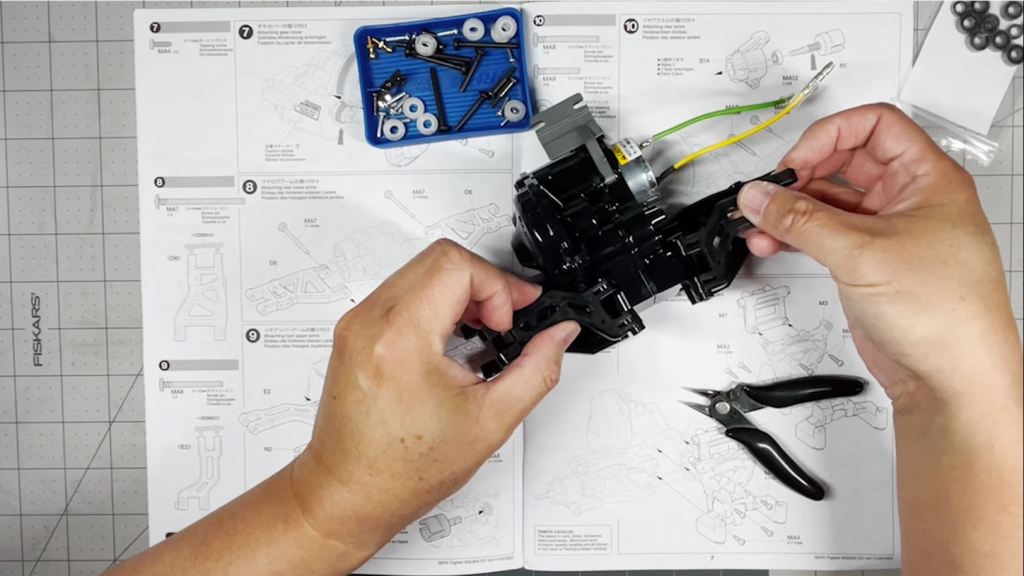
Screw in the threaded parts of the pin into the arm. Repeat for the other side. Make sure both arms have a full range of motion before proceeding.
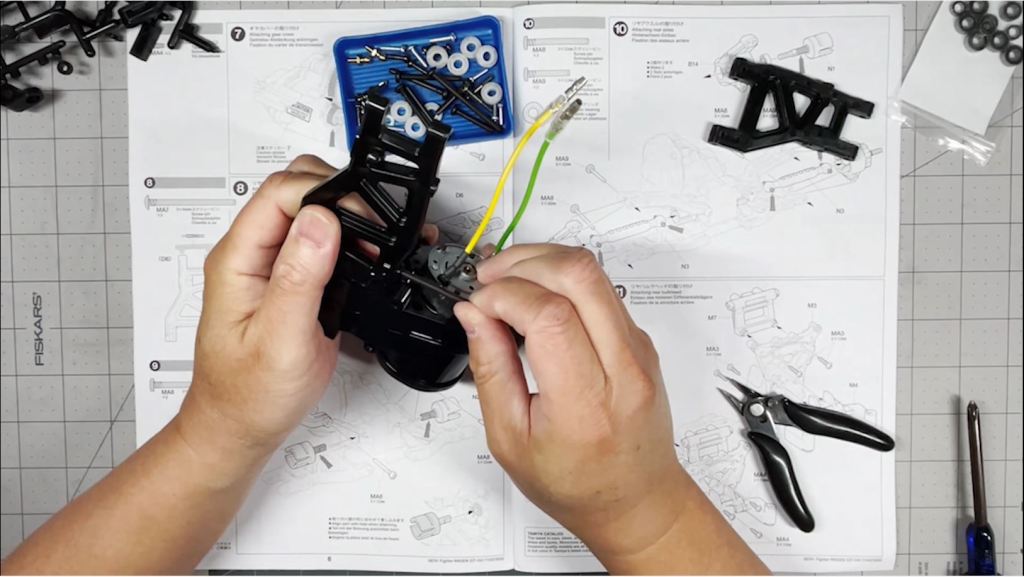
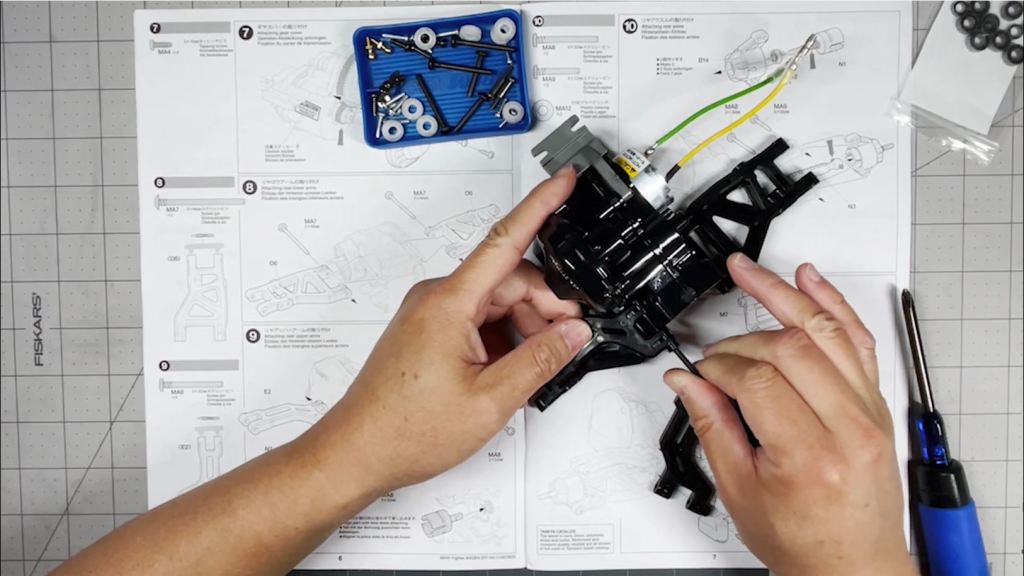
Find and properly orient the upper arms onto the top side of the gearbox.
Measure and insert the upper arm pins from the opposite side of the gearbox. After screwing in the pins, we are finished with the rear upper and lower arms of the chassis.
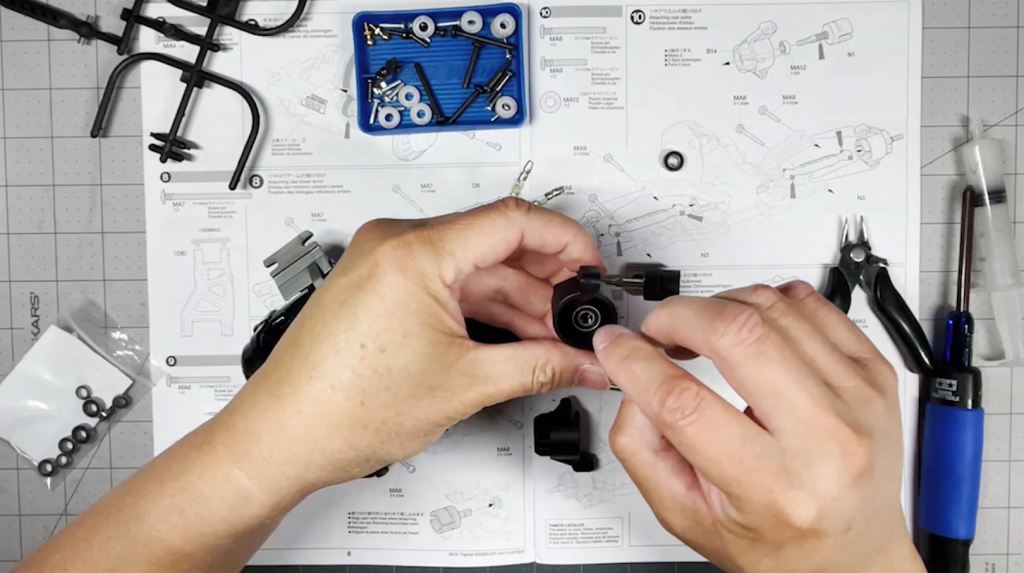
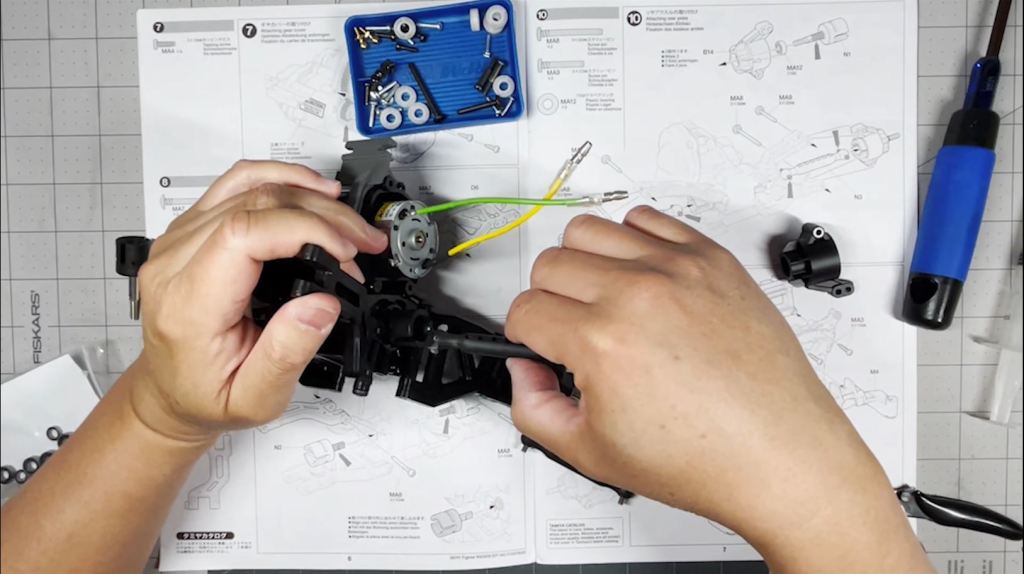
Next, insert the drive cups into the gearbox after applying grease. Turn and push it until it is fully seated.

Next we’re going to get the upright ready by inserting a plastic bushing (I am using ball bearings).
Pin the upright onto the lower arm. There is only one hole at the bottom of the upright. Note which side the pin is inserted from. Doing this first will make it easier to work with the axle and dog bone.
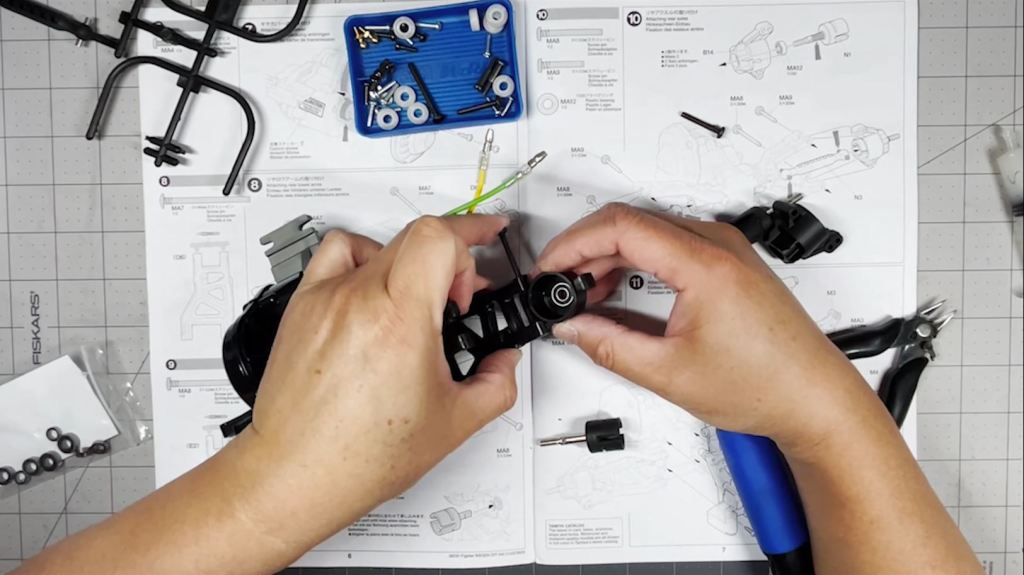
Apply grease to the wheel axle and insert it into the upright.

Apply grease to both ends of the dog bone. Insert one end into the drive cup and tilt the upright to insert the other end.
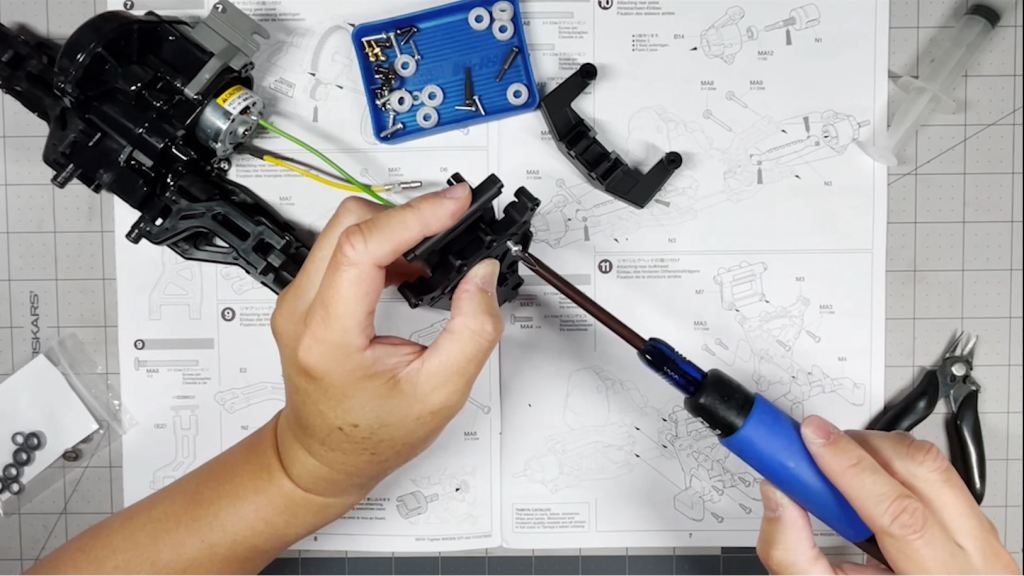
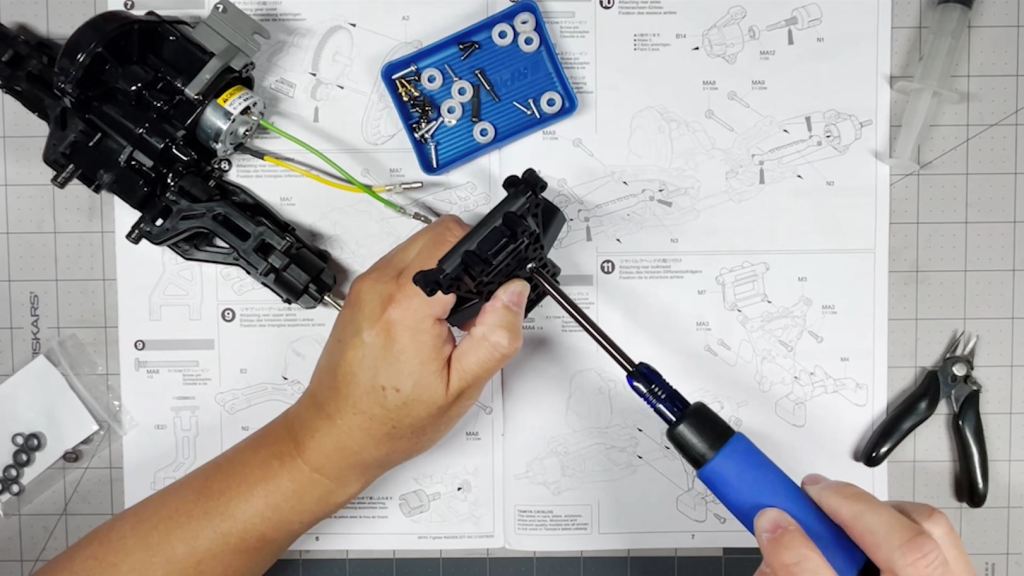
Lower the upper arms until it lines up with the first hole at the top of the upright. Thread pin through both parts and tighten it with a screwdriver. Repeat for the other side.

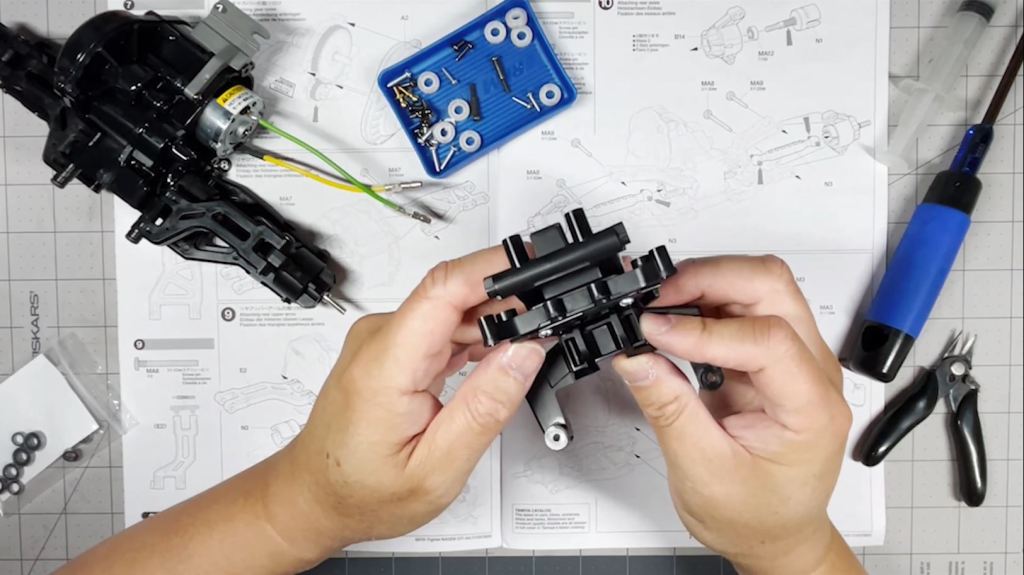
When you’re finished attaching the arms and uprights, make sure they have a full range of motion.
Next let’s assemble the bulkhead. Start by lining up the upper roll cage mount and bulkhead body.
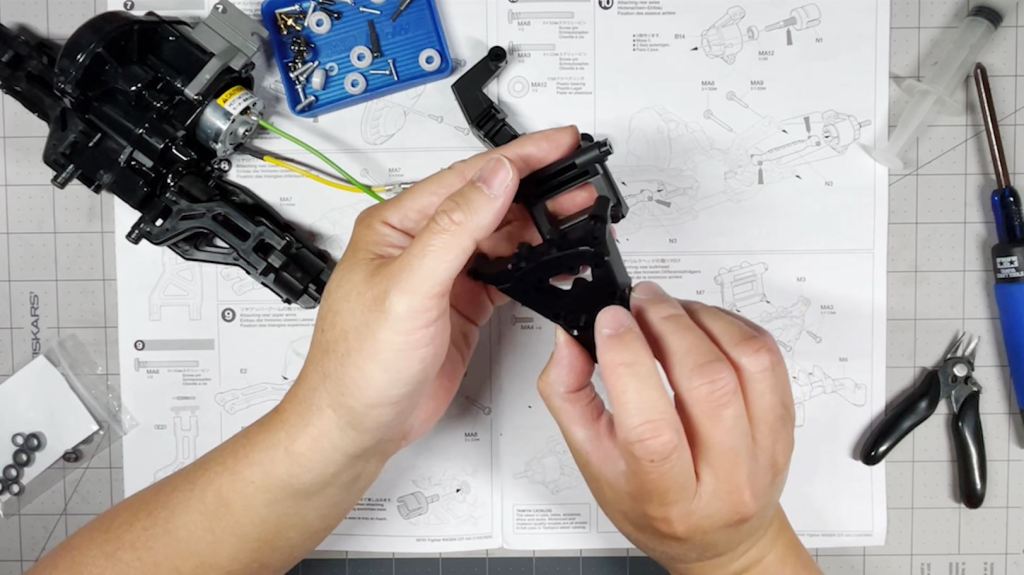
Attach the upper roll cage mount with two screws.
Attach the rear end chassis mount to the bulkhead body.
Flip to the other side and connect the pieces with two screws. The bulkhead is ready to be mounted onto the gearbox.
Identify the four holes that will mount the bulkhead onto the gearbox.
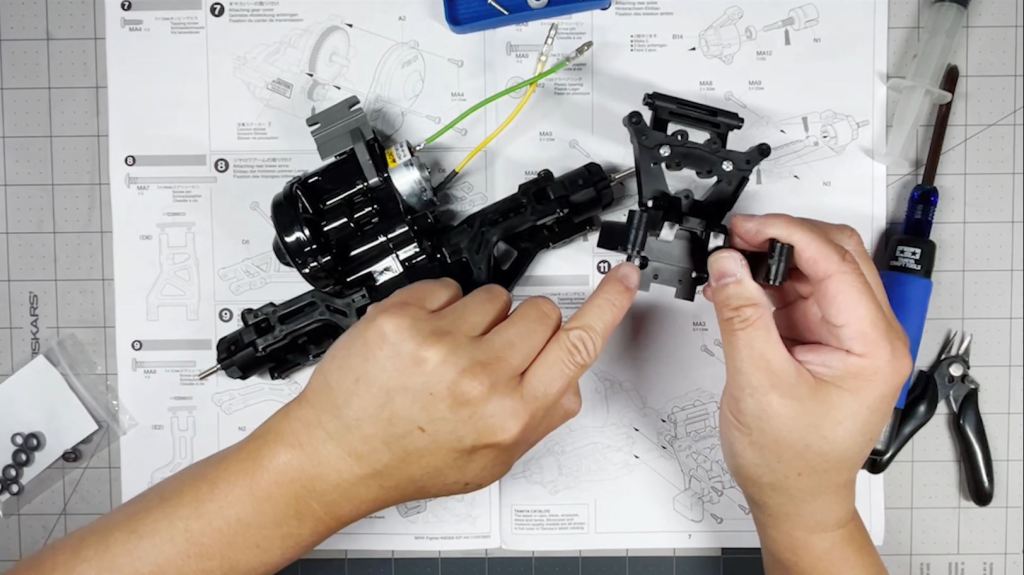
Use four screws to connect the bulkhead onto the gearbox. The rear end is complete.
I am having a lot of fun building this Tamiya DT-04 Fighter NXGEN kit. I hope this article helps and you’re having a good time as well. Thanks for reading!
You can also watch the entire video and learn how to assemble the DT-04 Fighter NXGEN rear arms, uprights and bulkhead.


Leave a comment