
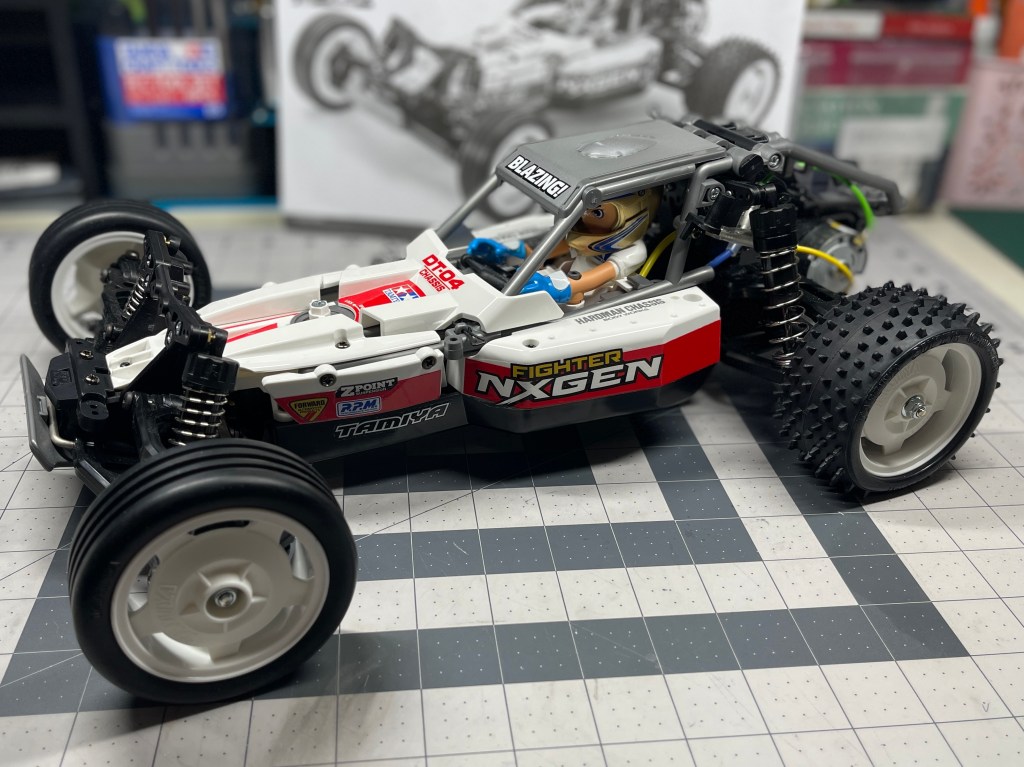
Buy your Tamiya DT-04 Fighter NXGEN
If you have never built a set of Tamiya oil-filled dampers before, this could be your guide. This set that came with the kit is very basic. It shouldn’t give you any trouble if you follow these steps.
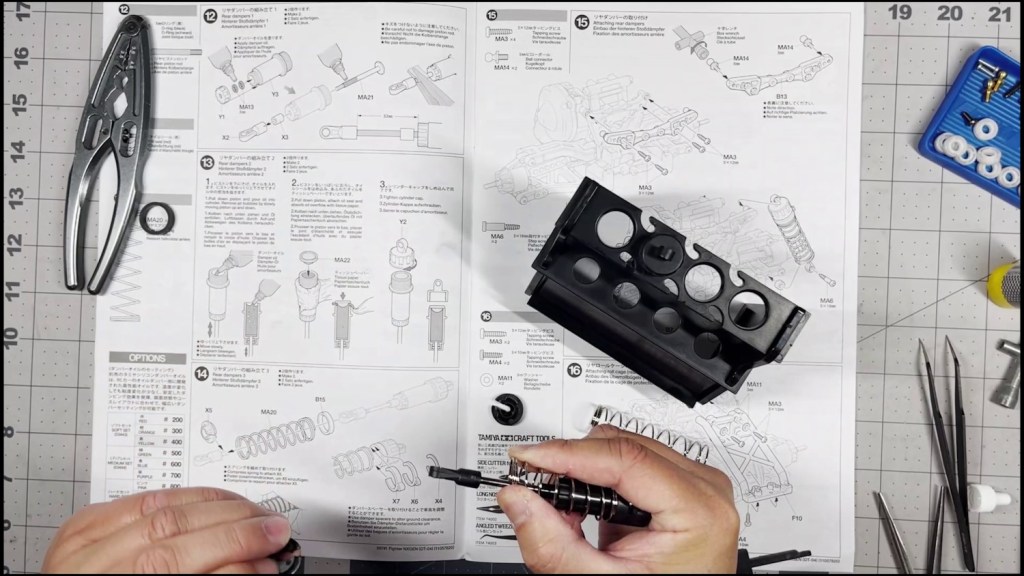
This article will cover Steps 12 to 16 of the manual.
Let’s start by finding damper body. There are two sets that look identical. Compare them and cut out the longer pair. We will also need the bottle of damper oil.
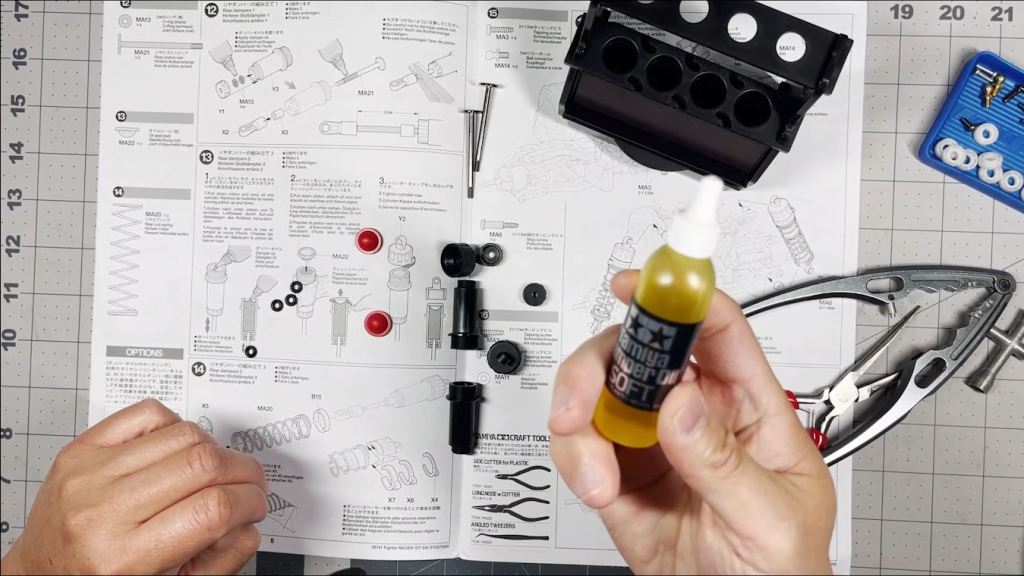
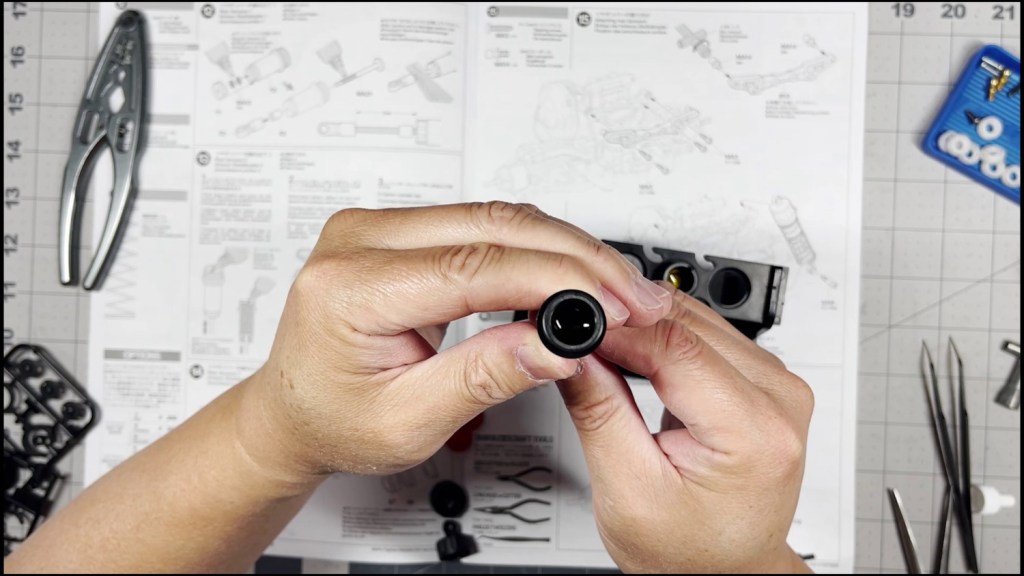
Coat the rubber O-rings with a couple drops of damper oil. They will prevent the dampers from leaking oil. Push two O-rings into the bottom of the damper body. Make sure they are seated flush inside. Screw on the lower cap.


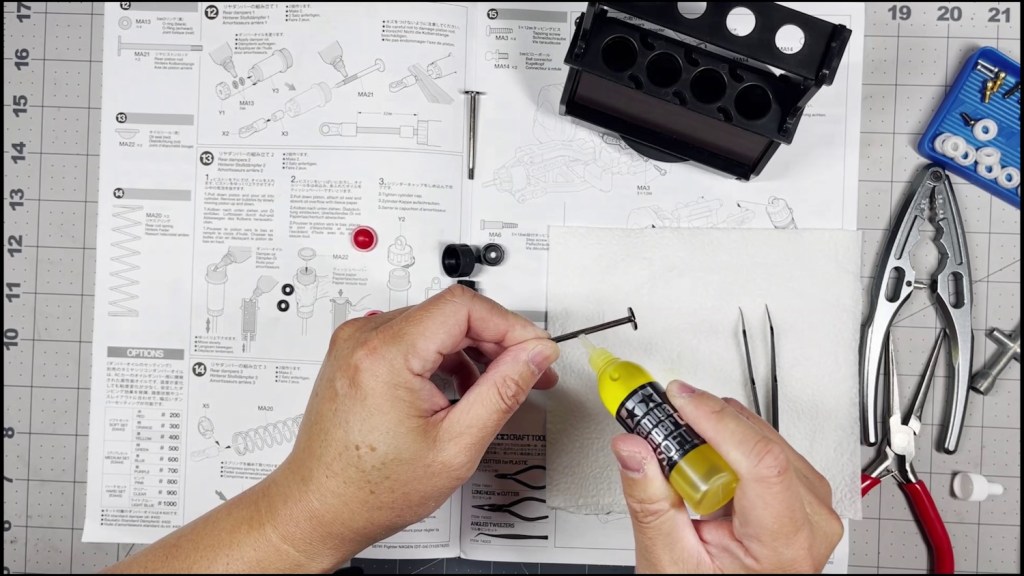
Next, apply oil to the middle of the damper shaft. Then push it through the damper body until it comes out the other side.

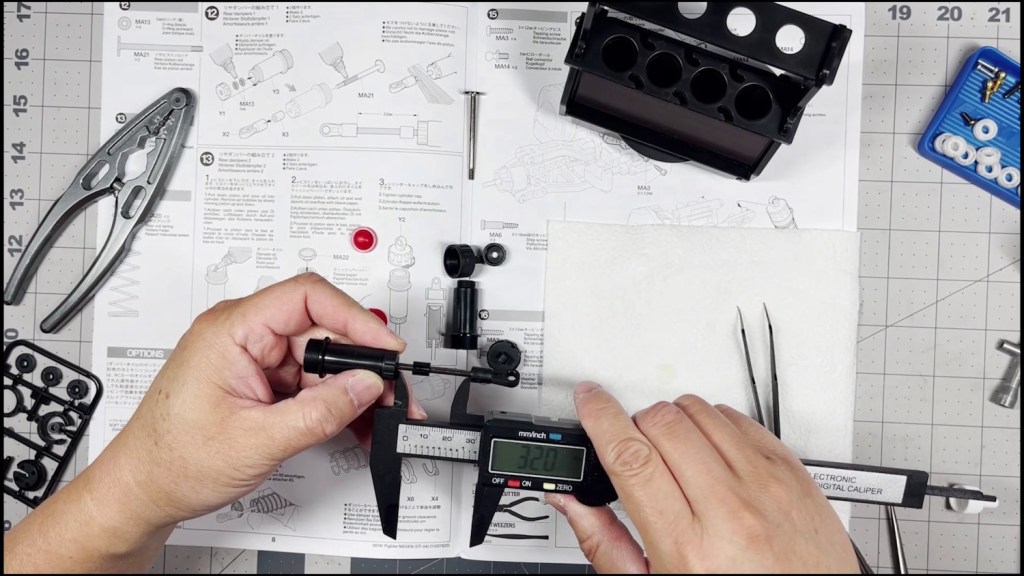
Use either a pair of needle nose pliers or damper pliers to hold onto the shaft. Fully twist the lower damper end until it stops.
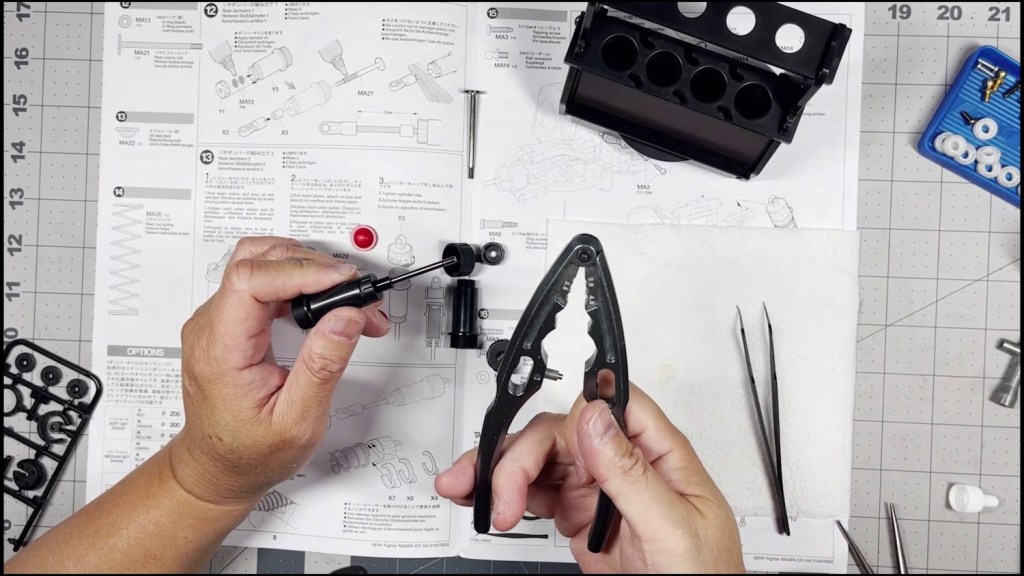
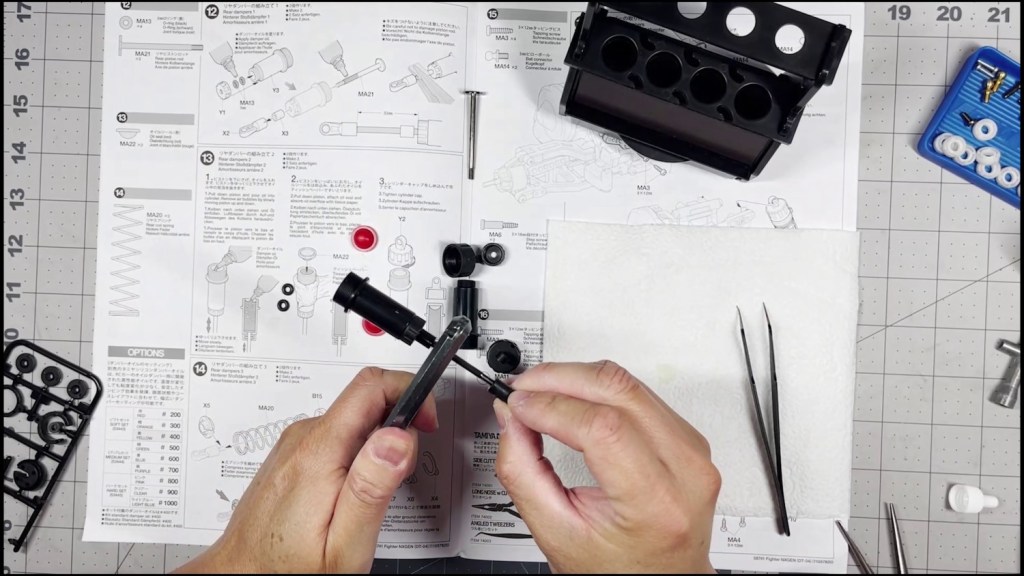
Use a metric ruler or caliper to measure the length of the exposed part of the shaft. It should be no more than 32mm.
We are ready to fill the dampers. Set the dampers into a shock stand on a level surface.
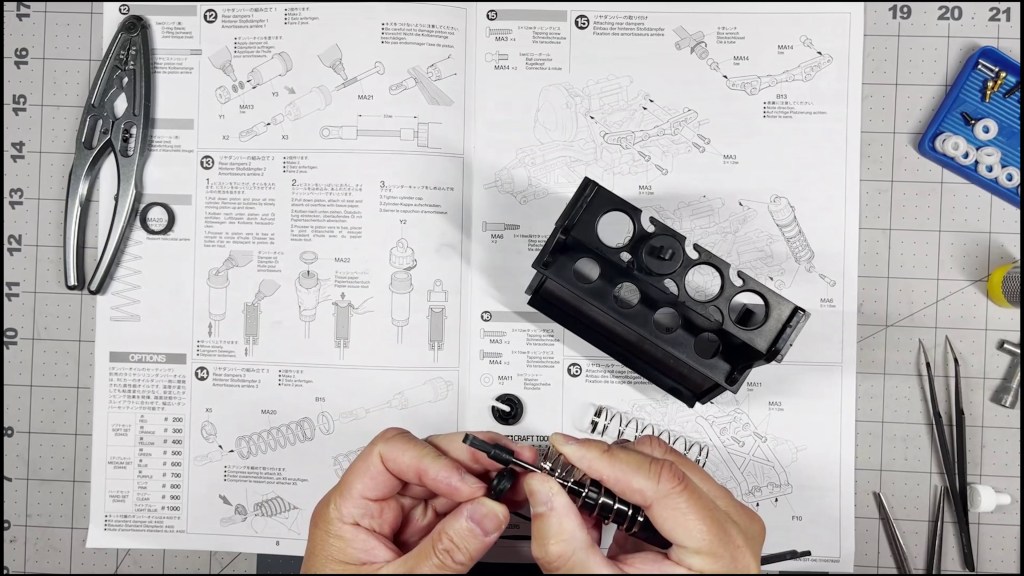
Gently squeeze the bottle until the oil comes to near the top. After they are full, pick up each damper in an upright position. Push the lower damper end up until the piston comes to the top of the body. Then pull it back down to its lowest position. Repeat this three times. Some bubbles should appear. The oil level may drop slightly. Top off with damper oil if necessary. Take a break and wait 20 minutes to allow the bubbles to come to the top.
After 20 minutes, we are ready to seal the dampers. Gently place the bladder (red rubber cup) on top. Clean up excess oil that leaks out if needed. Slowly twist on the cap to complete the damper body assembly.
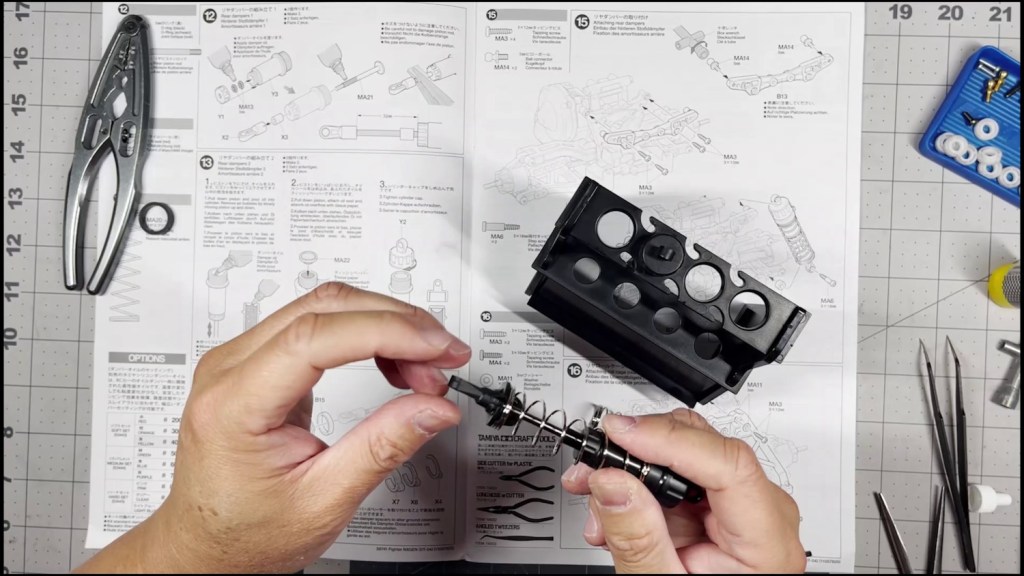
Slide the damper shaft through the spring. Compress the spring and hold it with your thumb as shown.
Place the spring perch onto the shaft. Release the damper spring and make sure the perch is seated properly on the lower end. The manual shows to insert 3 damper spacers. These spacers will adjust the ride height of the car. We will leave out this step until the the kit is complete. Repeat for both dampers and they’re ready to be mounted.
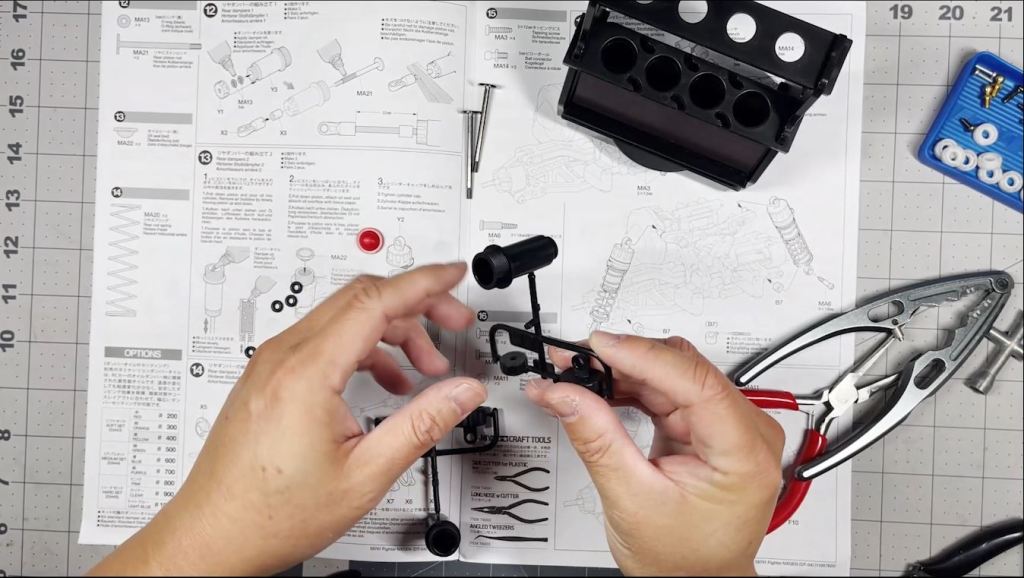
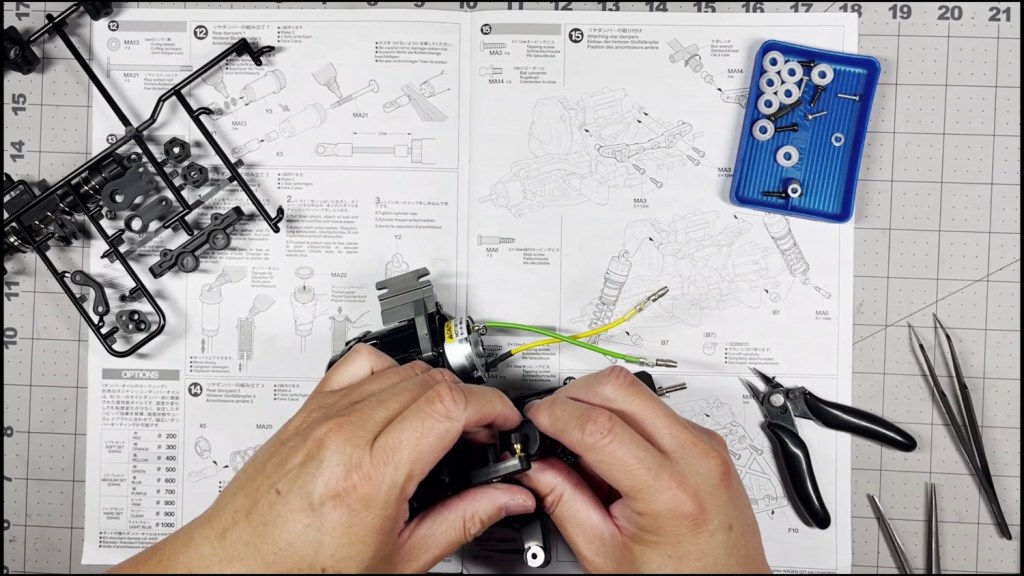
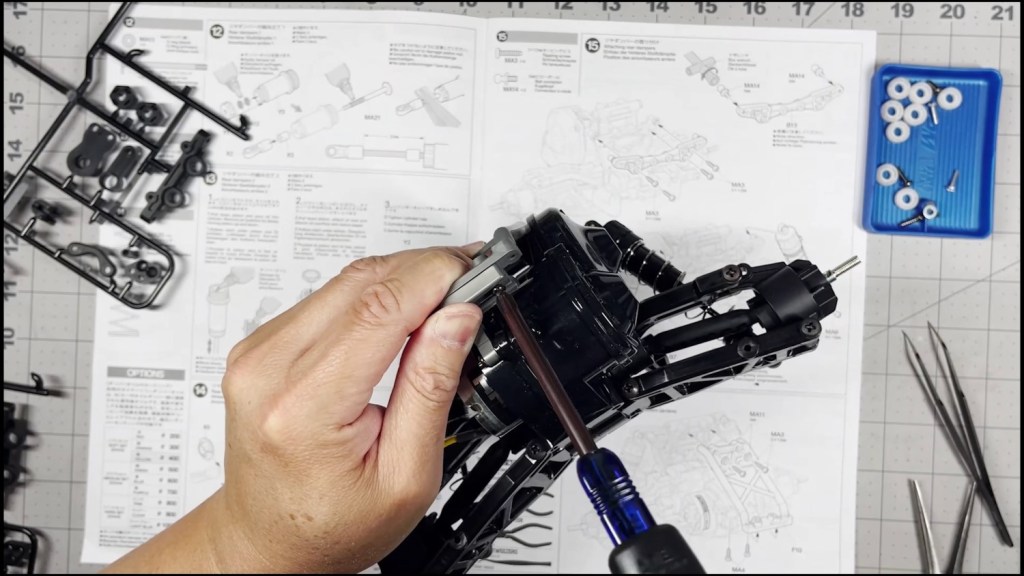
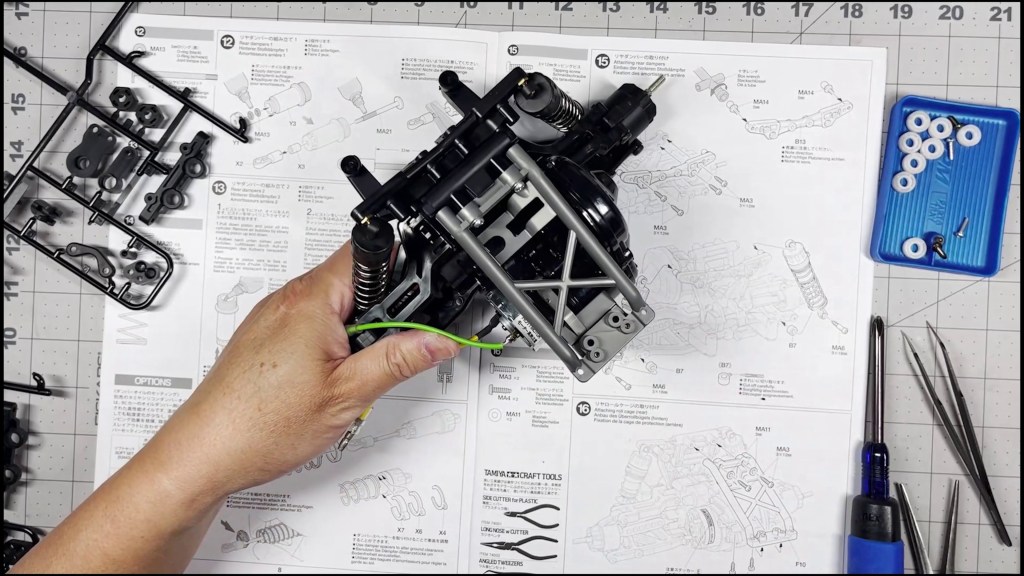
Find and cut out one of the damper stays (shock towers). The two sides are not identical. Hold it against the top of the rear bulkhead. There should not be a gap between the two pieces. If there is, flip it to the other side.
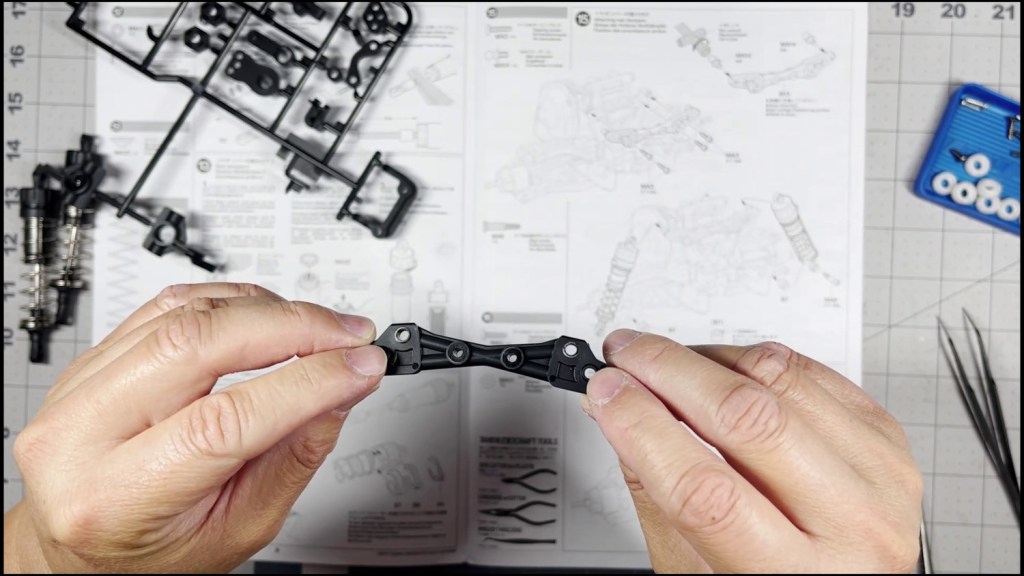
The side that will face the bulkhead is the side we will attach the two ball ends. Twist on the ball end by hand and tighten it with the included cross wrench. Mount the damper stay onto the bulkhead with four screws.


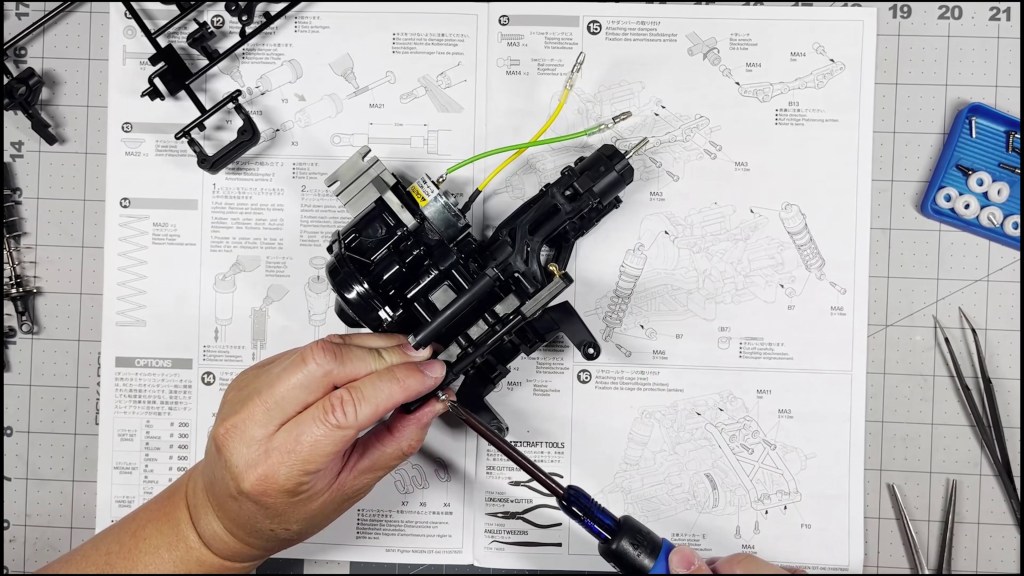
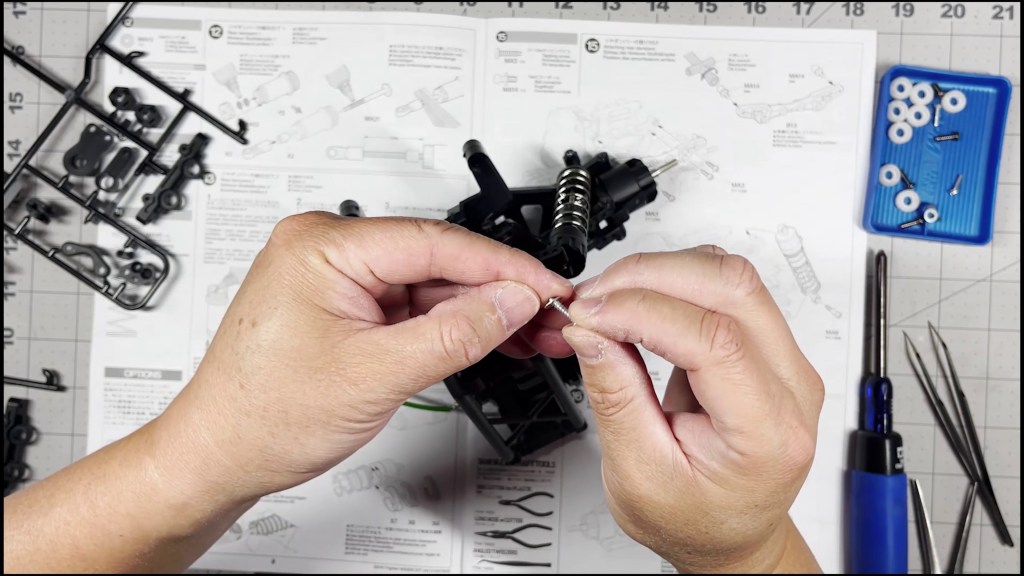
Next, thread the step screw through the bottom of the damper and add the spacer. Make sure to cleanly clip the spacer to remove any burs. Secure the screw into the outside hole (closest to the axle) of the lower arm.
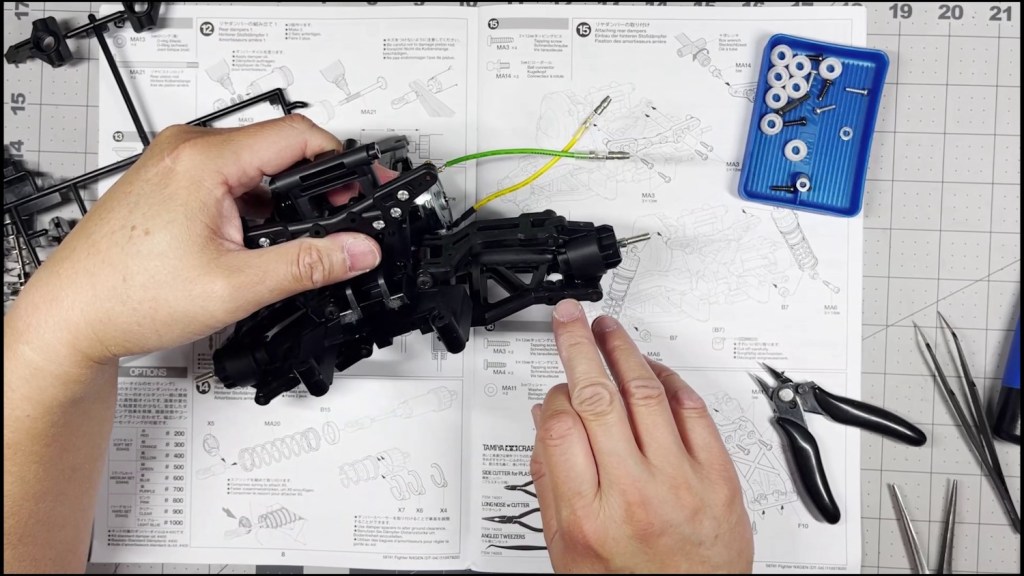

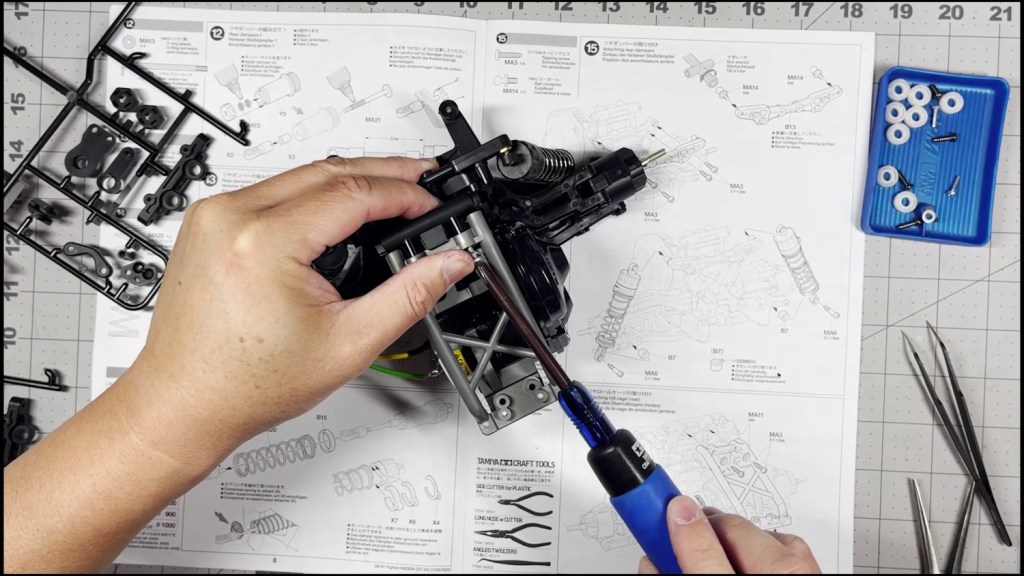
Snap the top of the damper onto the ball joint. Repeat both steps on the other side and the damper attachment is complete.
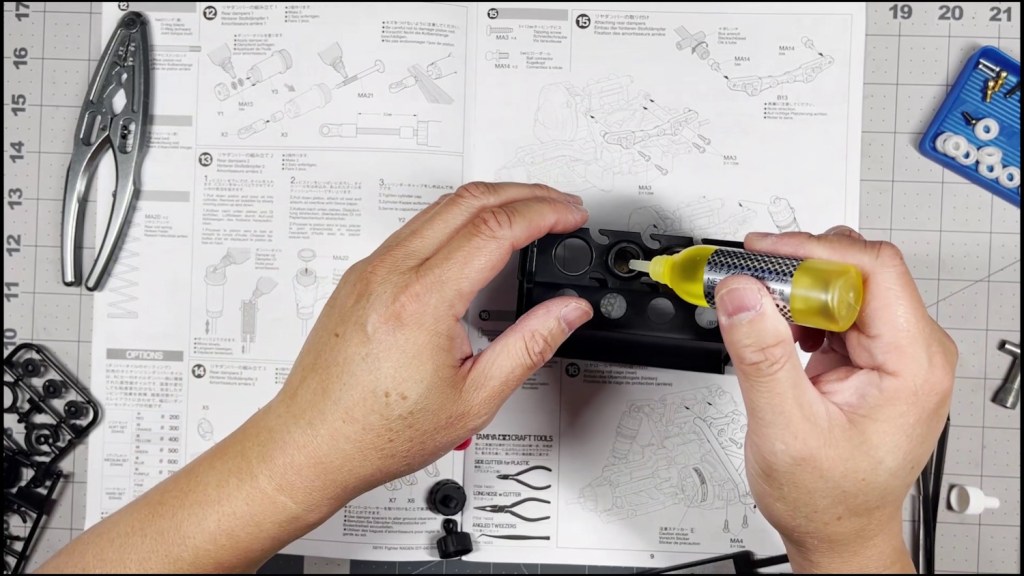
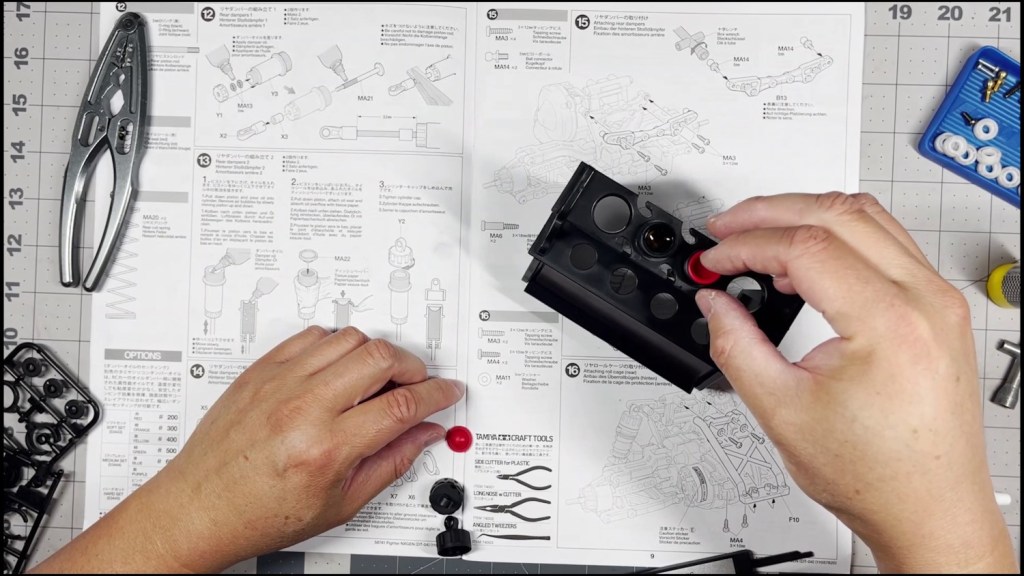
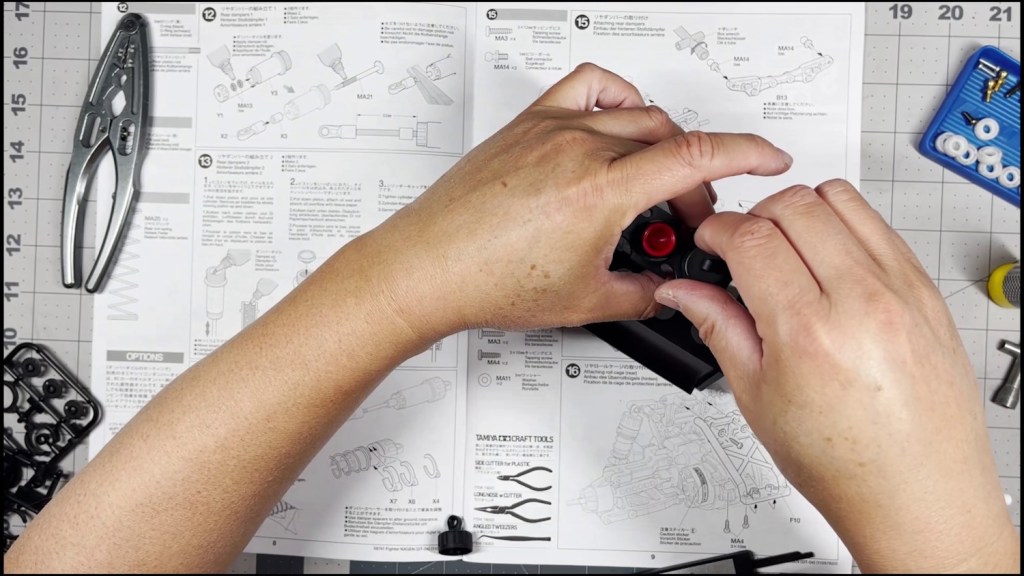
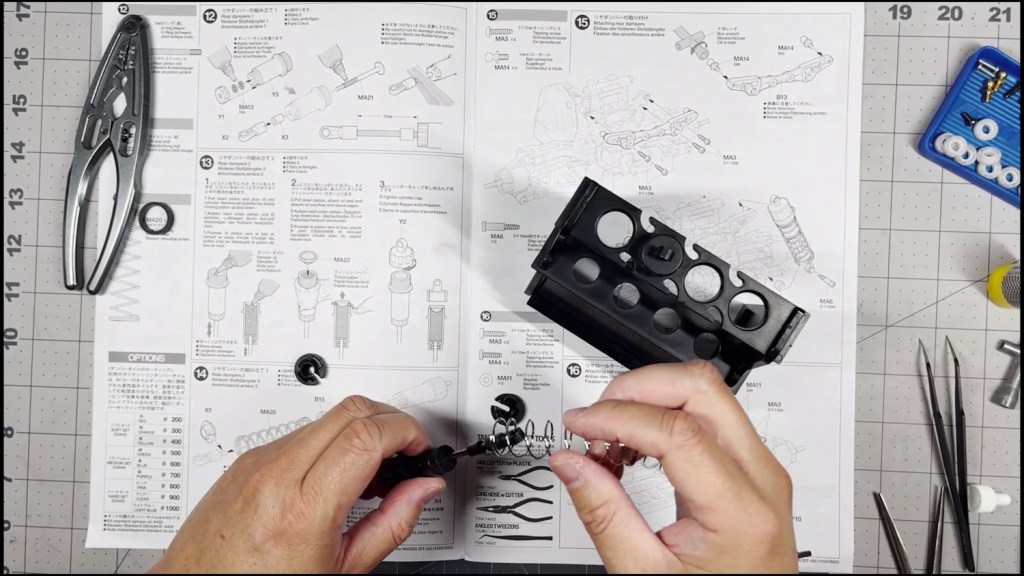
Next, let’s attach the rear roll cage and finish this portion of the kit. Note the orientation of the piece. We will need a screw and washer to attach the top of the roll cage.
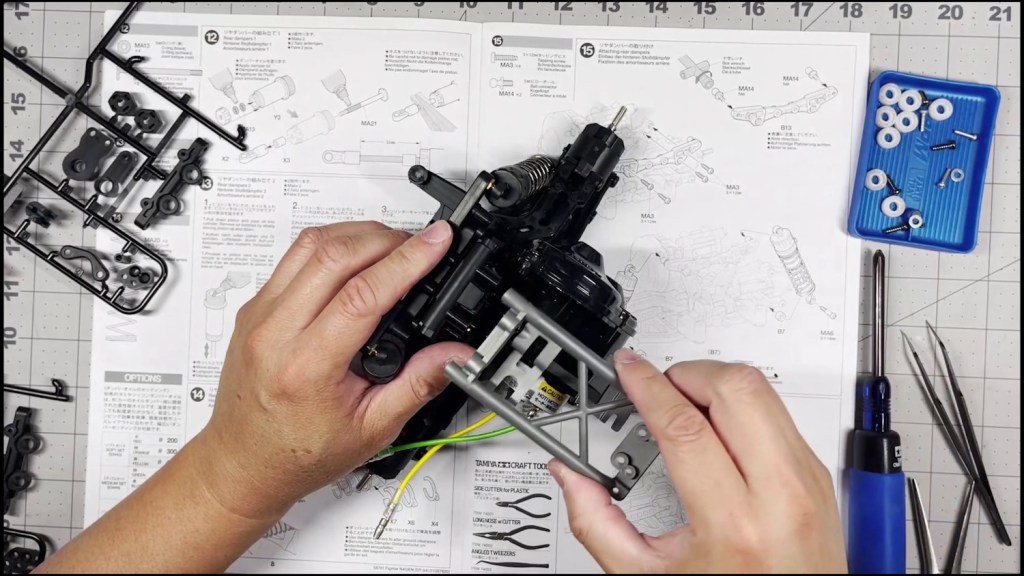
Before screwing in the lower part of the roll cage, make sure it connects with the gearbox mount without any gaps. Tighten all four screws to fully secure the roll cage.
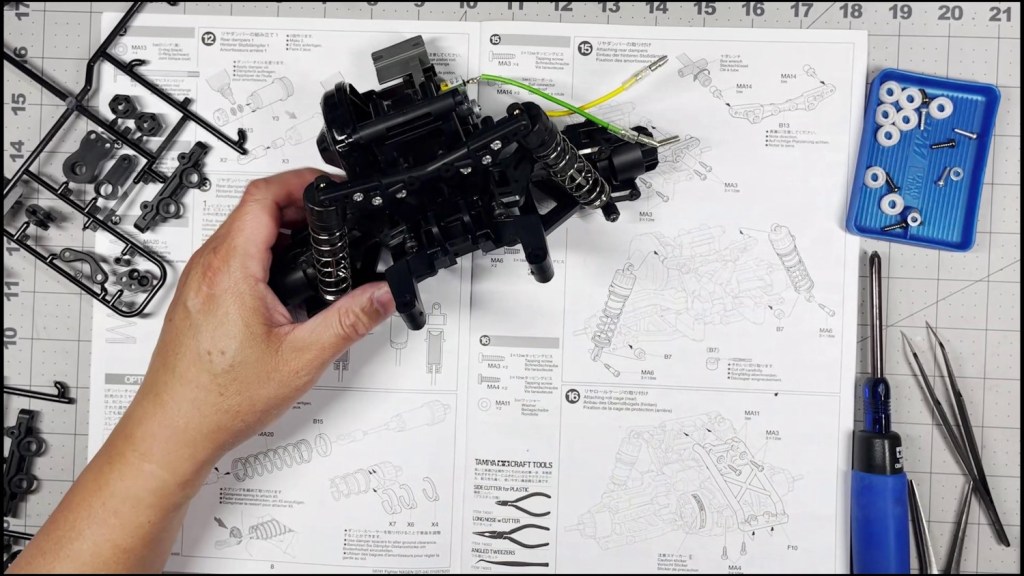
We’ve completed attaching the rear dampers and roll cage.
We hope you found this guide helpful. Feel free to leave a comment or question below. Thanks for reading!


Leave a comment