
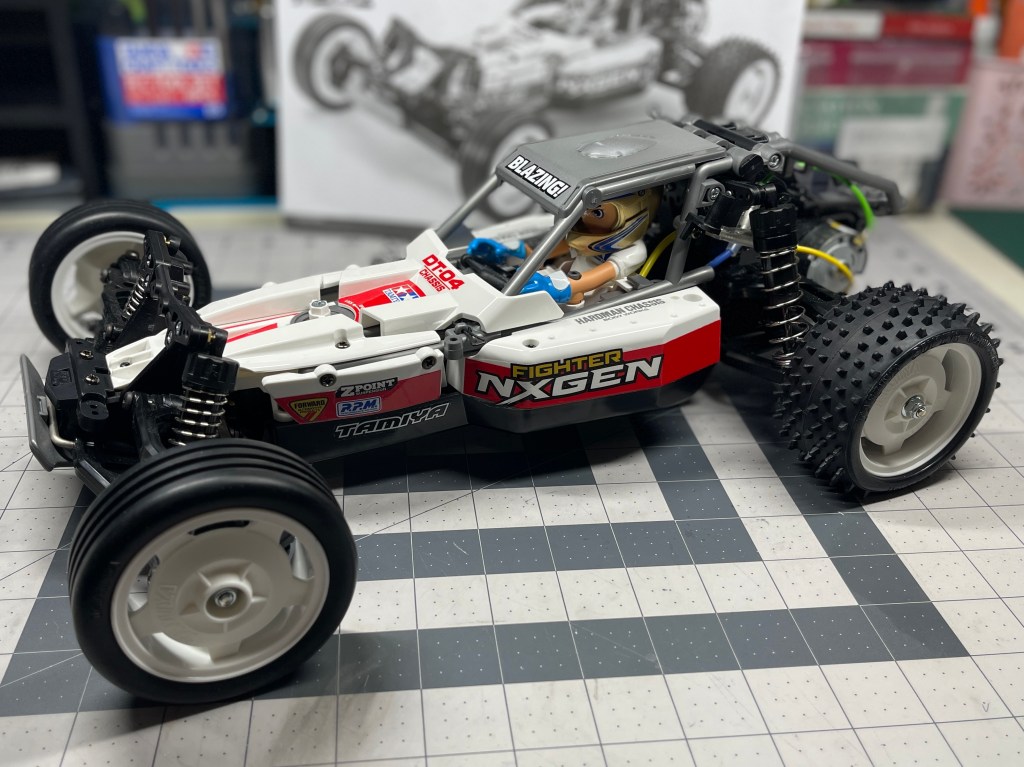
Buy your Tamiya DT-04 Fighter NXGEN
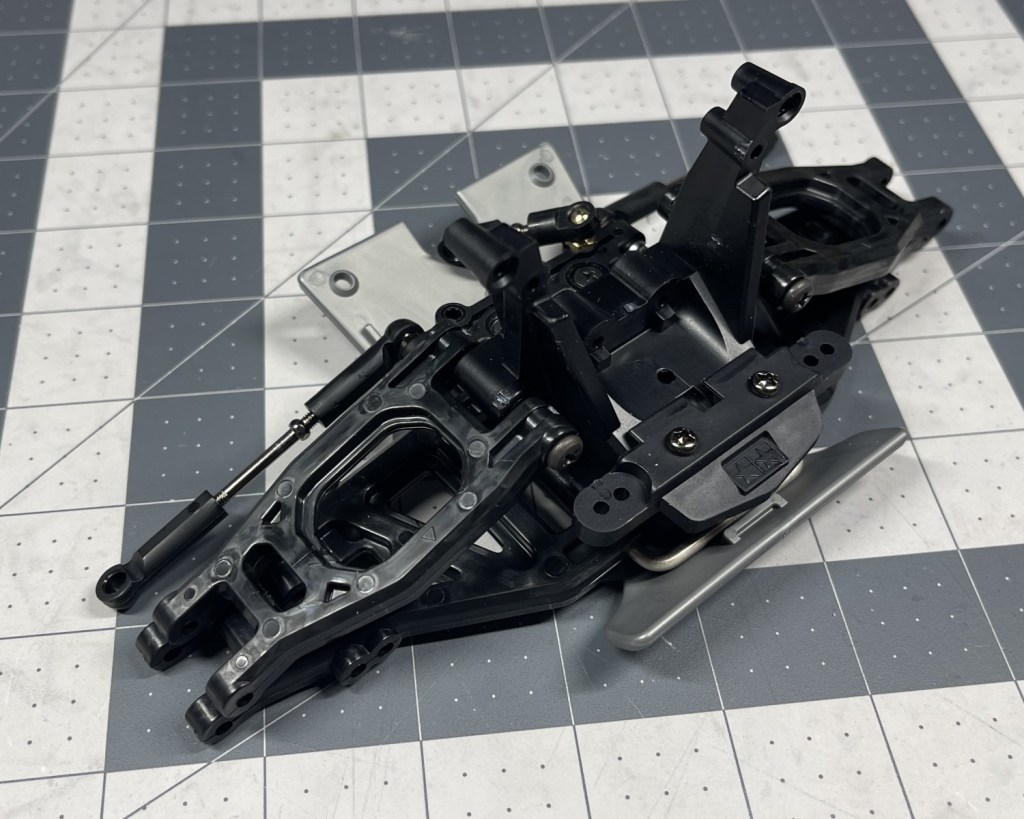
We are going to attach the front upper and lower arms to the steering linkage assembly from the previous guide.
This article will cover Steps 20 to 22 of the manual if we’re building the kit with the SHORT wheelbase setup. If we’re building the LONG wheelbase setup, the front arms Steps 32-34 are the nearly the same. If you haven’t done so already, read the paragraph at the top of page 10 in the manual. Then decide which setup to choose to fit your situation. We are going to proceed with a SHORT wheelbase build. We will continue using the contents of the B Parts Bag.
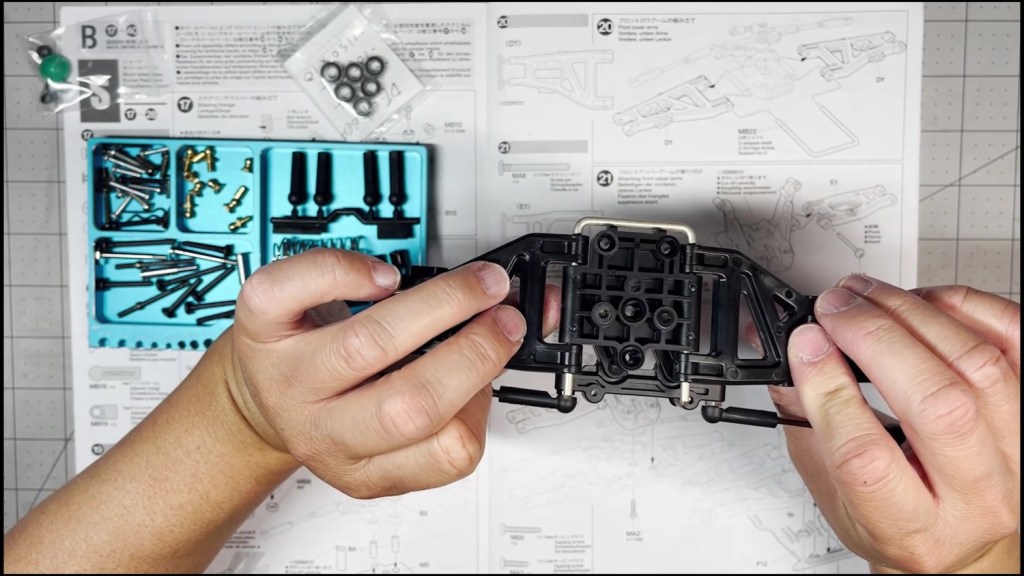
Cut out the two lower arms and find the U-shaped shaft. Note the direction of the arms based on your wheelbase. Line them up with the holes on each side of the steering linkage base plate. Insert the U-shaped shaft through both the arms and the base plate.

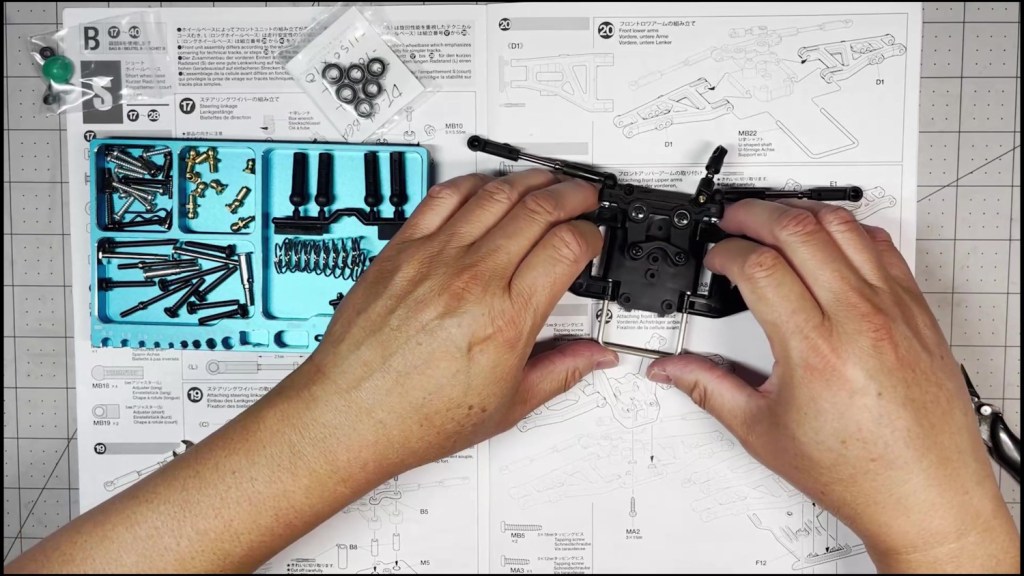
When you’re done, the bottom should look like this. Make sure the U-shaped shaft is inserted all the way through and protruding from the other side. Both arms should have a full range of motion.
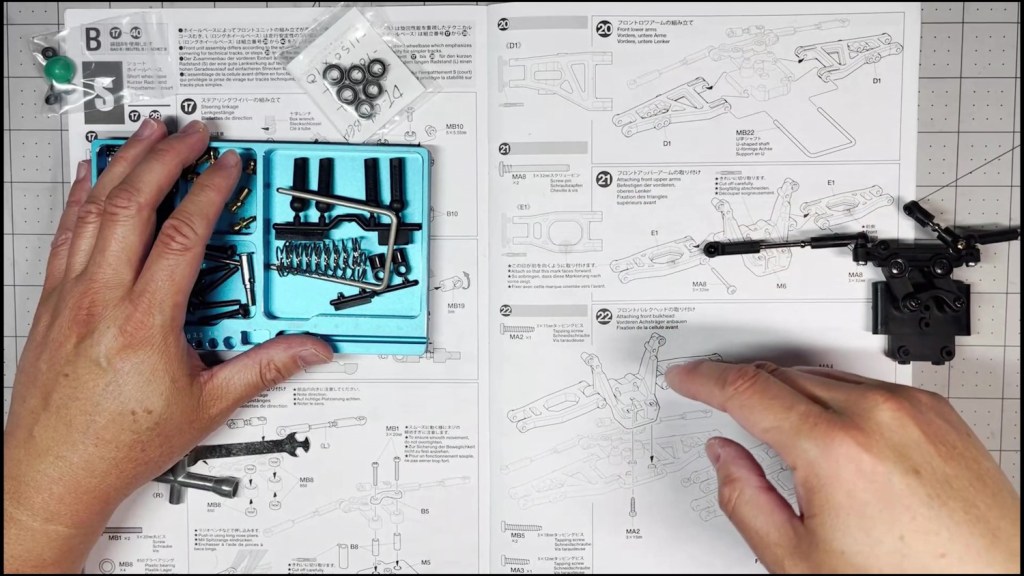
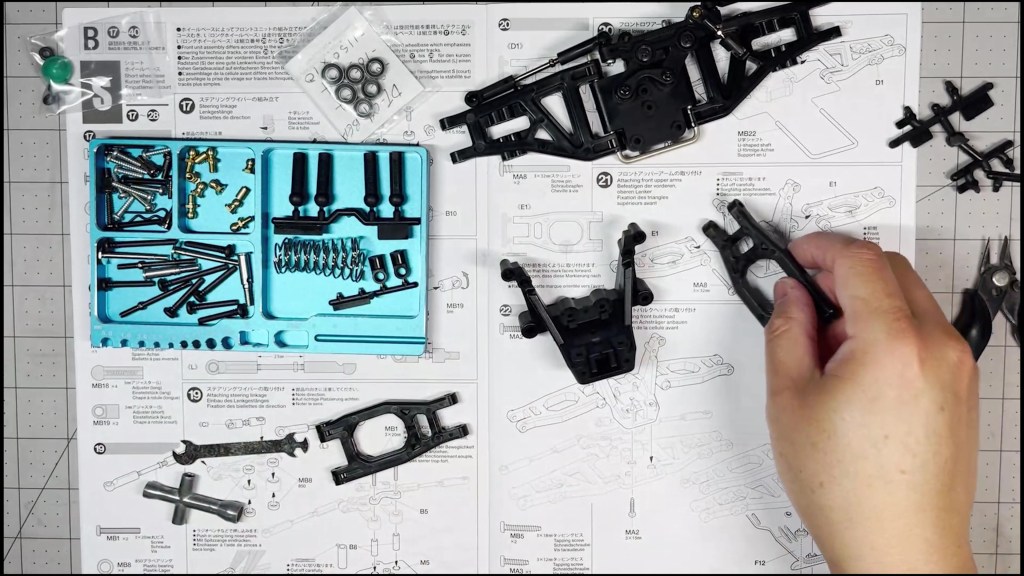
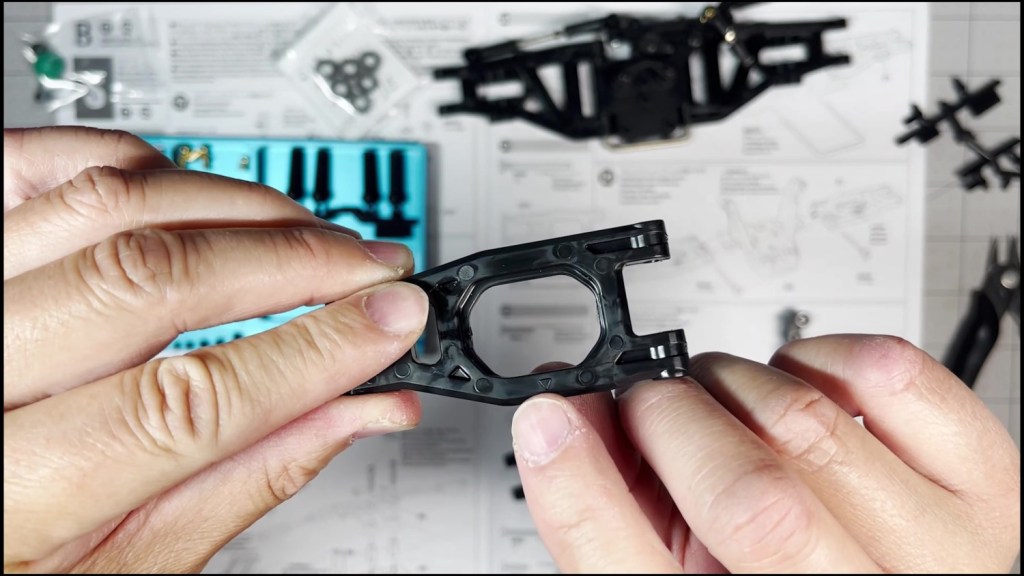
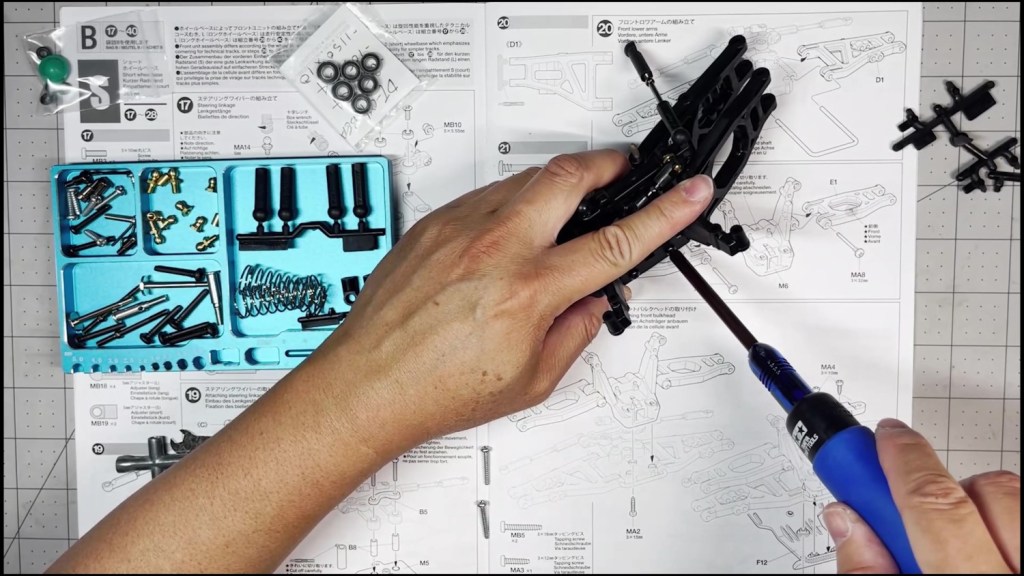
Find and cut out the front bulkhead and both upper arms. Note the arrow on one side of the arms denotes the front of the chassis.
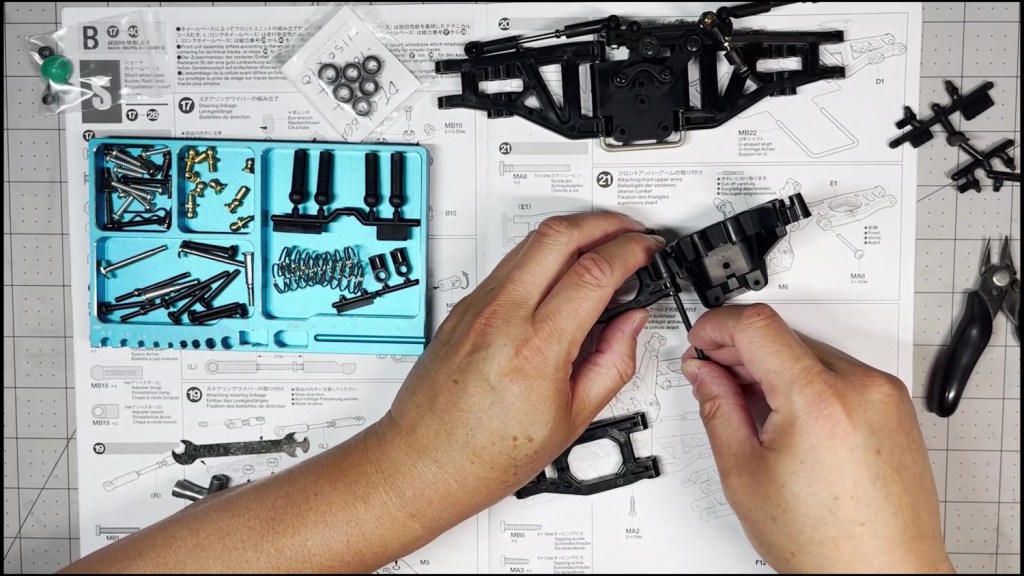
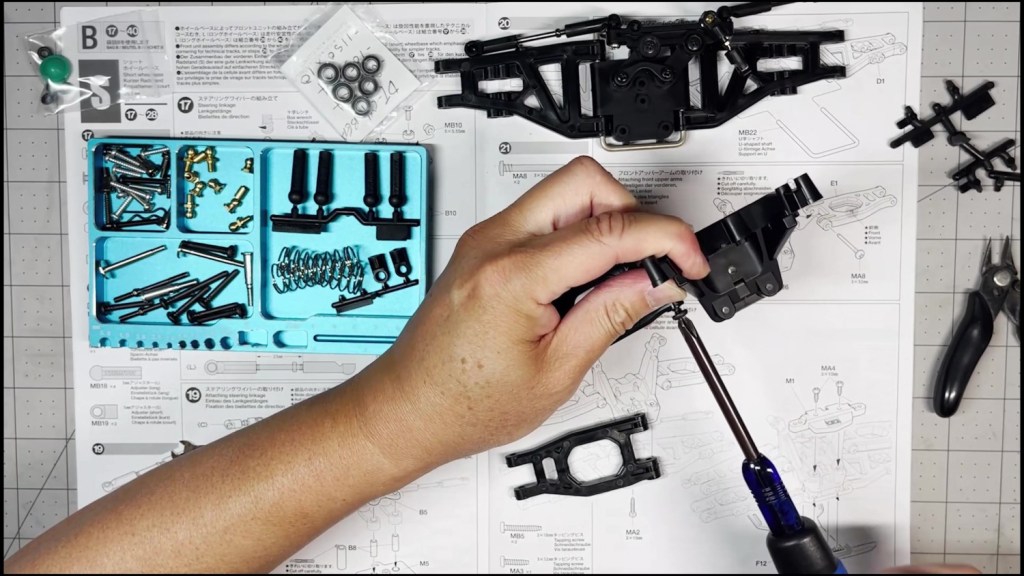
Thread a suspension pin through the arm and bulkhead. Then tighten the pin with a screwdriver. Both arms should move up and down without any binding.
Next, line up the holes at the bottom of the bulkhead and the top of the steering linkage assembly. Hold them together, flip over and find the center hole. Turn one screw into the hole to combine the bulkhead and assembly.


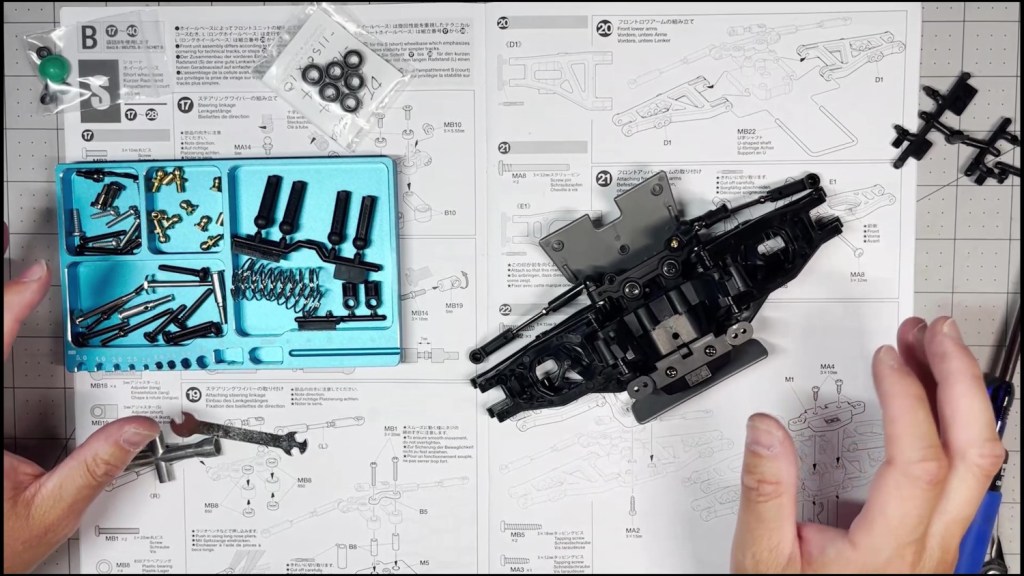
Find the sway bar mount (M1) and attach it to the front of the bulkhead with two screws.

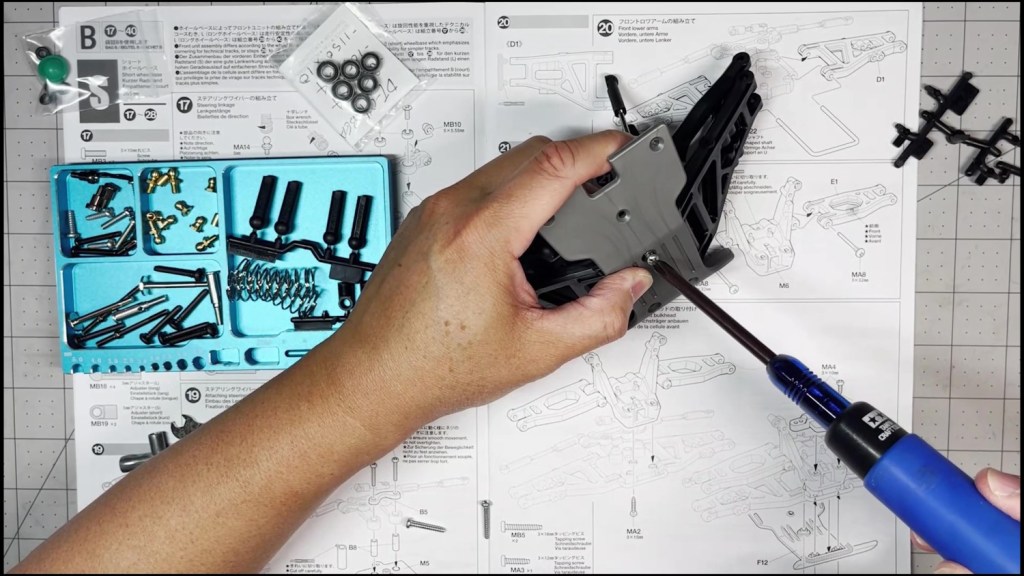
Next, find and cut out the front skid plate.

Identify the three holes on the bottom of the steering linkage assembly. Line them up with the holes in the skid plate and fasten it with three screws.

The front arms and bulkhead are complete. In the next article, we will build and attach the dampers and uprights to complete the front end.
We hope you found this guide helpful. Feel free to leave a comment or question below. Thanks for reading!


Leave a comment