
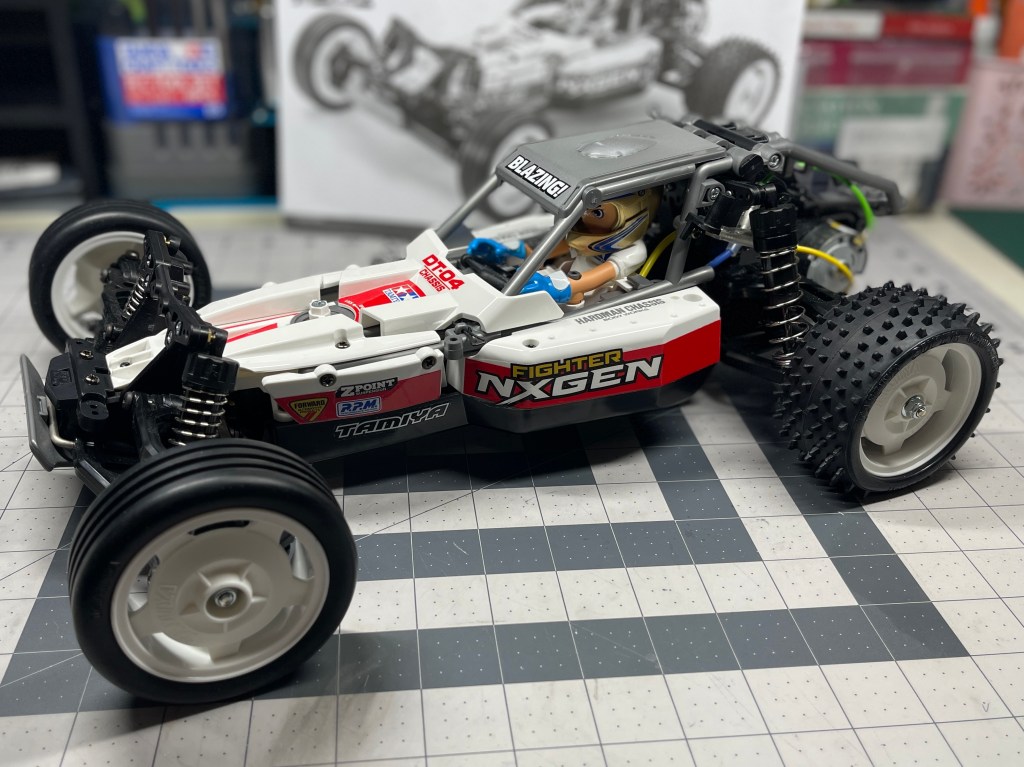
Buy your Tamiya DT-04 Fighter NXGEN
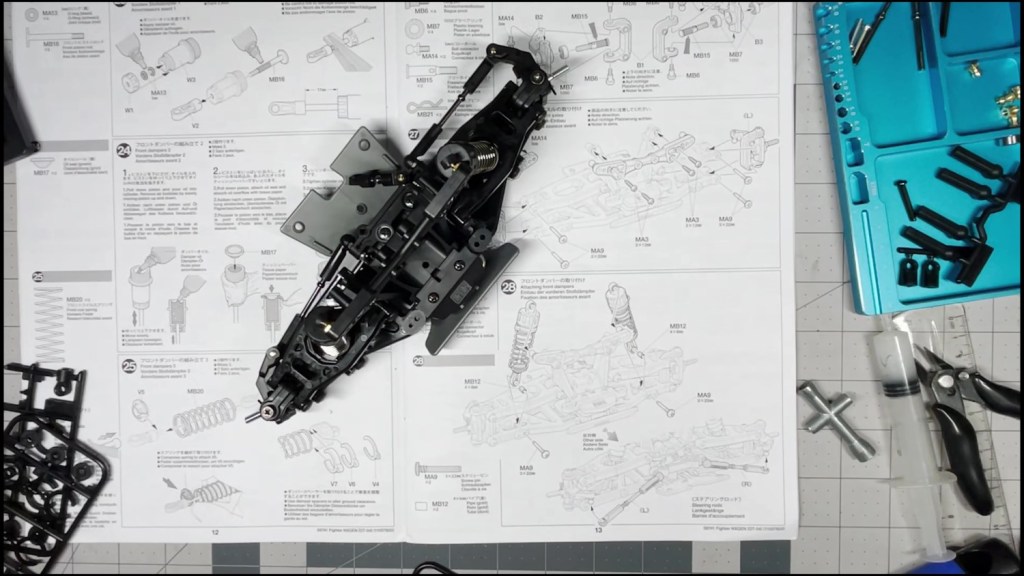
We are going to assemble the front dampers and attach them to the chassis.
This article will cover Steps 23 to 25 of the manual if we’re building the kit with the SHORT wheelbase setup. If we’re building the LONG wheelbase setup, the front arms Steps 35-37 are the nearly the same. If you haven’t done so already, read the paragraph at the top of page 10 in the manual. Then decide which setup to choose to fit your situation. We are going to proceed with a SHORT wheelbase build. We will continue using the contents of the B Parts Bag.
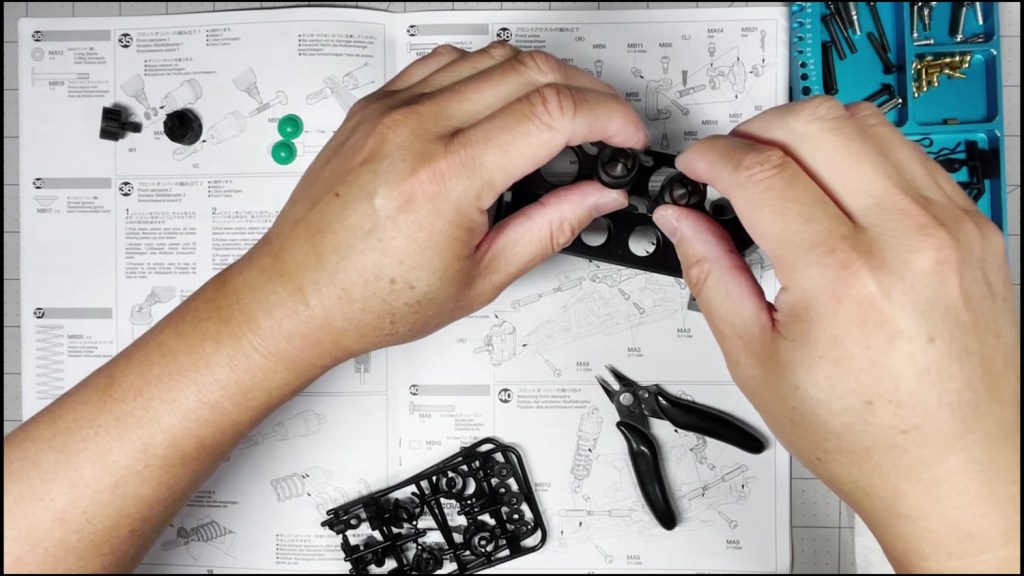
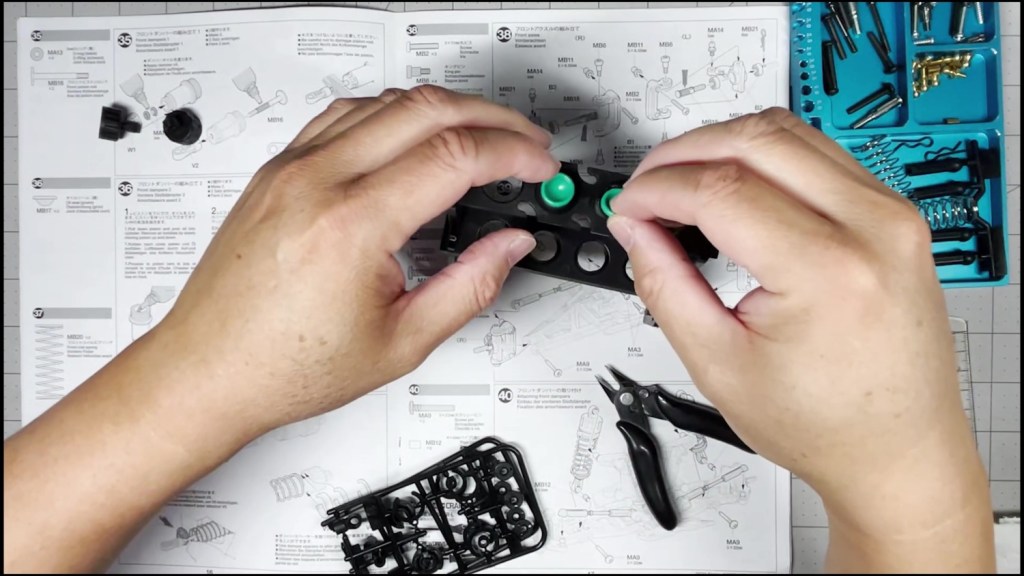
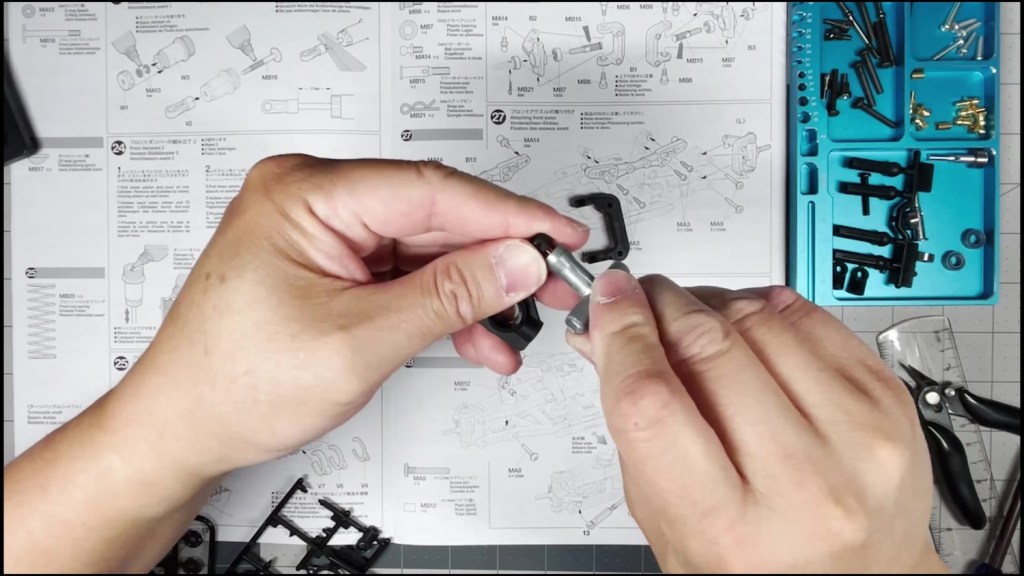
Start by locating the two damper bodies.

Put a drop of damper oil on each rubber o-ring and insert into the bottom of the shock body. Make sure they are seated flush inside. Screw on the lower cap.


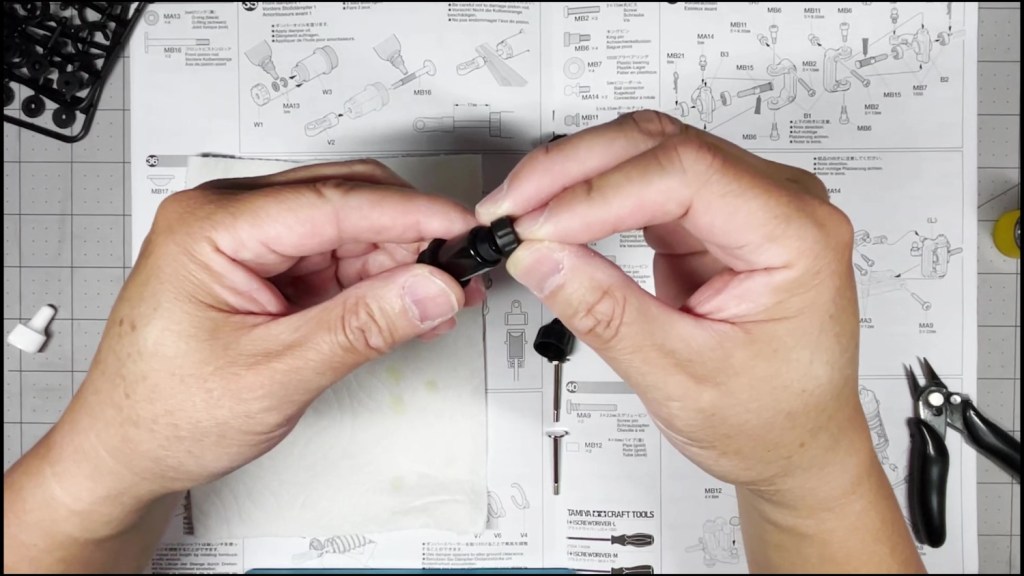
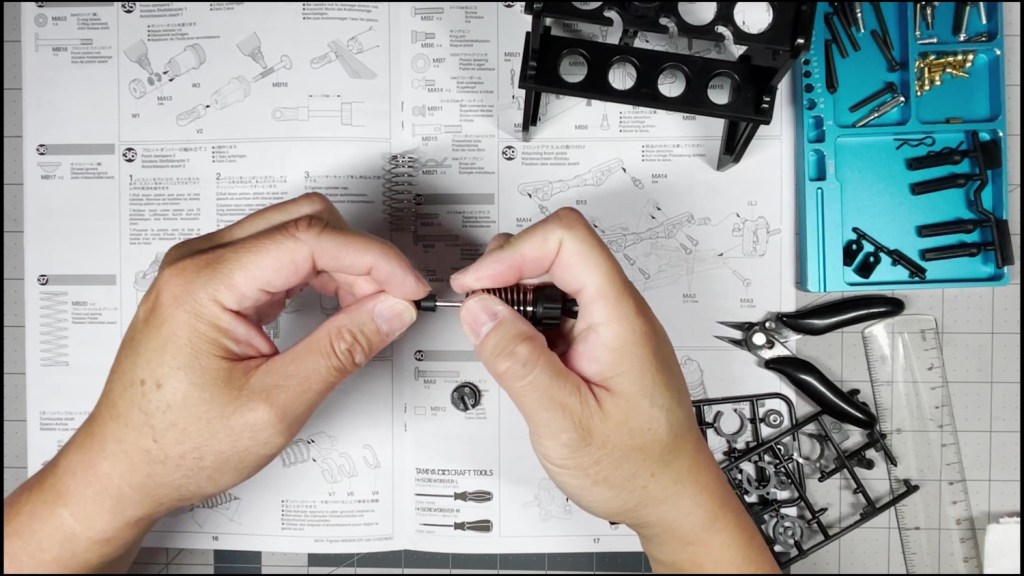
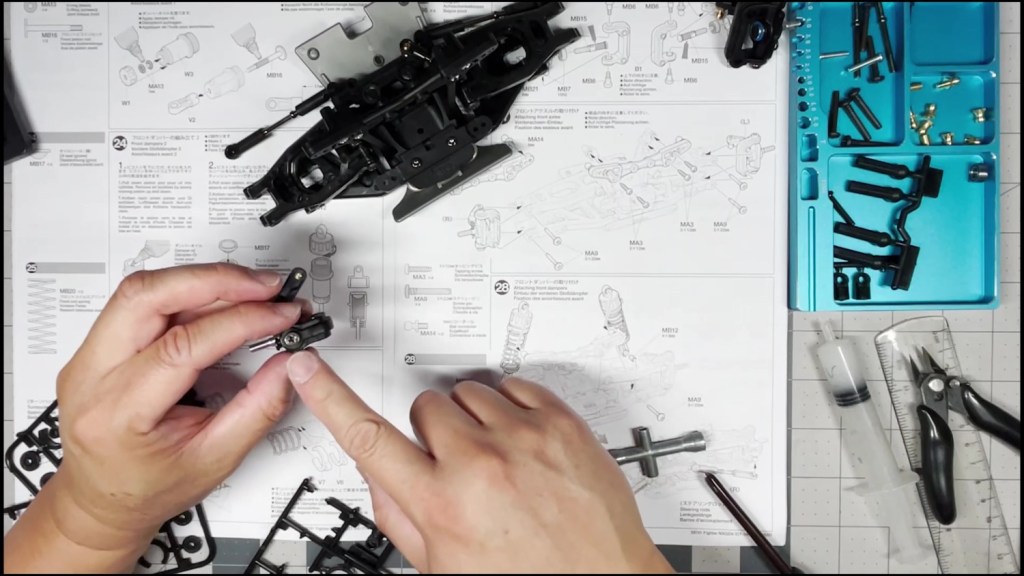
Put a drop of oil on the piston shaft before inserting it through the damper body. Make sure the piston fully protrudes to the other side.

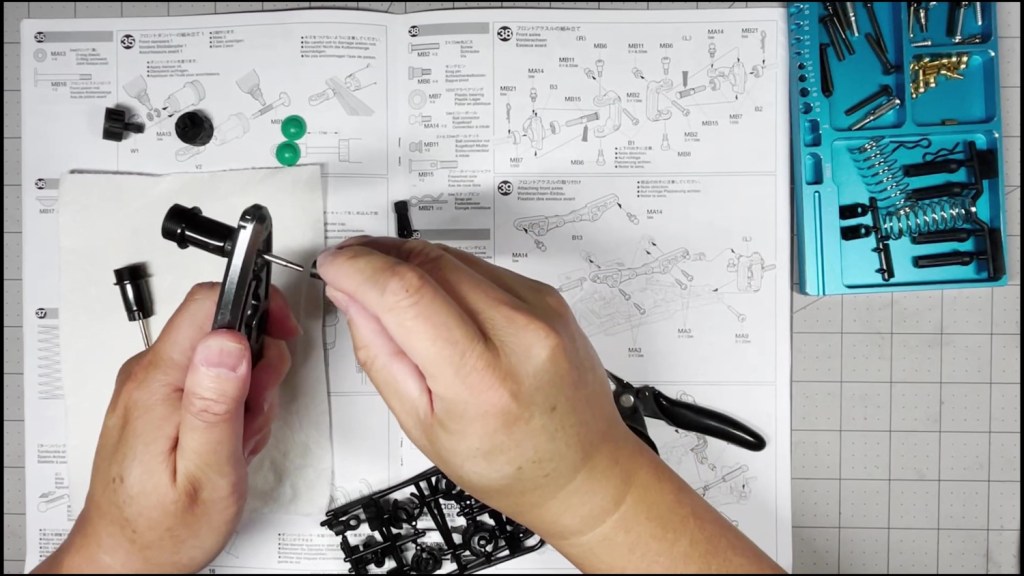
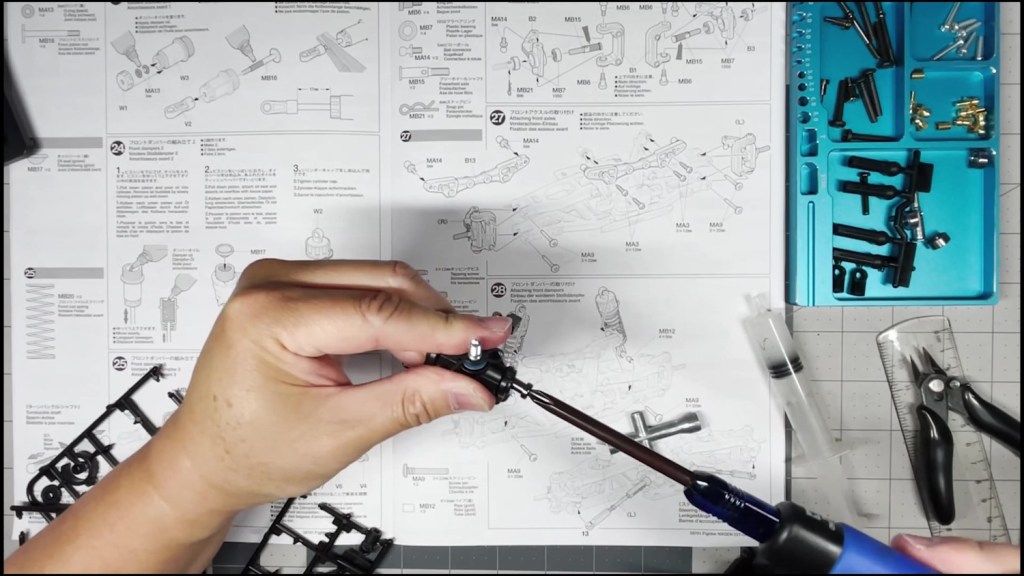
Use either a pair of needle nose pliers or damper pliers to hold onto the shaft. Fully twist the lower damper end until it stops.
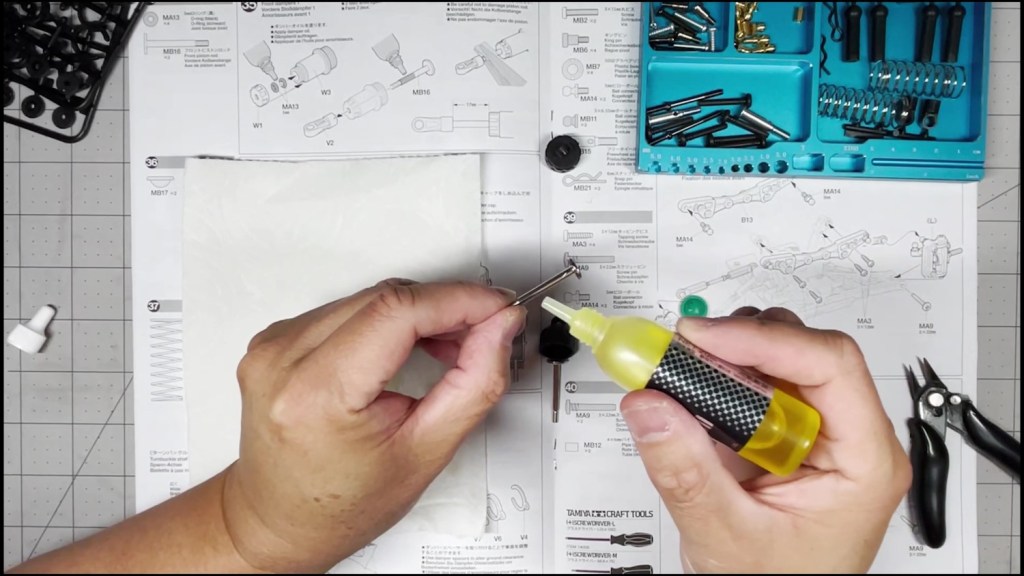
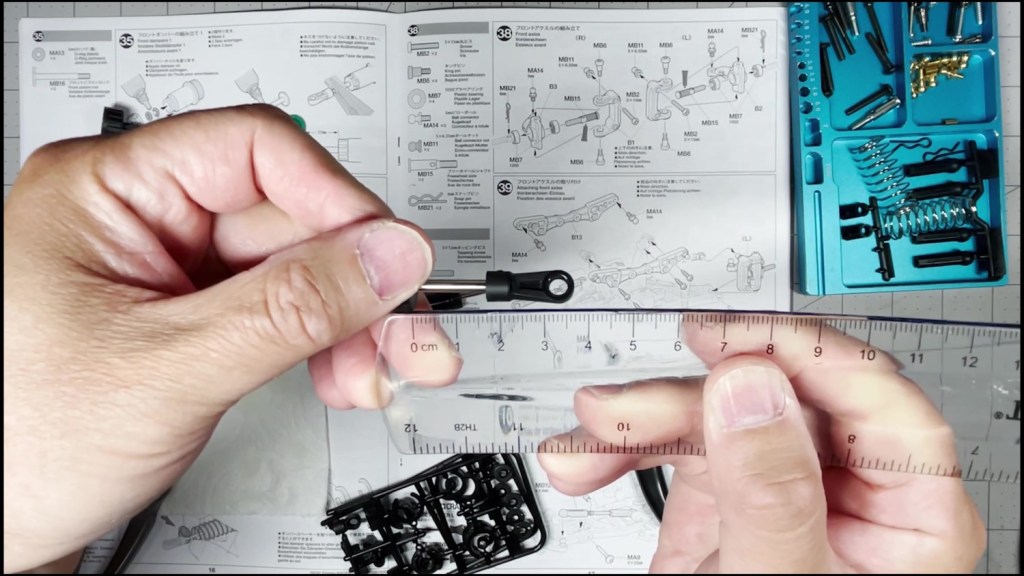
Use a metric ruler or caliper to measure the length of the exposed part of the shaft. It should be no more than 17mm.
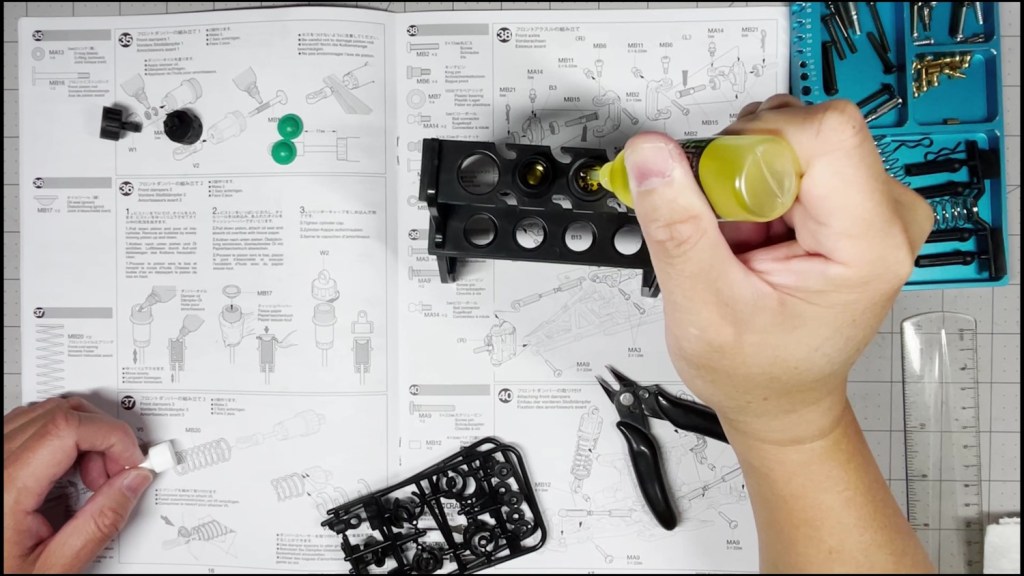
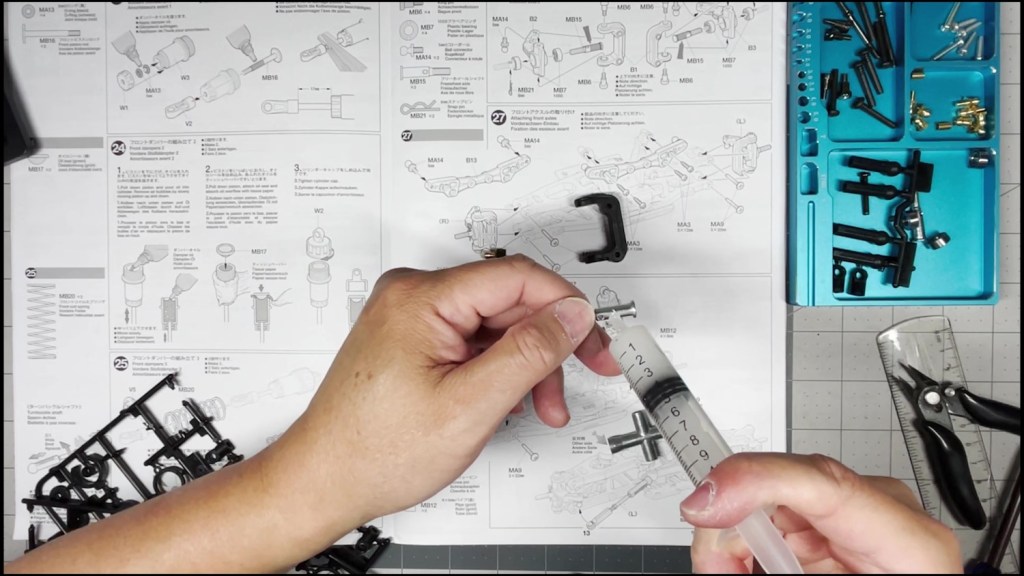
Place the dampers into a shock stand. Use either the SOFT damper oil included in the kit or a different weight based on your preference. We will proceed with the included bottle.

Fill each damper body to the top. Pick up each damper in an upright position. Push the lower damper end up until the piston comes to the top of the body. Then pull it back down to its lowest position. Repeat this three times. Some bubbles should appear. The oil level may drop slightly. Top off with damper oil if necessary. Take a break and wait 20 minutes to allow the bubbles to come to the top.

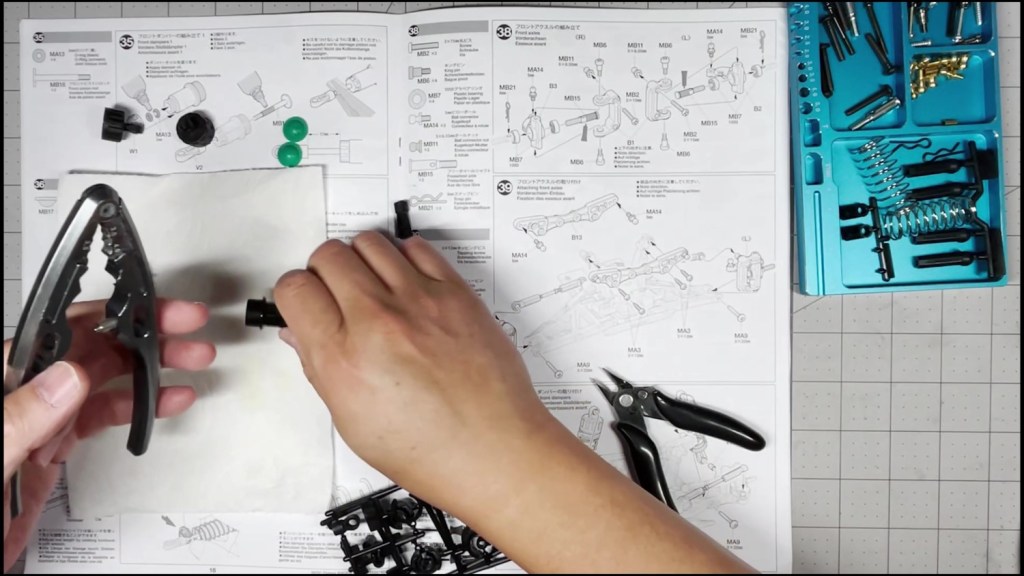
After 20 minutes, we are ready to seal the dampers. Gently place the bladder (red rubber cup) on top. Clean up excess oil that leaks out if needed. Slowly twist on the cap to complete the damper body assembly.

Slide the damper shaft through the spring. Compress the spring and hold it with your thumb as shown. Place the spring perch onto the shaft. Release the damper spring and make sure the perch is seated properly on the lower end.
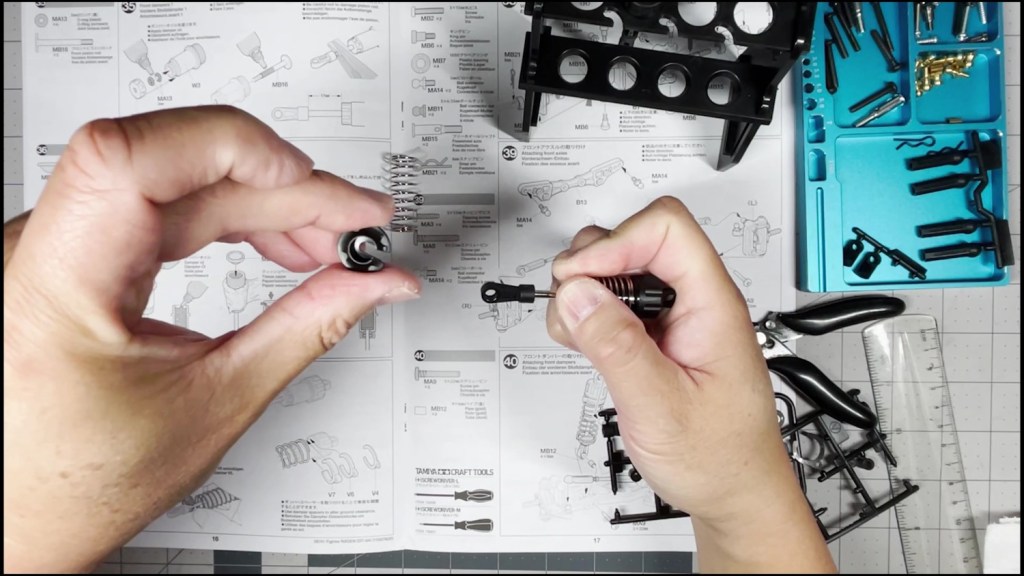
The manual shows to insert 3 damper spacers. These spacers will adjust the ride height of the car. We will leave out this step until the the kit is complete. Repeat for both dampers and they’re ready to be mounted.

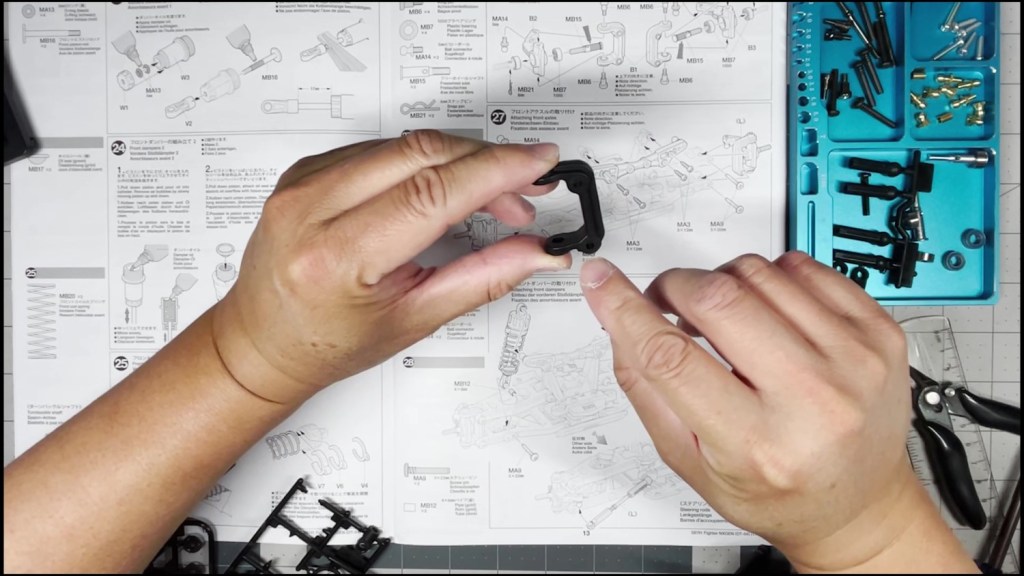
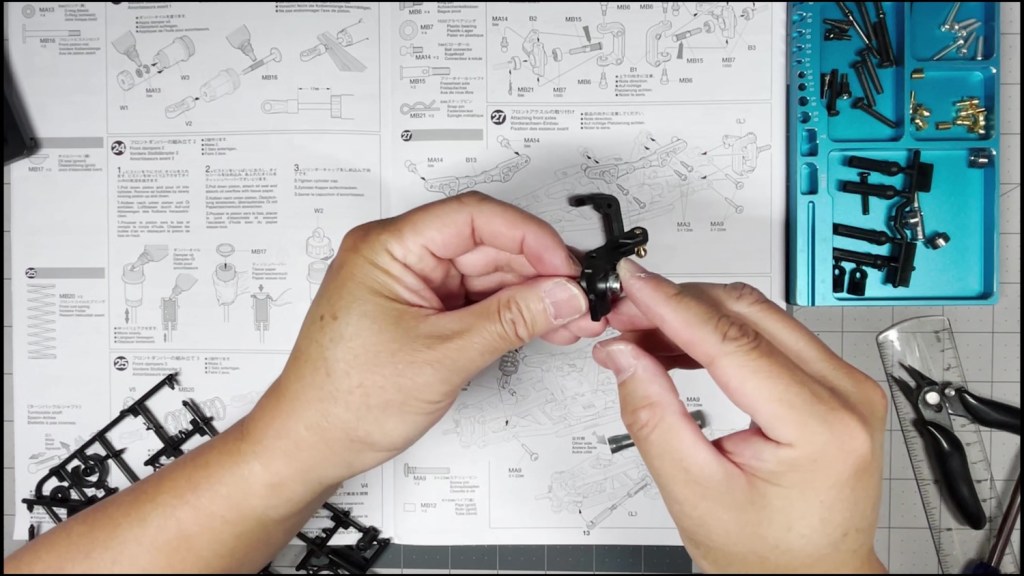
Find and cut out the C-hubs left and right front uprights. For the SHORT wheelbase, the rounded profile is on the bottom. Then crew one brass ball end into the steering arm.
Push one plastic bushing or ball bearing into each side of the upright. Put grease onto the shaft body of the front axle.

Push the front axle through the upright. Clean up any excess grease. Secure the axle with a body pin on the other side.
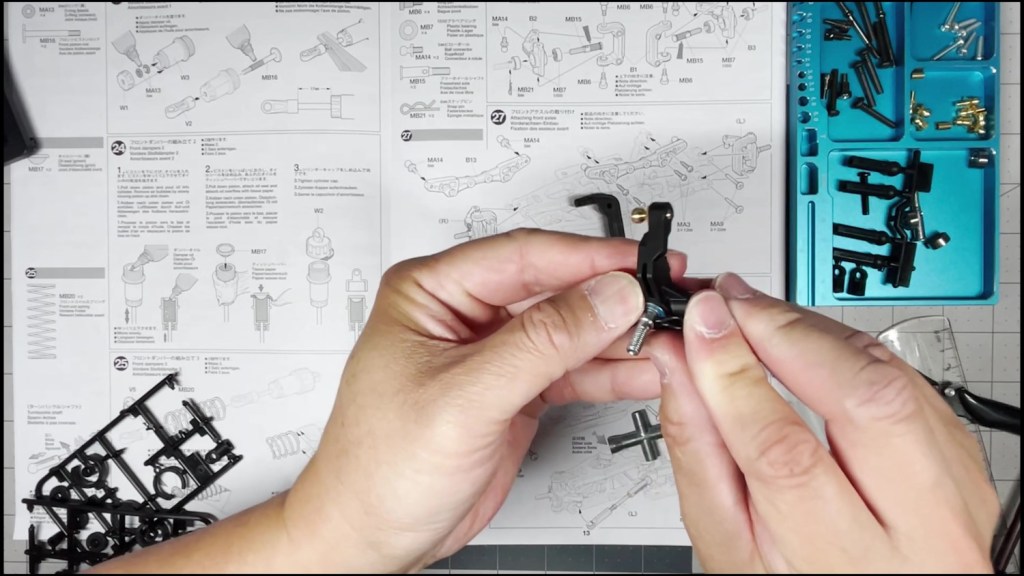
Line up the C-hub and upright. Both the round profile end of the C-hub and the ball stud side of the upright should be at the bottom. Put one kingpin (step screw) into top and bottom of the C-hub. Make sure the upright can move freely.

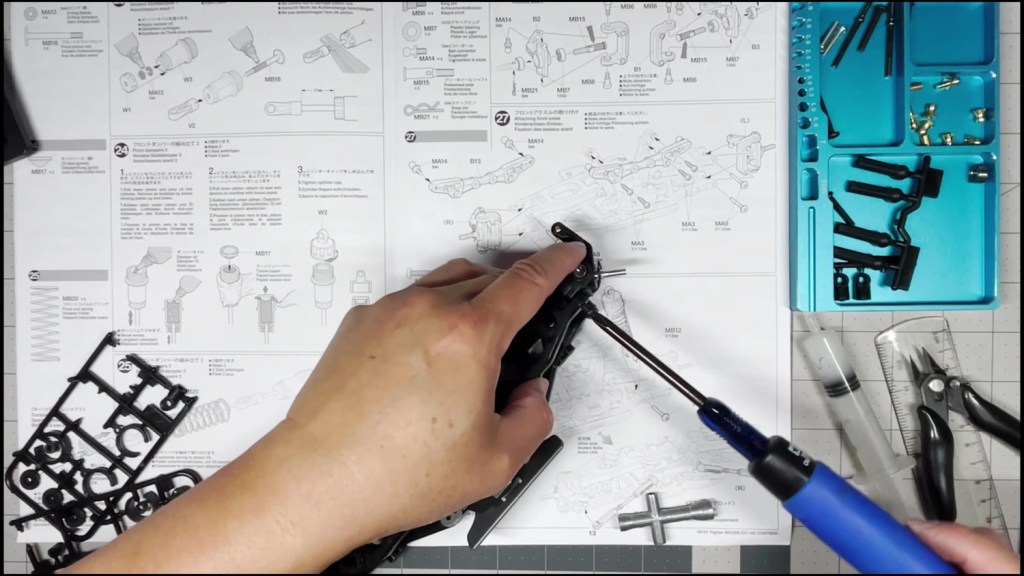
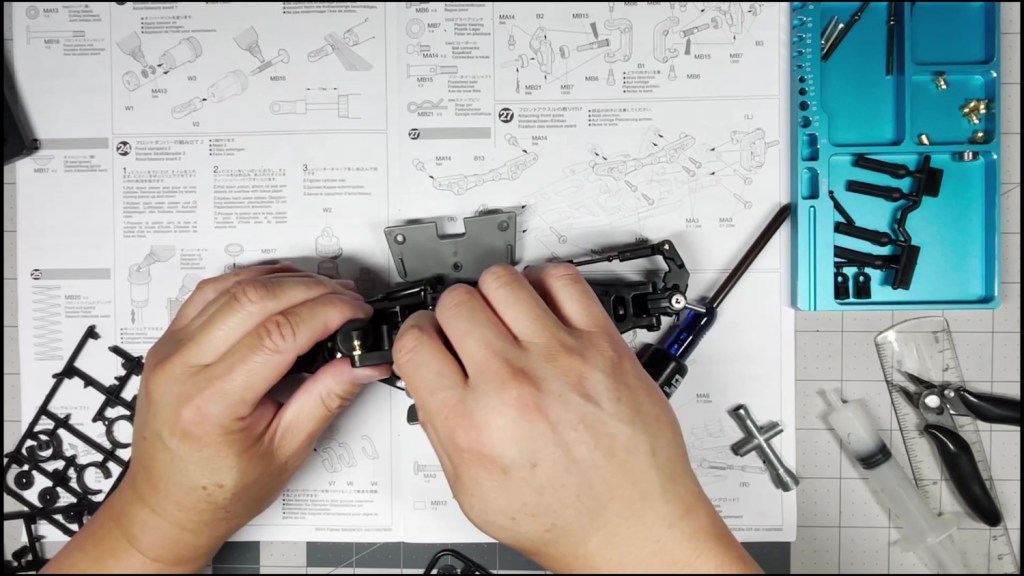
Now bring in the front end assembly. Note the front bumper is facing towards us.
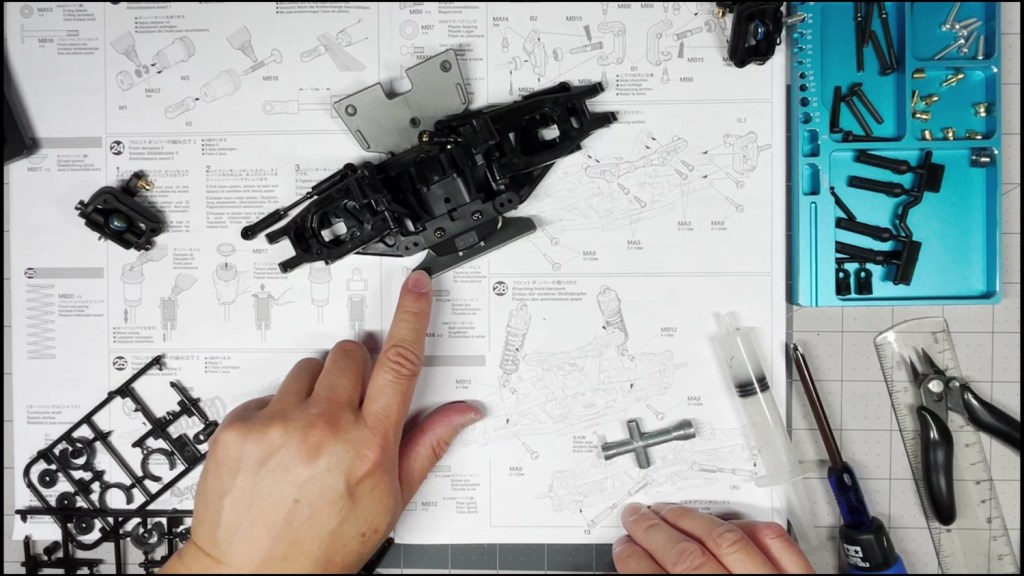
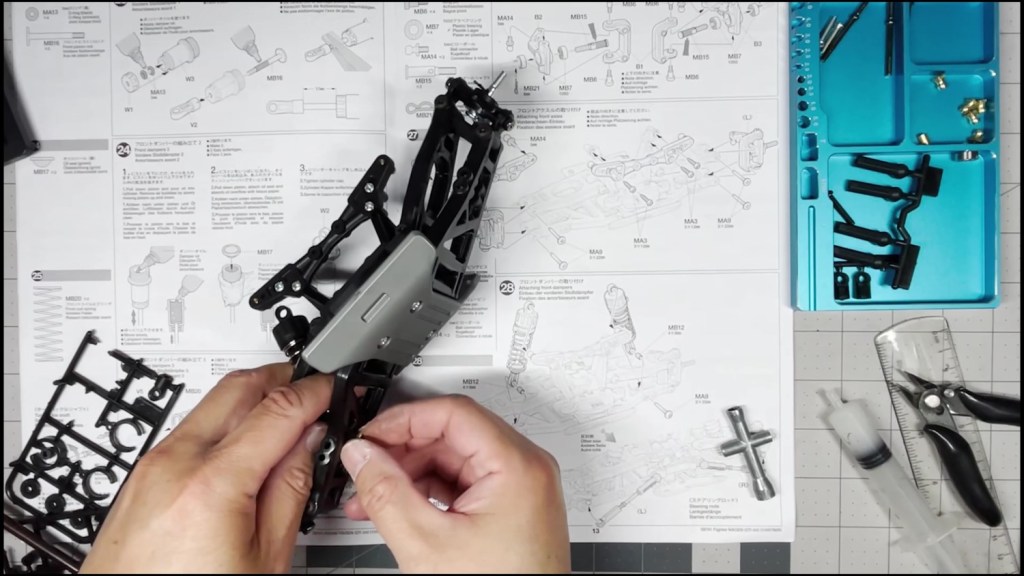
The damper stand (also known as a shock tower) has indented screw holes on one side. Make sure that is facing away from the bulkhead while securing it with four screws.
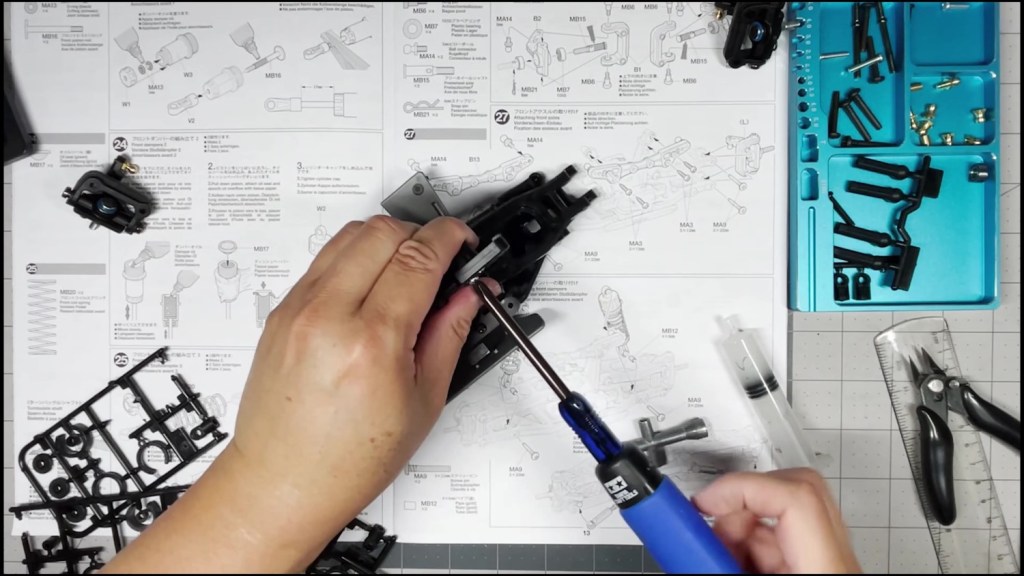
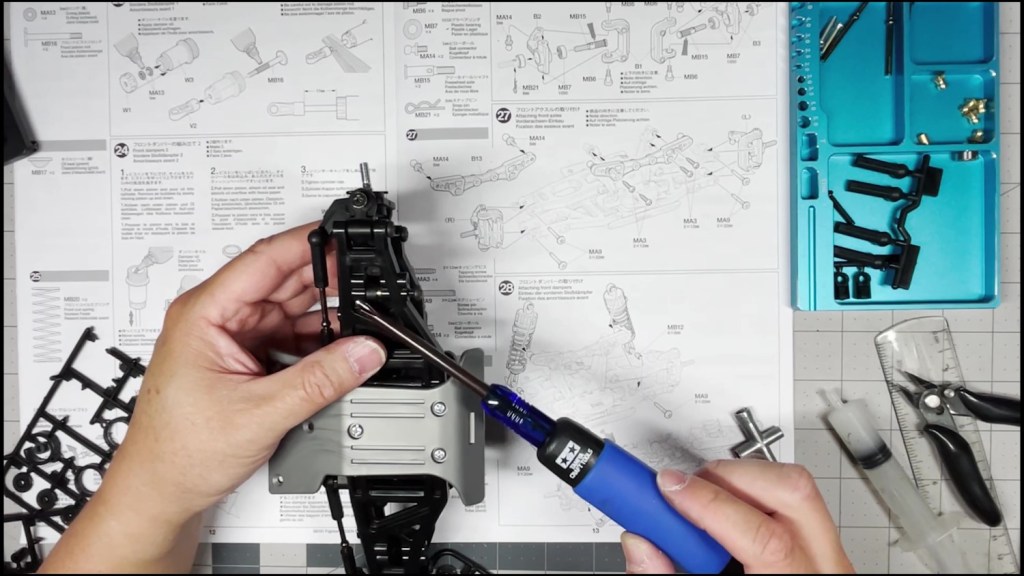
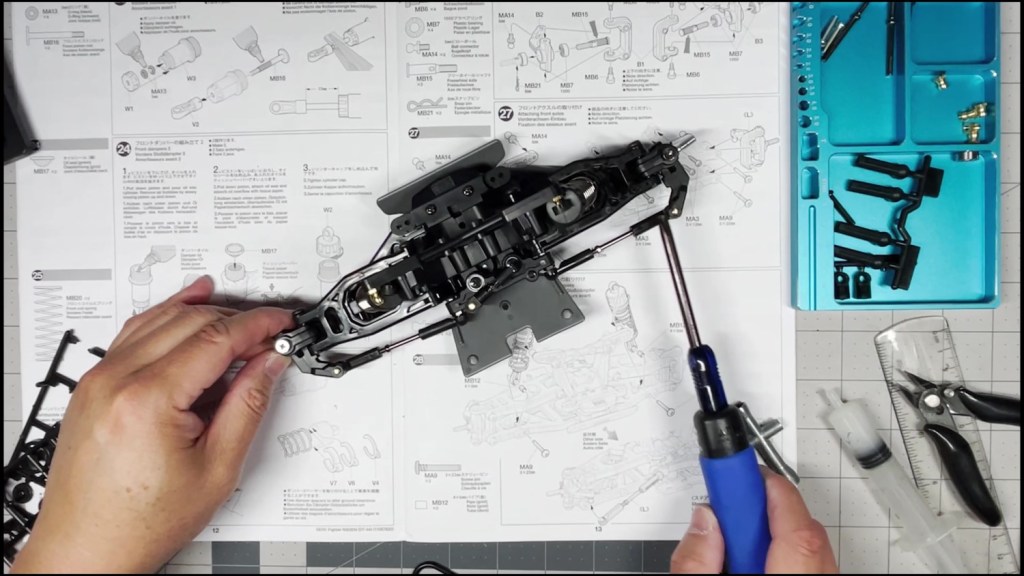
Line up the remaining holes on the C-hub with the upper and lower suspension arms. Start with pushing a pin through the lower arm first.
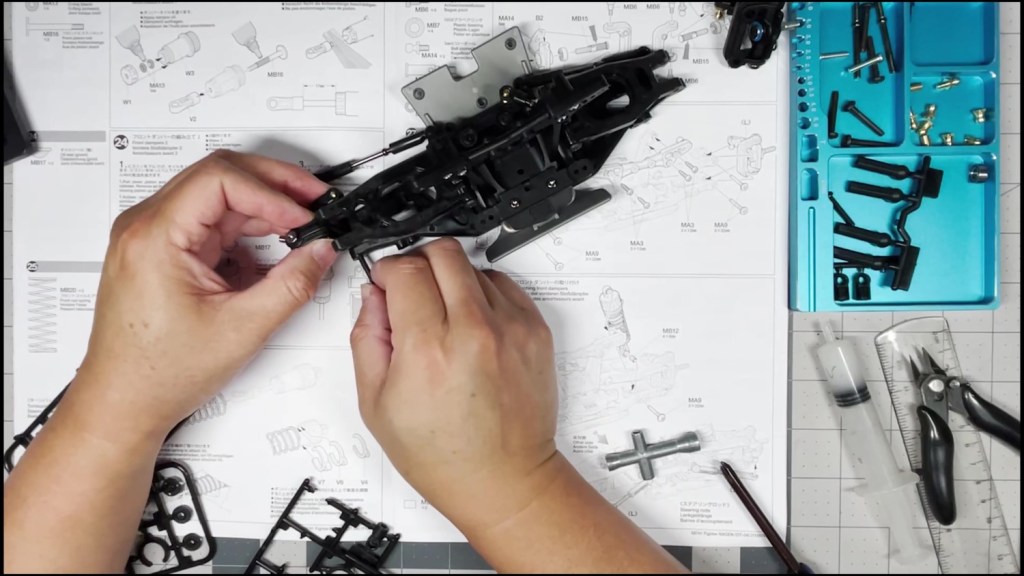
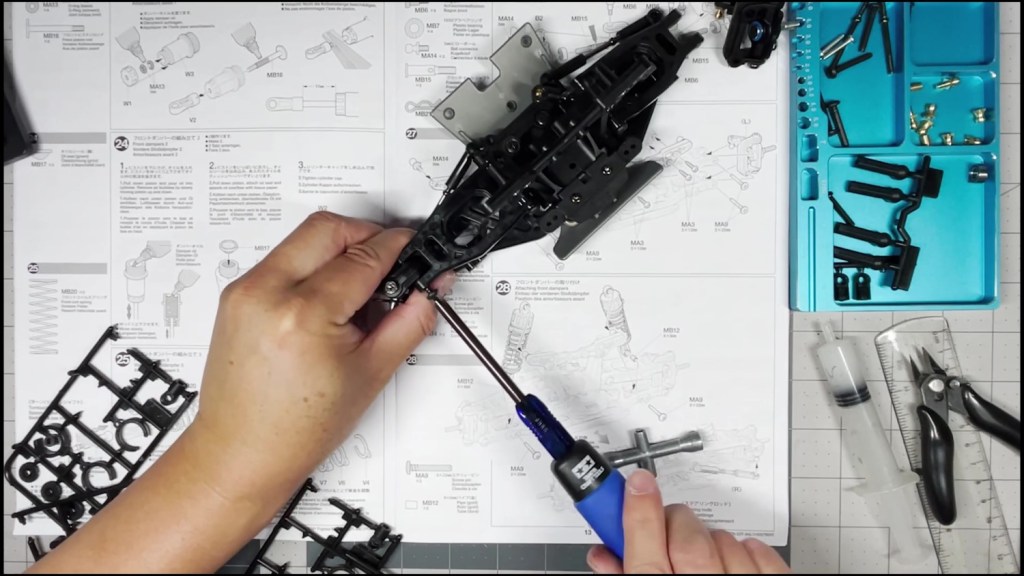
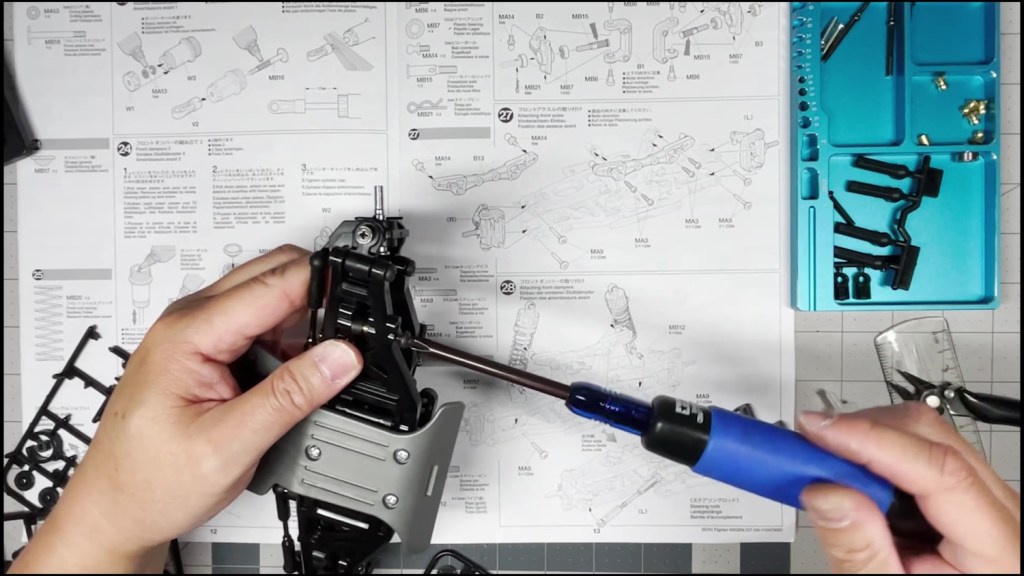
Then push a pin through the upper arm. Tighten the pins with a screwdriver.
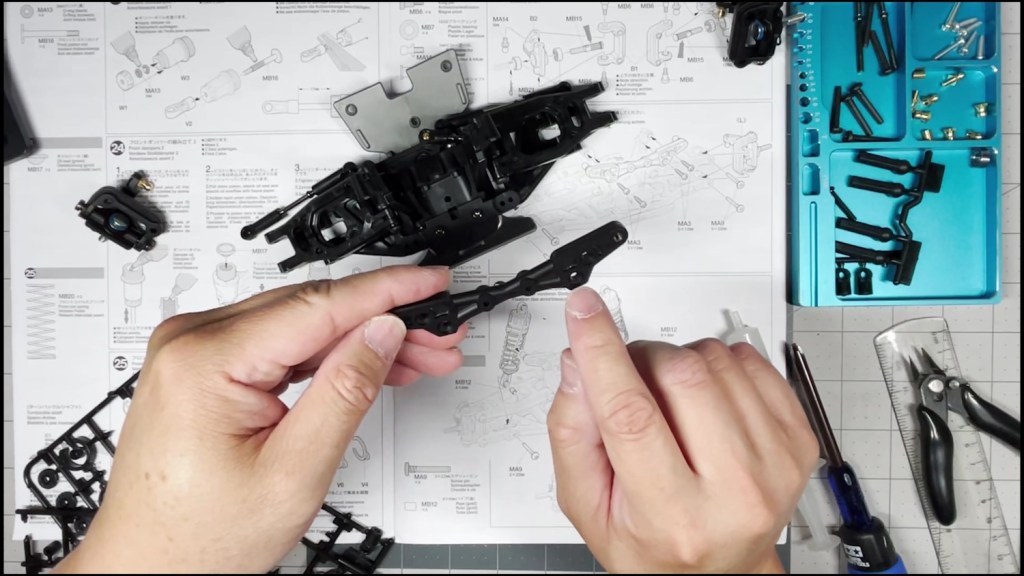
Repeat the process on the opposite side. Screw on two brass ball ends on the bulkhead side of the damper stand.

The dampers will mount to this brass ball stud at the top and through a hole in the lower arm on the bottom.

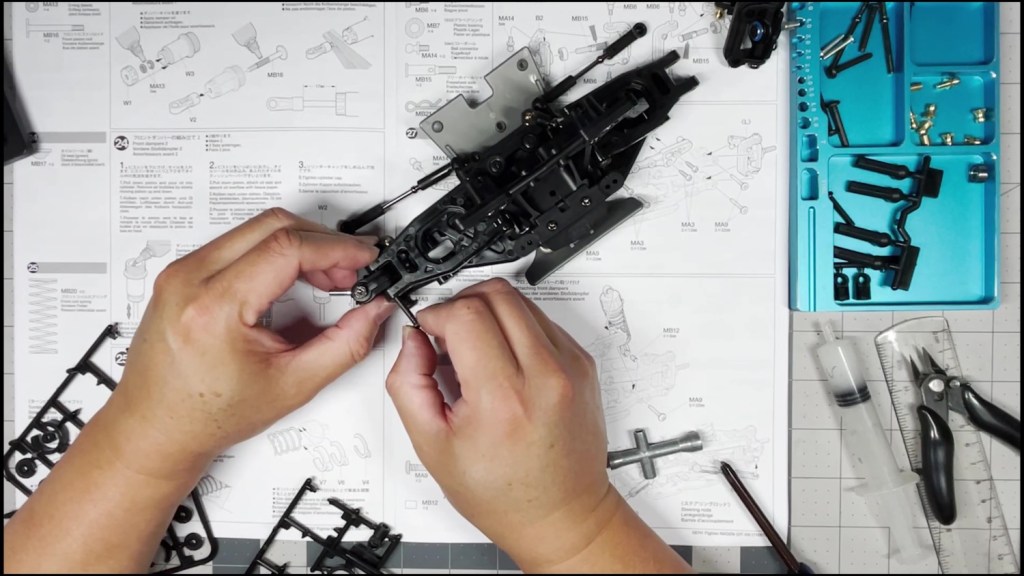
Start by threading the damper through the upper arm until the lower end is exposed past the lower arm. Push one brass sleeve through the lower end and line it up with the lower arm hole. Push a pin through and tighten with a screwdriver. Repeat on the opposite side.
Snap the top of the damper onto the ball studs on the damper stand. Snap the steering links onto the ball studs that are on the steering arm of the uprights.
That’s it for the front dampers. I hope this article was helpful. Watch the assembly video below for more details. Thanks for reading!


Leave a comment