

Buy your Tamiya DT-04 Fighter NXGEN
Let’s finish building the chassis and apply the decals.
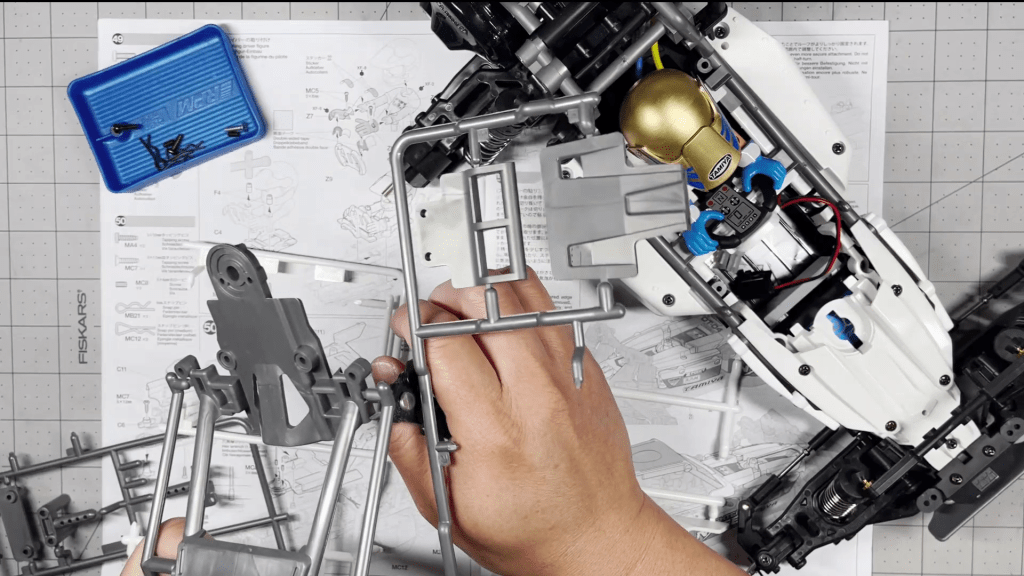
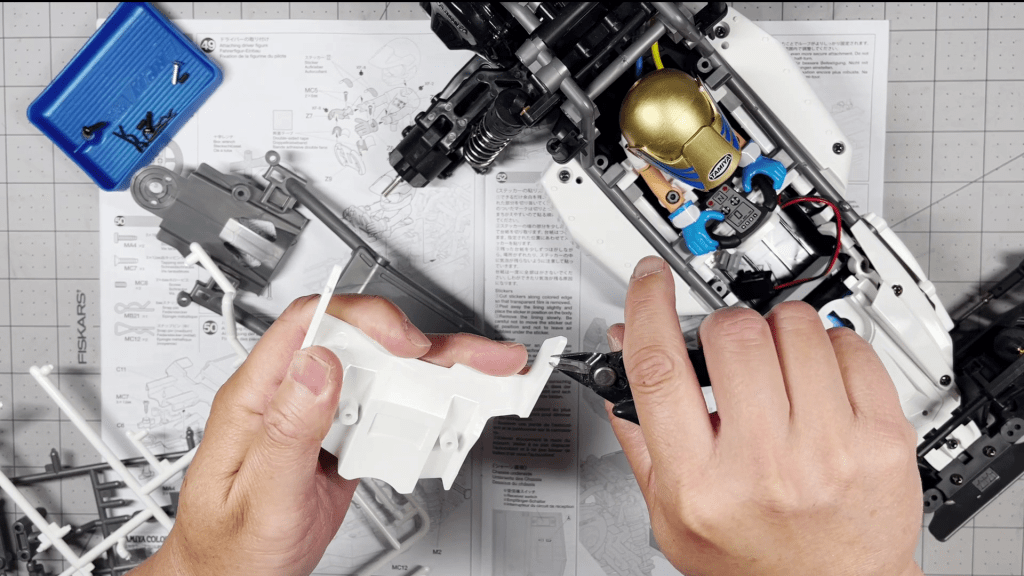
Cut out the roof roll cage and body panel. Trim off the excess tabs as shown in the manual.
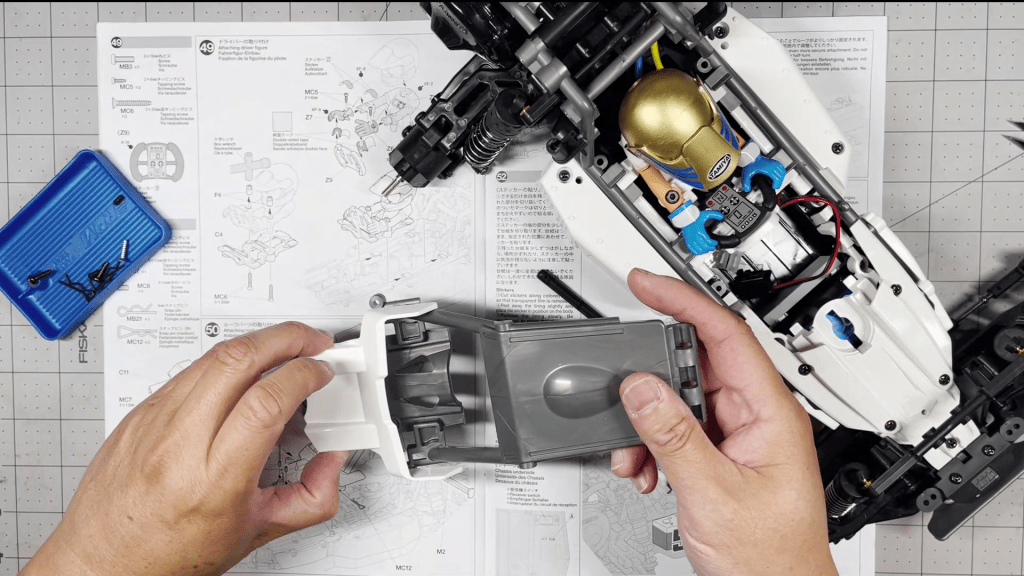
Attach the body panel to the roll cage and fasten it with two screws from the bottom.
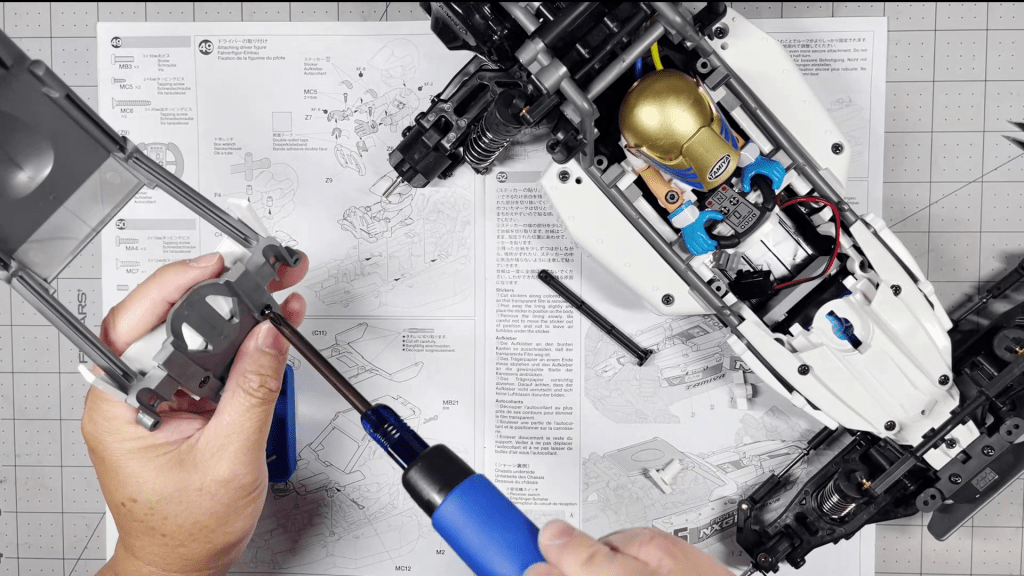
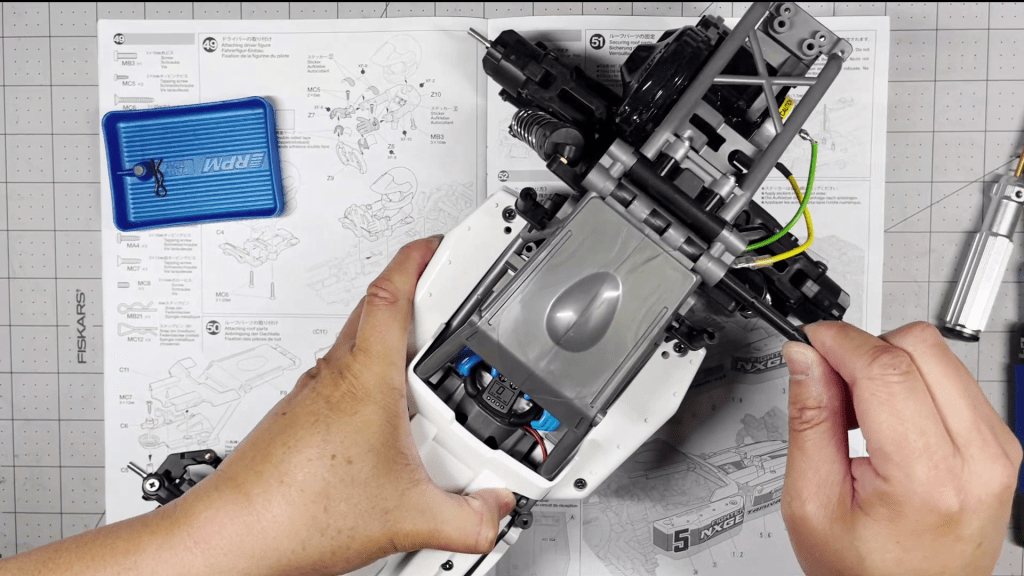
The roof roll cage pivots from the chassis behind the driver’s head. There is a locking mechanism that needs to be assembled. Push the latch through from the bottom.
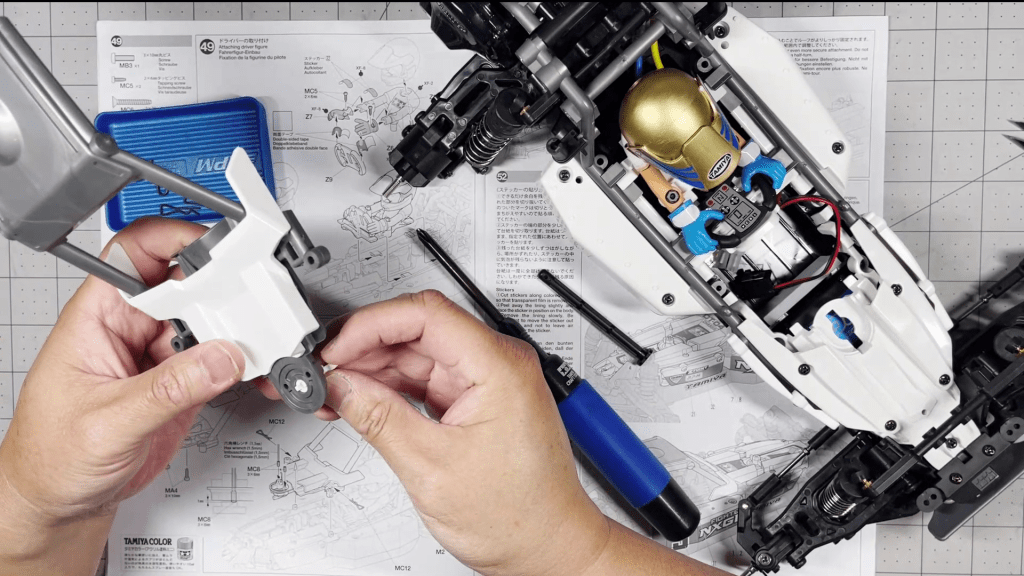
Connect the thumb turn with the latch and secure with one screw from the top.
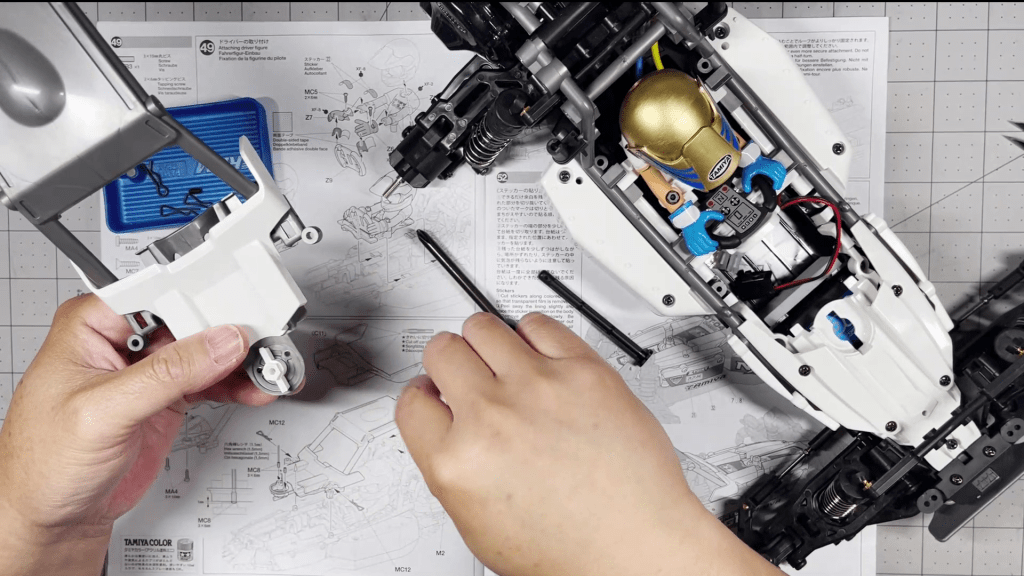

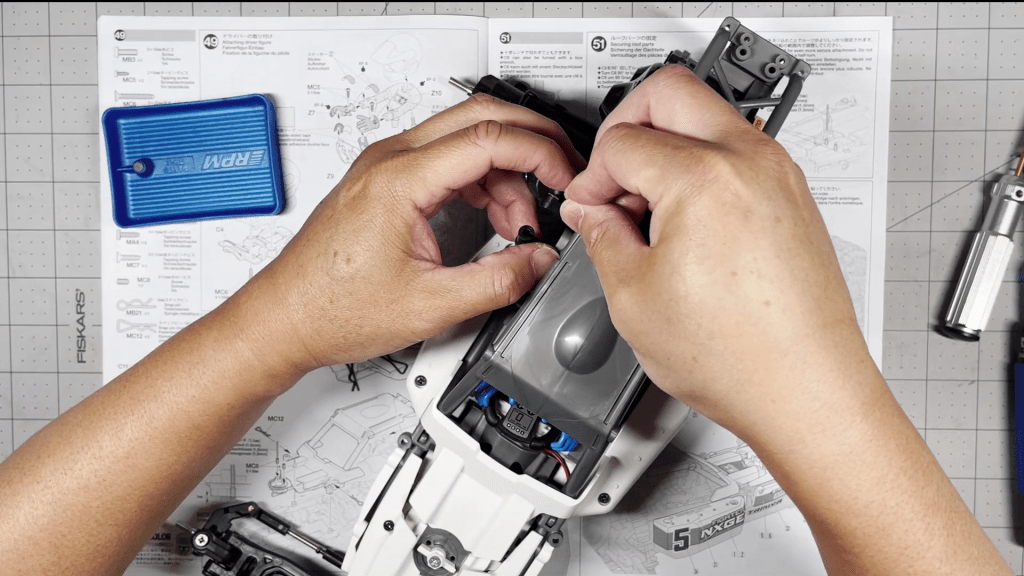
There are two grub screws that act as stoppers for the thumb turn. Screw those through and leave 1mm protruding from the bottom side.
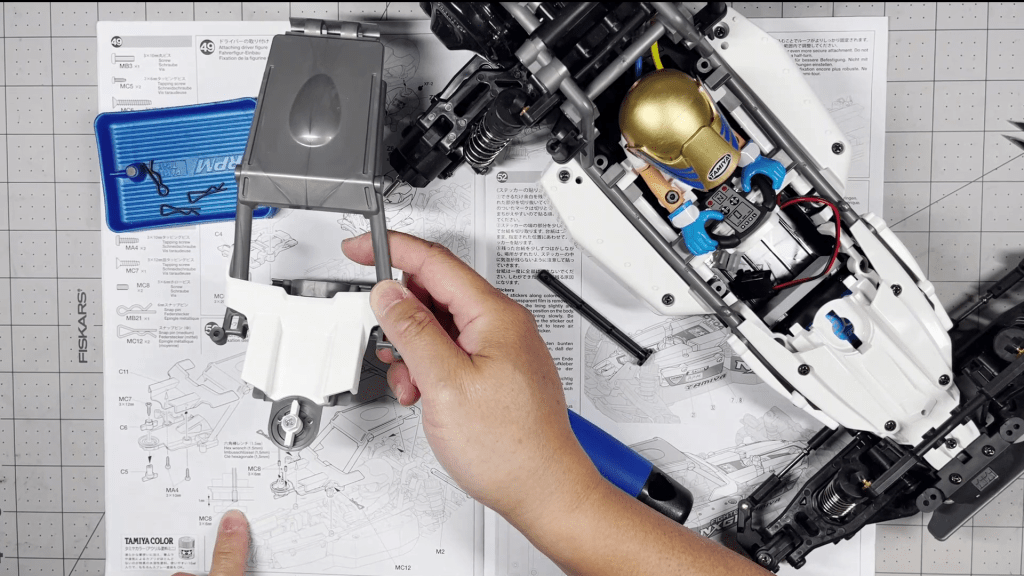

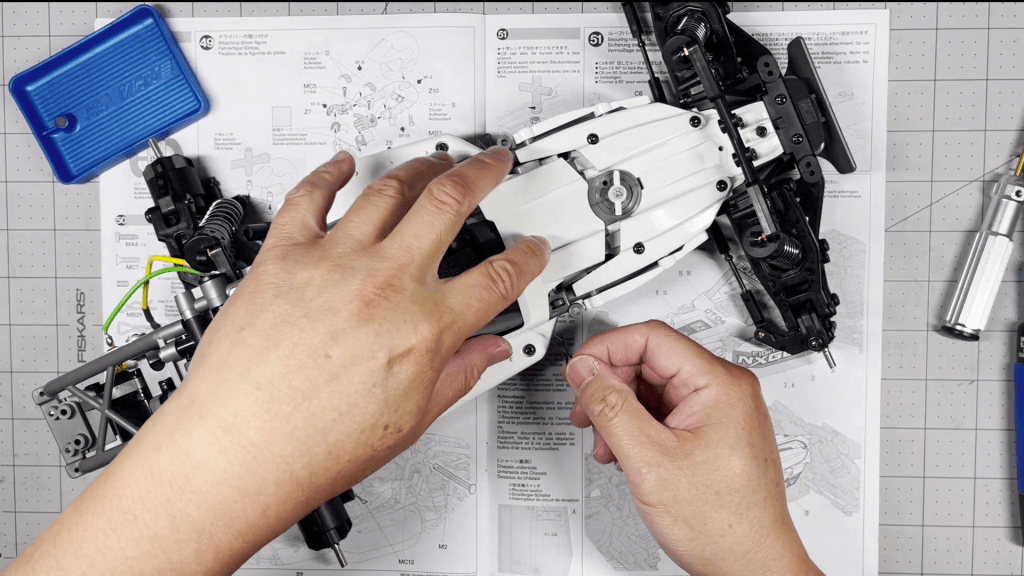
Set the roof roll cage onto the chassis covering the driver figure. Push the hinge rod through both pieces.
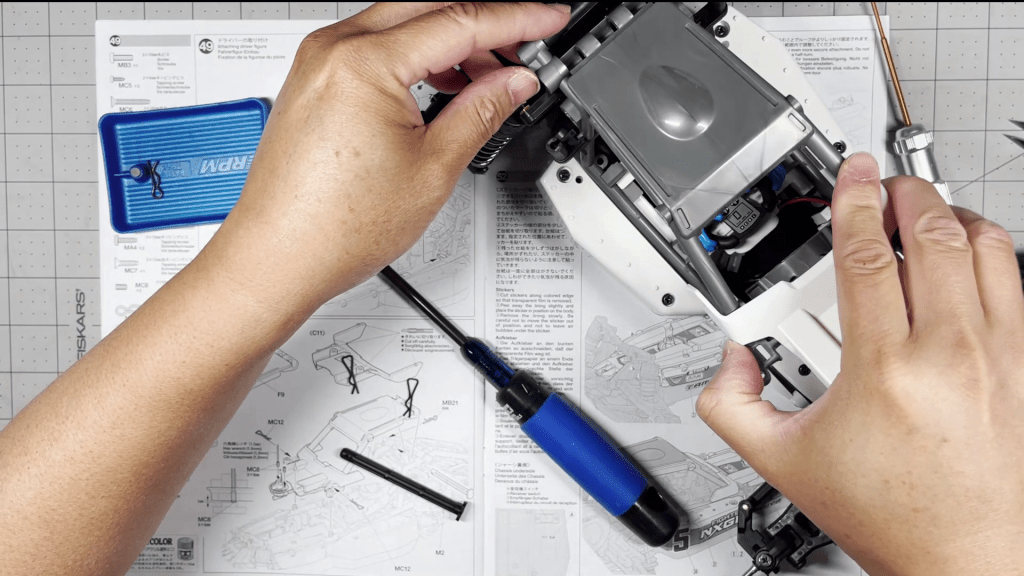
Lock the hinge rod in place with a body pin on the other end. Lock the roll cage in place two pins on each side as well.
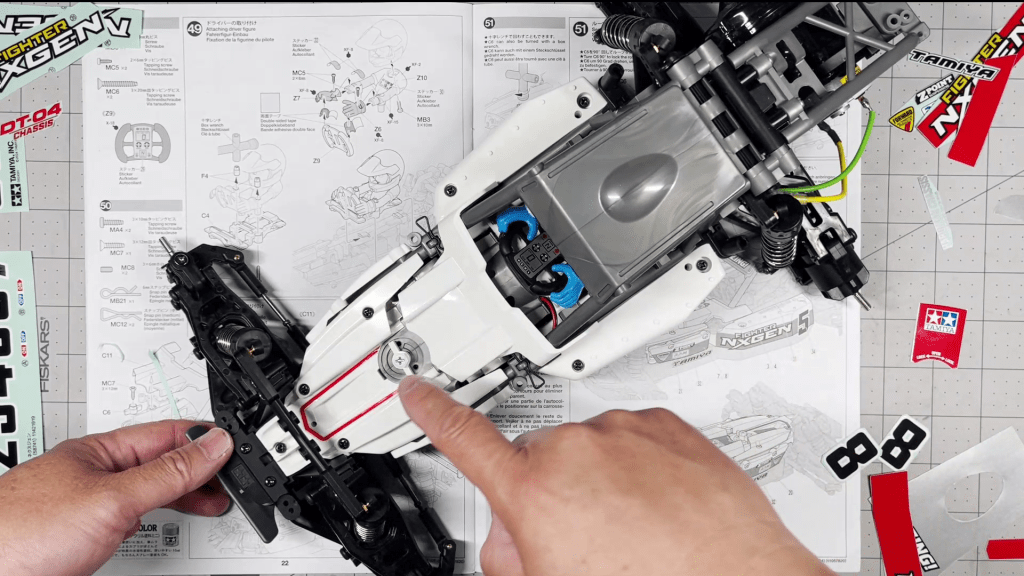
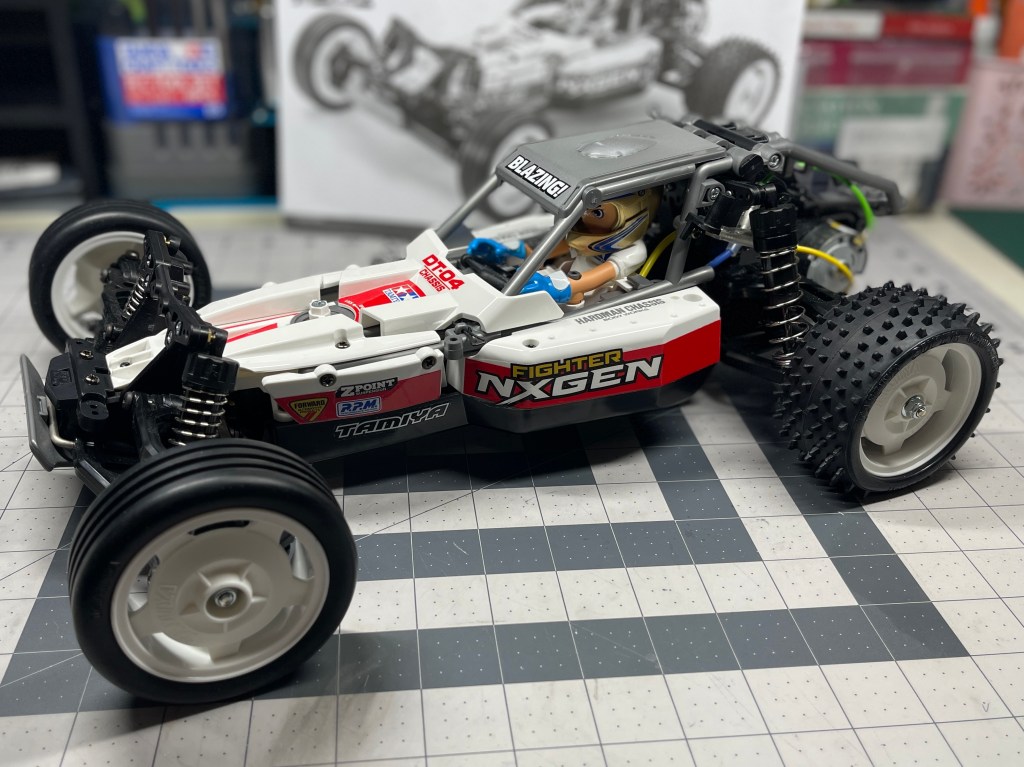
The chassis is complete. Now to decorate it with decals.

Don’t forget the outline decal that was suppose to go on several steps ago. I left it off because I hadn’t decided on the color yet. Follow the manual for the location of each decal.
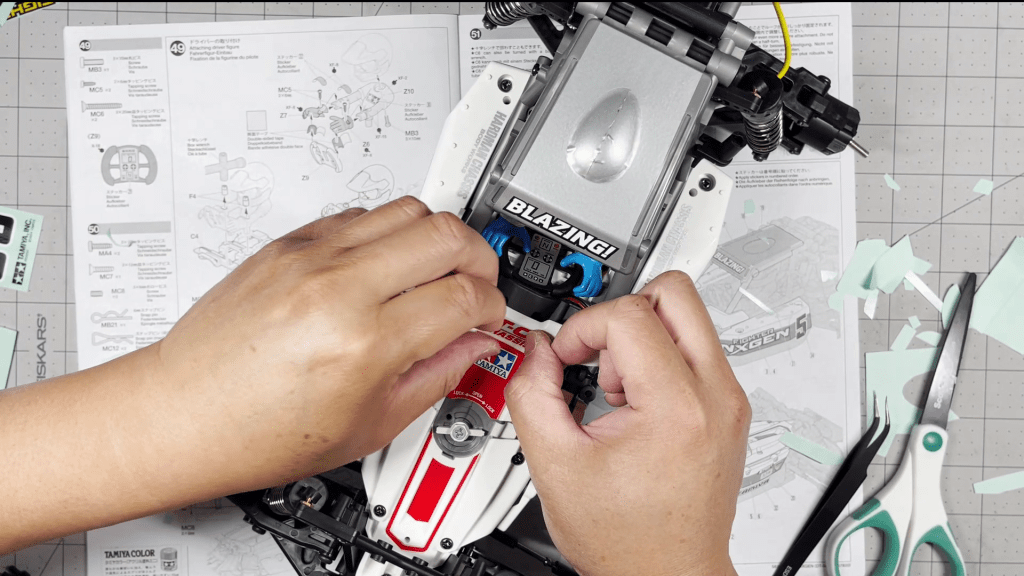
Obviously I chose the red livery. What color did you choose?

The decals are on! The only thing left are the wheels. Thanks for reading.


Leave a comment