
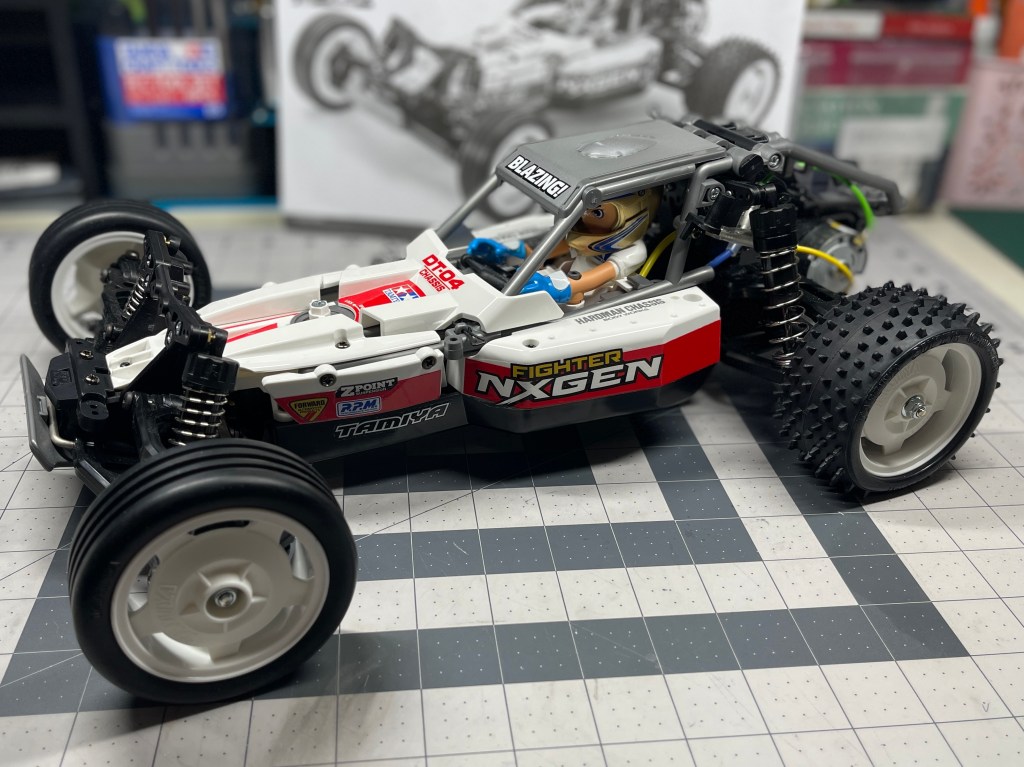
Buy your Tamiya DT-04 Fighter NXGEN
I’m excited to start this new kit. I just finished building the BT-01 which is also a new Tamiya chassis. The DT-04 is their newest off-road 2WD buggy platform. I’m keen to compare it to the DT-02 and 03.
This article will cover Steps 1 to 6 of the manual.
The kit starts out with building the differential. It is not oil filled so it’s not difficult to put together. The gears being an off white color makes it easier to see what you’re doing.

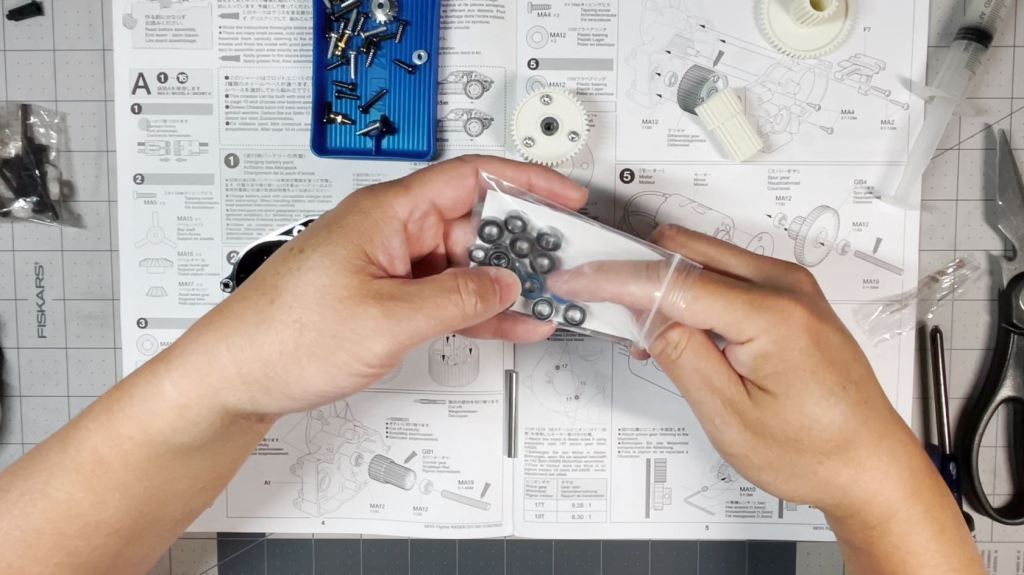
I am building this kit with ball bearings in place of the included plastic bushings. This is a set I put together with the spare bearings I have. I will leave a link to the Tamiya DT-04 Chassis – Sealed Bearing Kit offered by Team JB Hobbies of which I am an affiliate. The bearings are an optional hop-up but it does improve the driving performance.
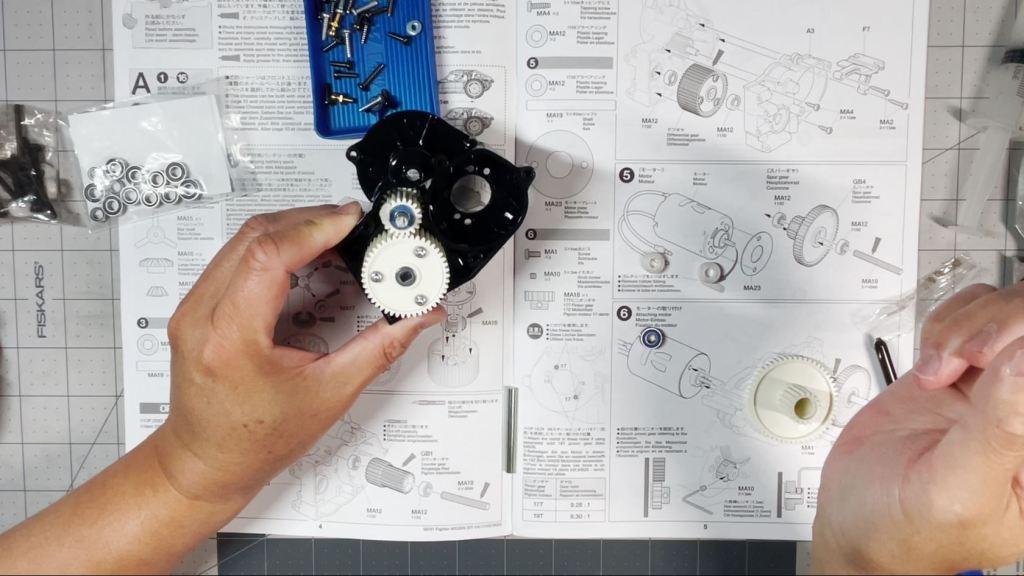
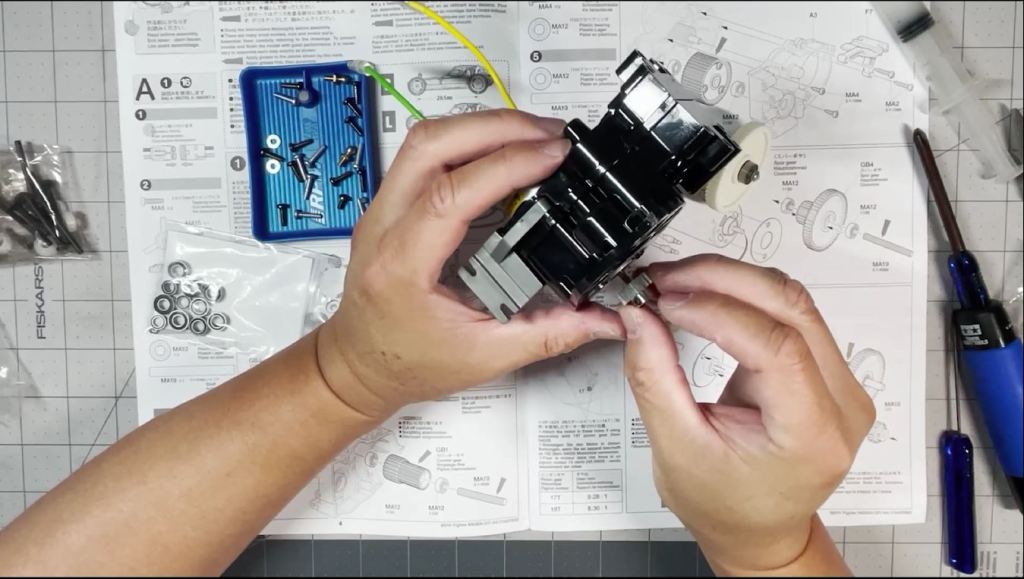
Next we’re going to place bearings on each end of the counter gear. Place the gear shaft into the housing and slide on the counter gear.

Once the counter gear is in place, we will place the differential next to it and ensure it is seated properly.
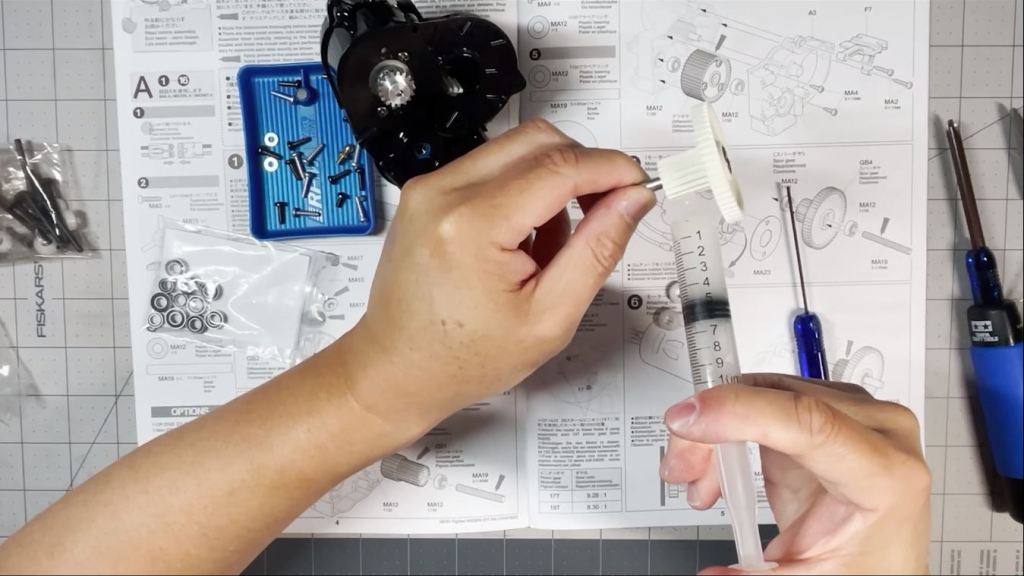
I suggest we apply grease only when we’re certain we won’t need to handle it again. This will prevent making a mess and getting grease on our fingers.

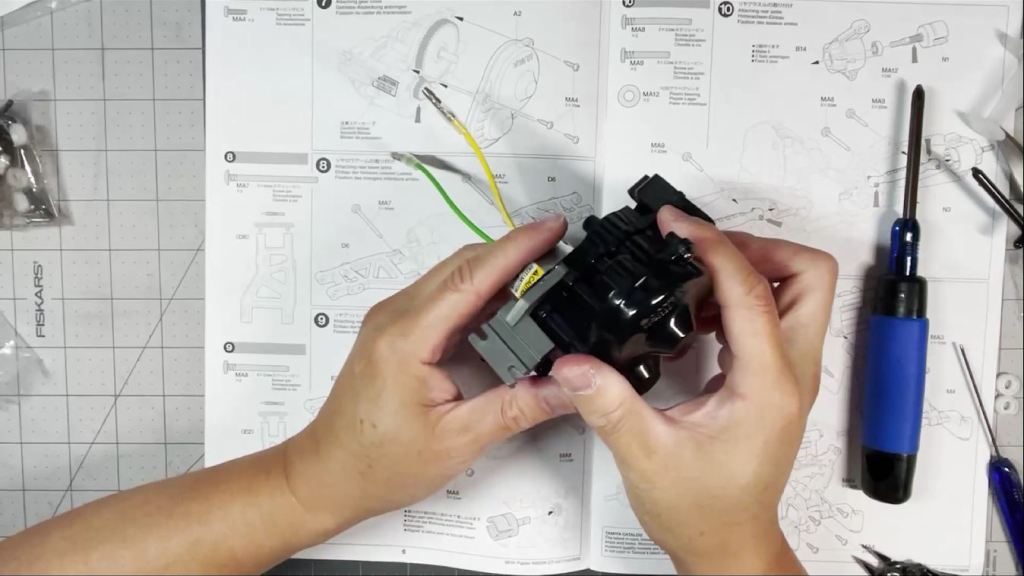
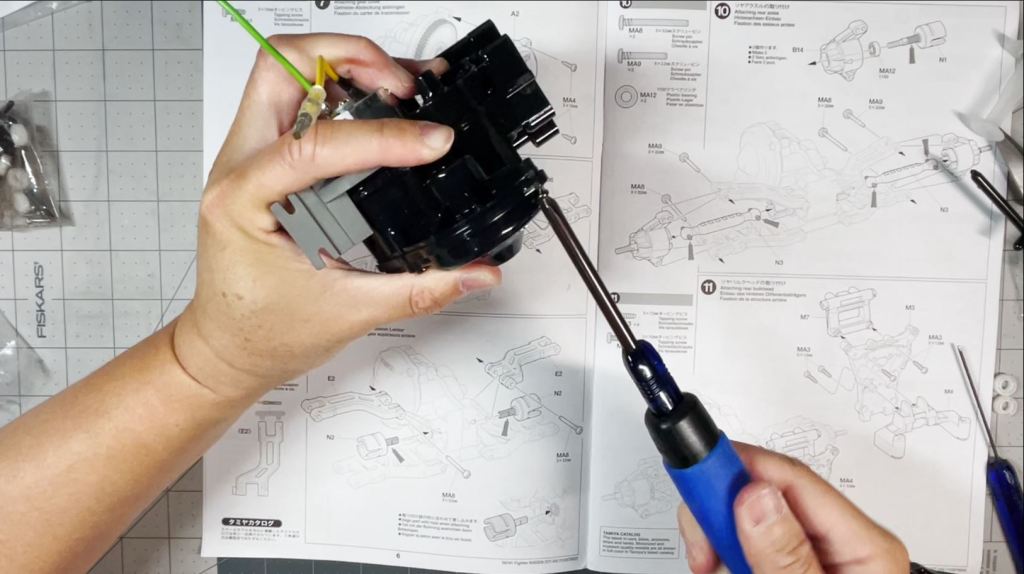
Now we’re ready to place the other half of the gearbox housing. I had trouble fitting my Tamiya screwdriver into the small opening but I managed to secure it tightly.
Once the gearbox housing is assembled, we will screw on the mounting bracket.

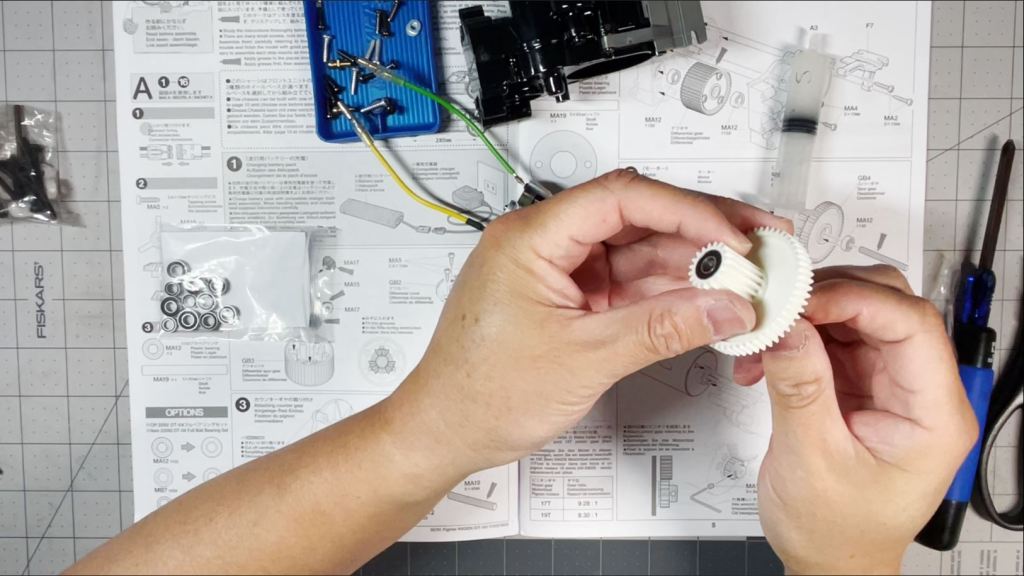
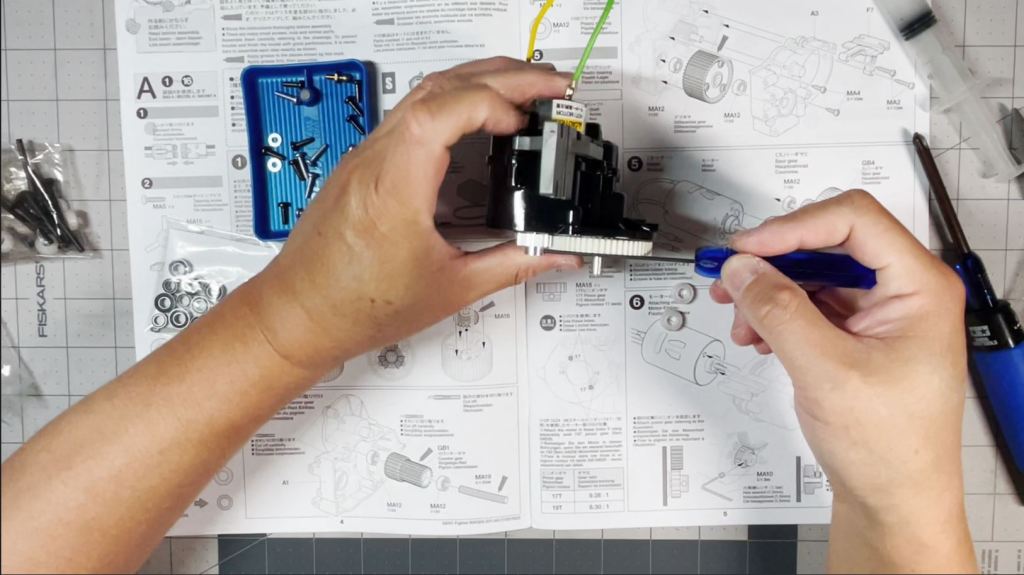
Let’s prepare the spur gear by placing ball bearings (or the included plastic bushings) into each end.
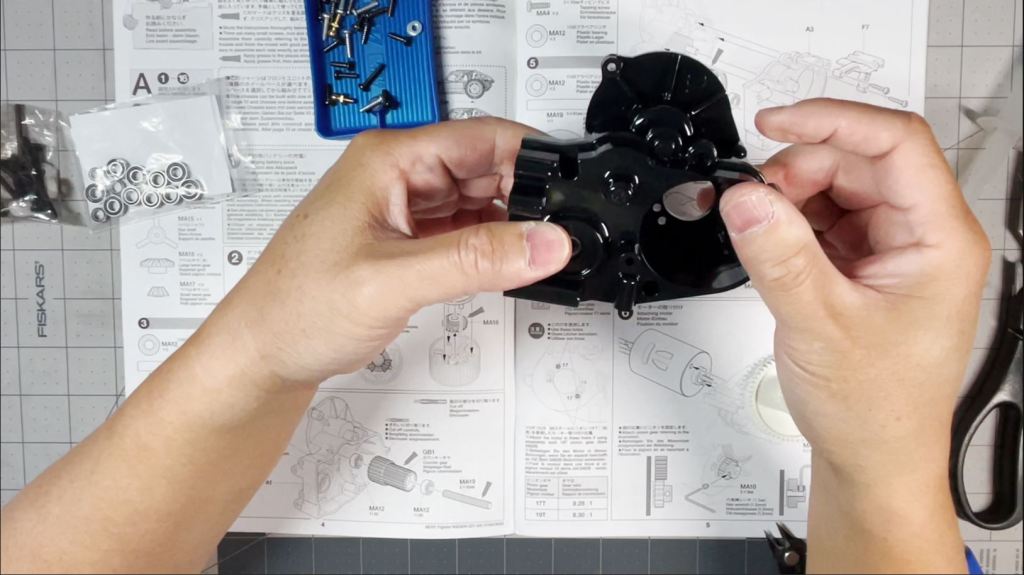
Now we’re ready to add the motor to this gearbox assembly. Make sure you pull off the rubber sheath protecting motor shaft. Before it attaches to the gearbox, we will need to slip on the paper motor plate. The two holes in the plate and motor should line up.
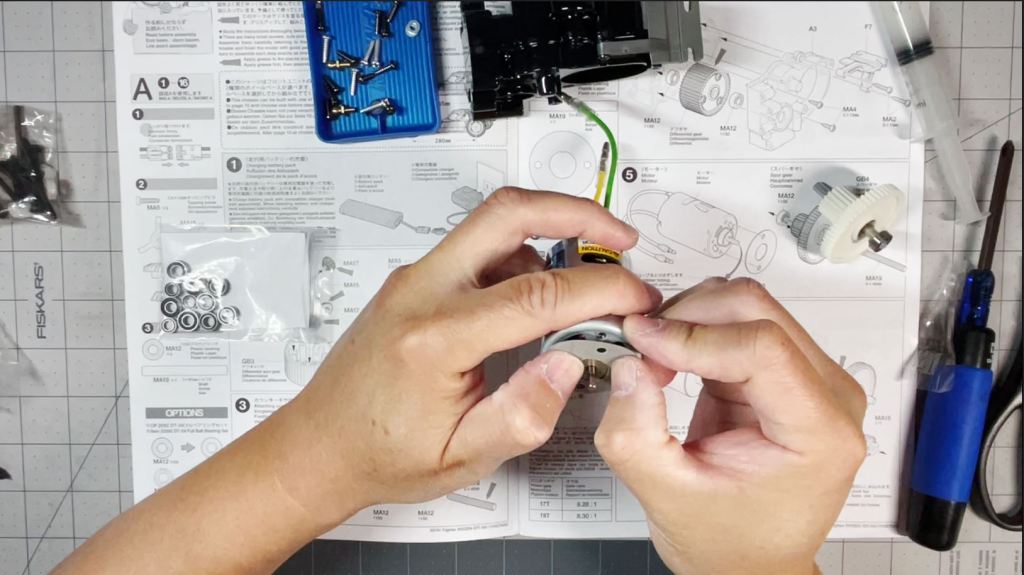
Tamiya kits have preset mounting holes based on the size of the pinion gear. In this case, we will line up the motor with the holes for the included 17 tooth pinion gear. If you look closely, you will see the numbers on the gearbox.

It was tricky at first to match up the holes while lining up the screw but we managed.
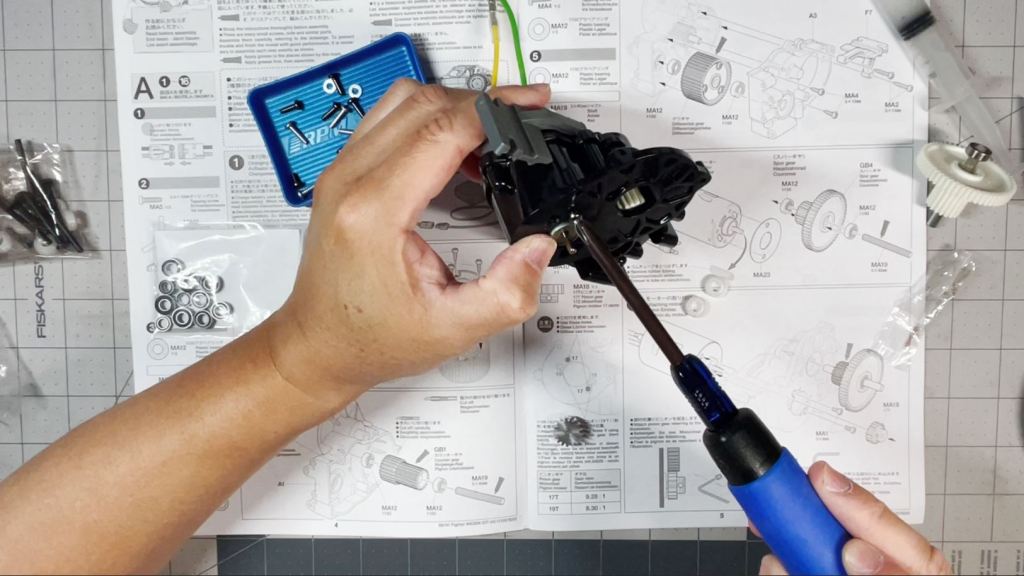
Prepare the pinion gear by starting the scrub screw. This will make it easier to secure the gear to the motor shaft.
Line up the screw with the flat side of the motor shaft. Turn the screw just enough to stop the pinion gear from falling off. We will fix the alignment after we put in the spur gear.
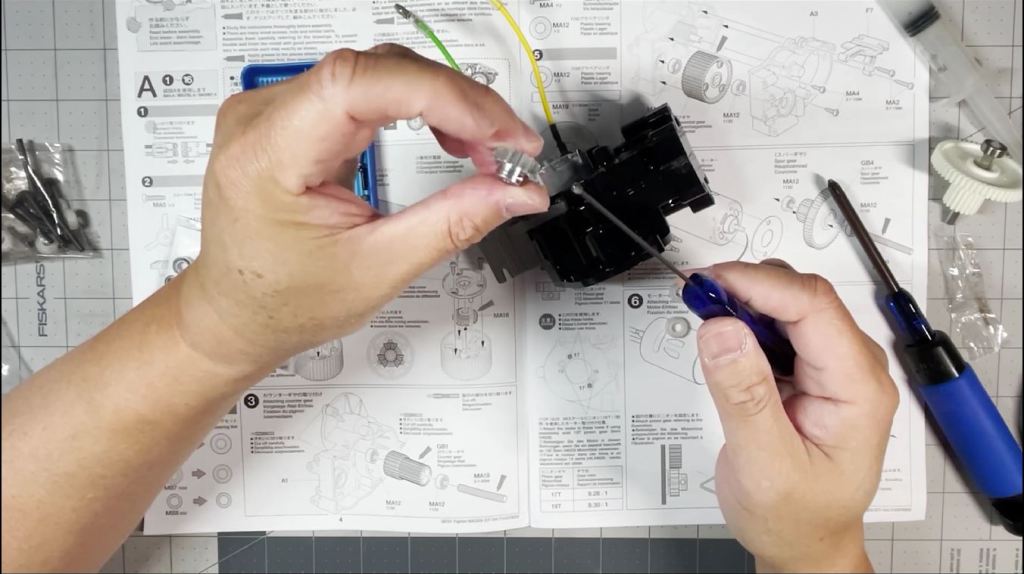
Insert the spur gear into the gearbox.

Check the pinion gear alignment and make adjustments if necessary.
Once aligned, remove the spur gear and put on ample grease.
Lastly, seal the gearbox with the lid and screw on tightly.
We are done with assembling the gearbox and motor, Steps 1 – 7. In the next article, we’re going to install the rear arms, uprights and axles. I hope this guide helped. Thanks for reading.
You can also watch the entire video and learn how to assemble the DT-04 Fighter NXGEN gearbox and motor.


Leave a comment