
Buy your Tamiya DT-04 Fighter NXGEN
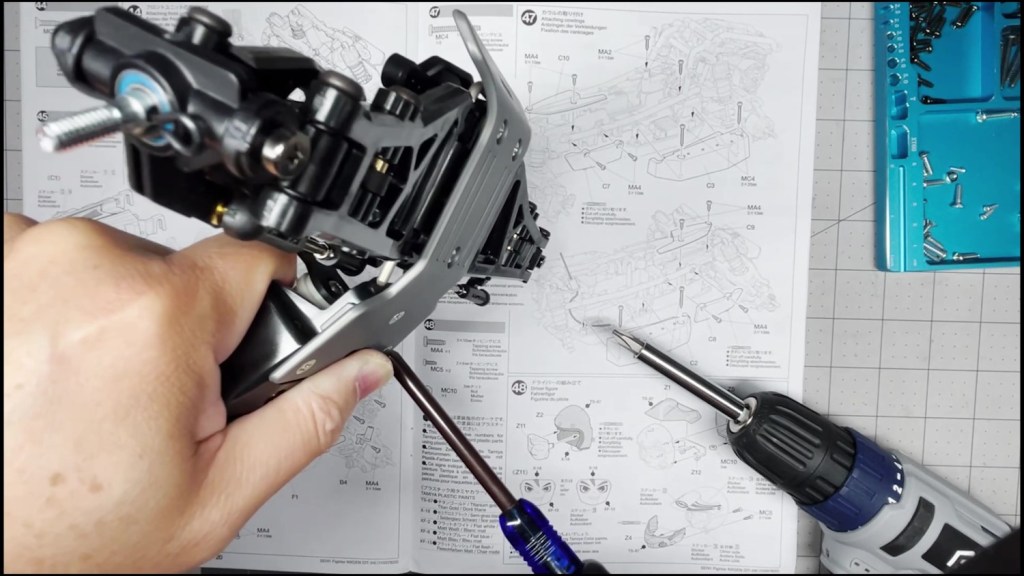
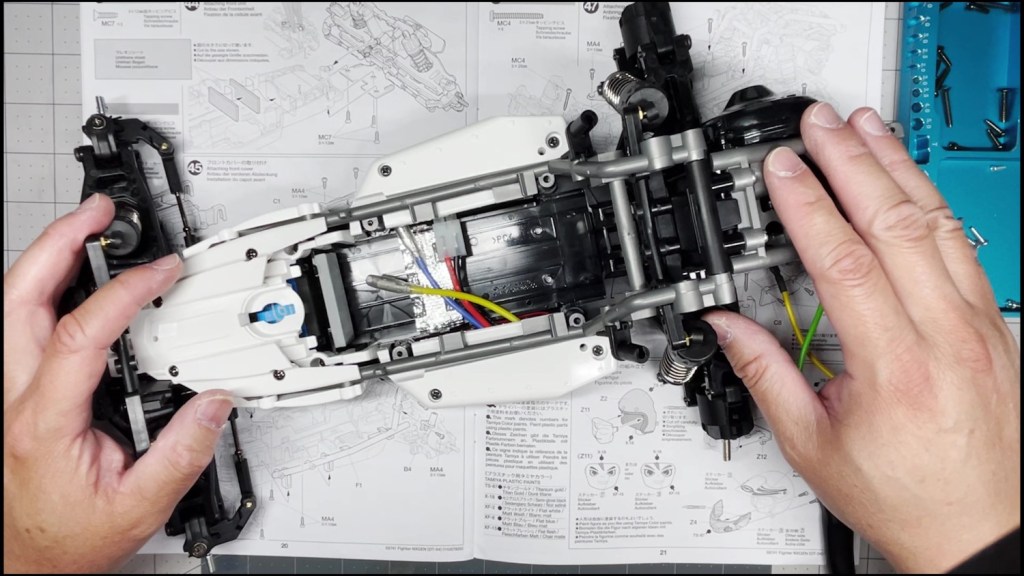
We are going to attach the front and rear ends to the tub chassis. We will also attach the roll cage and several body panels. There are a lot of screws in the part of the build. An electric screwdriver is recommended.
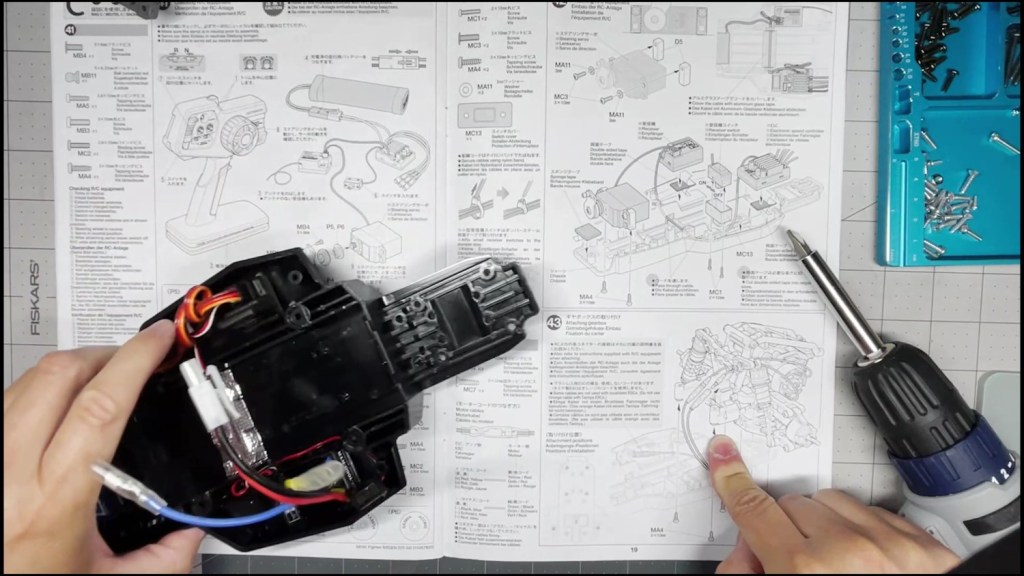
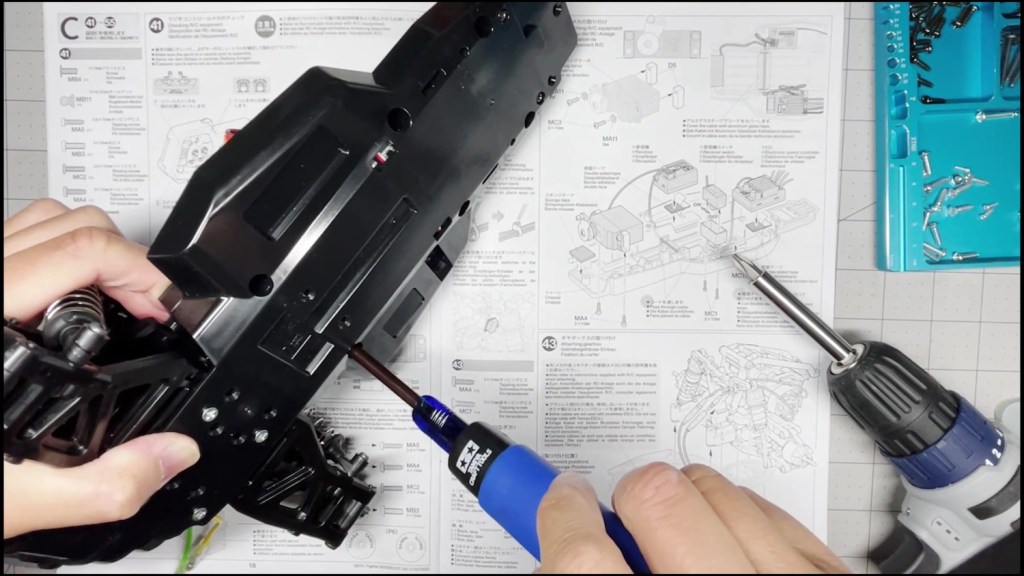
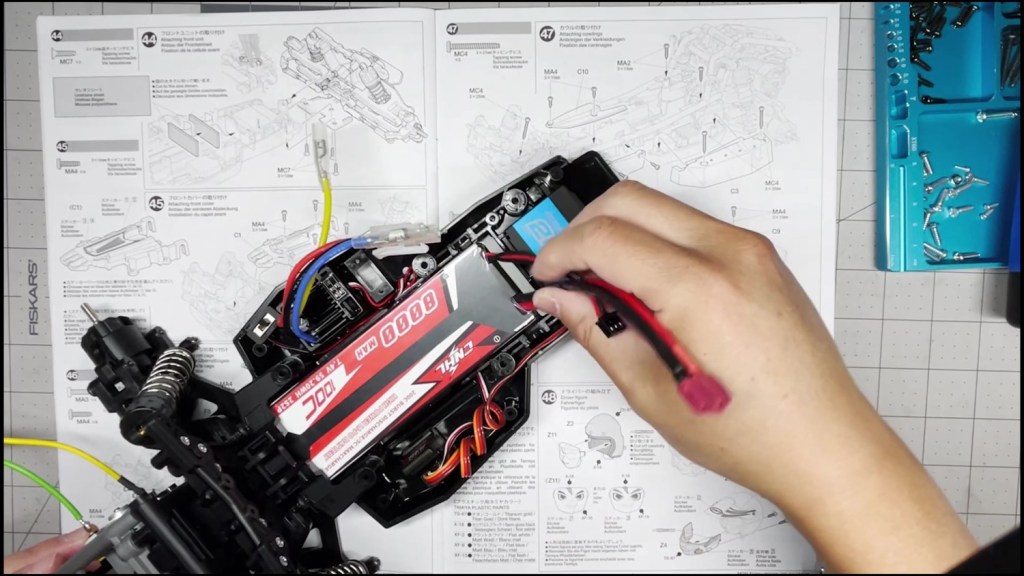
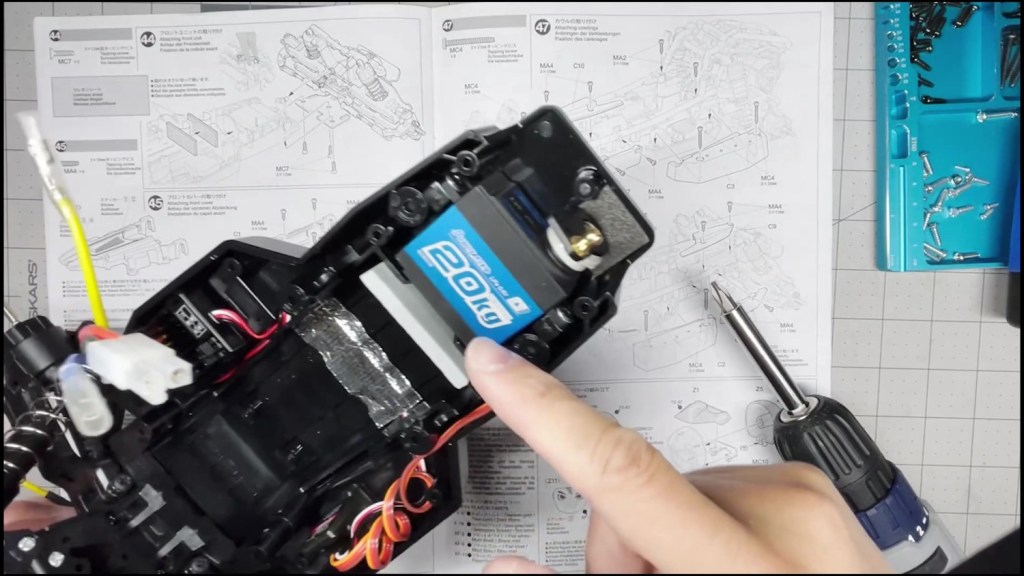
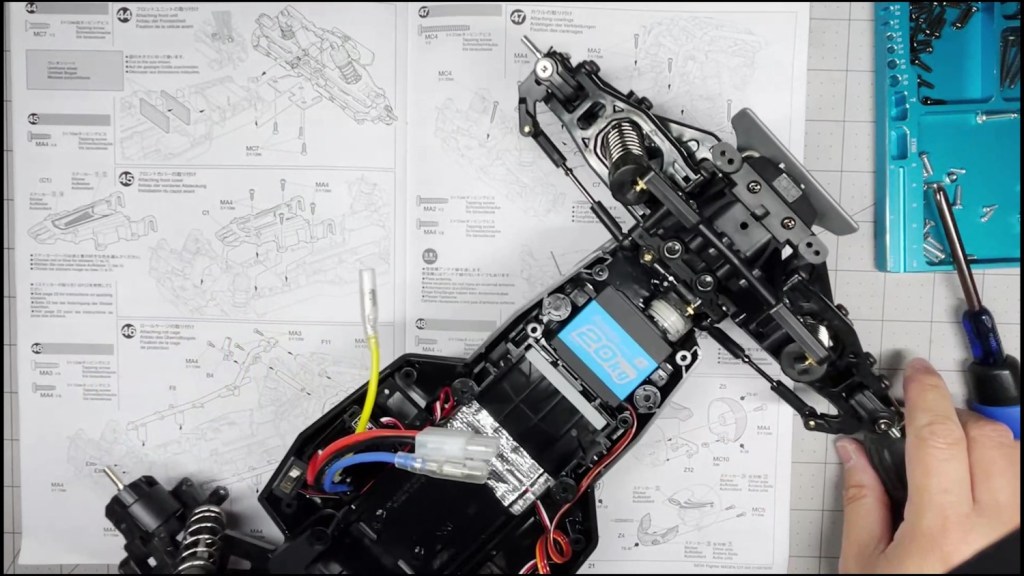
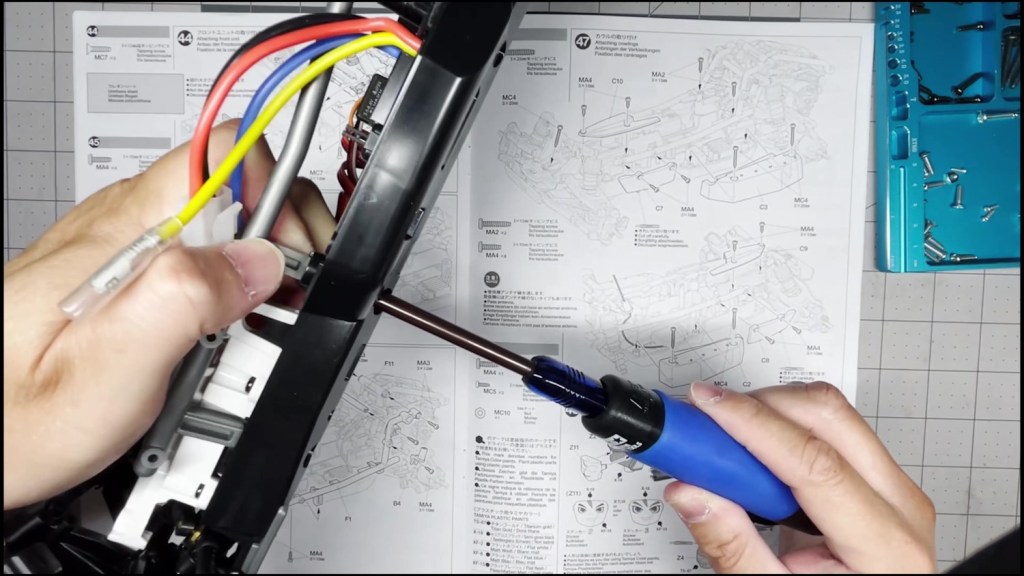
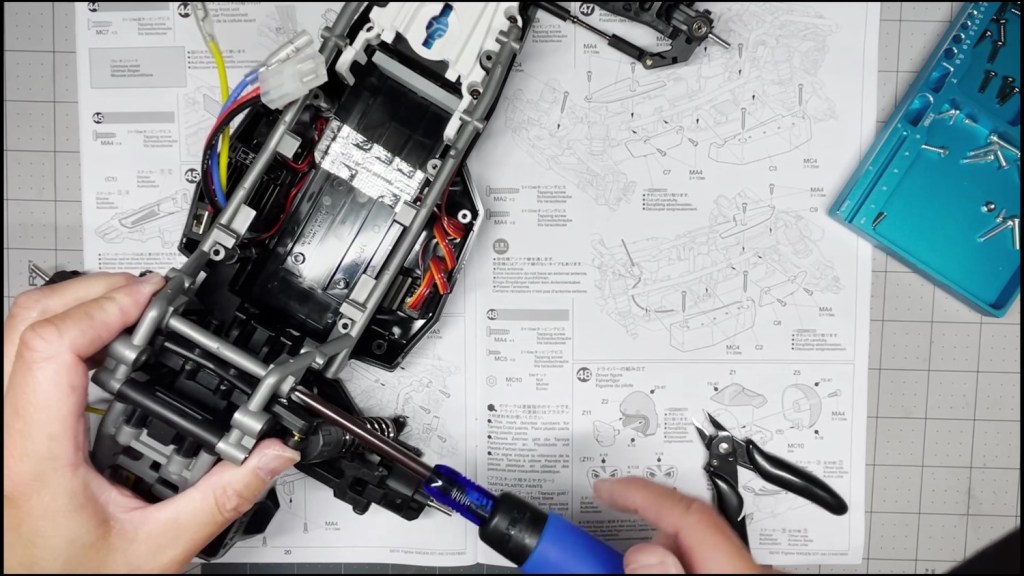
Let’s start by attaching the gearbox to the tub chassis. This step takes a total of six screws. Make sure to use the proper screws for each attachment point. Don’t forget to connect the motor leads to the ESC afterwards like I did. I realized it much later when the chassis was complete.
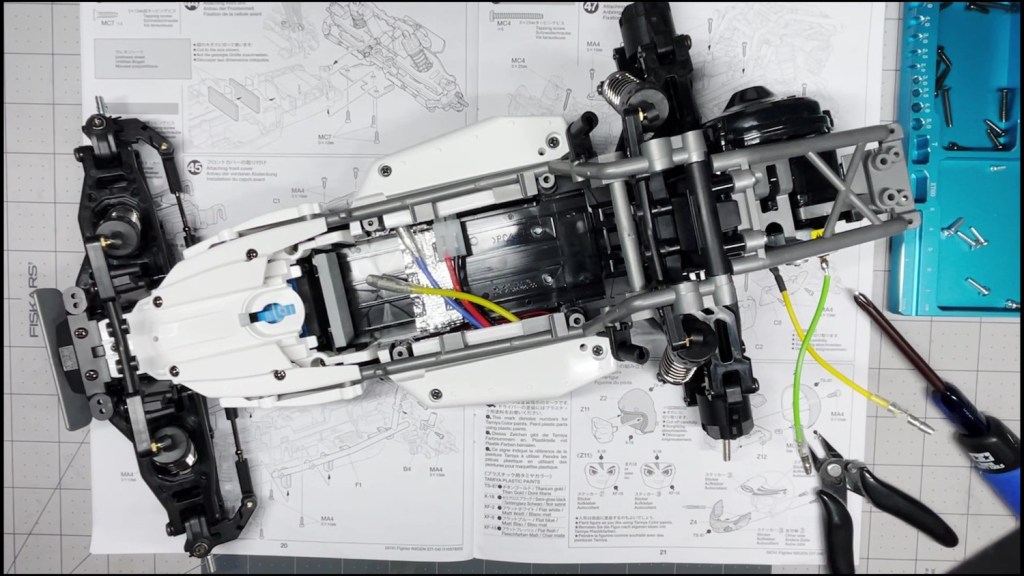
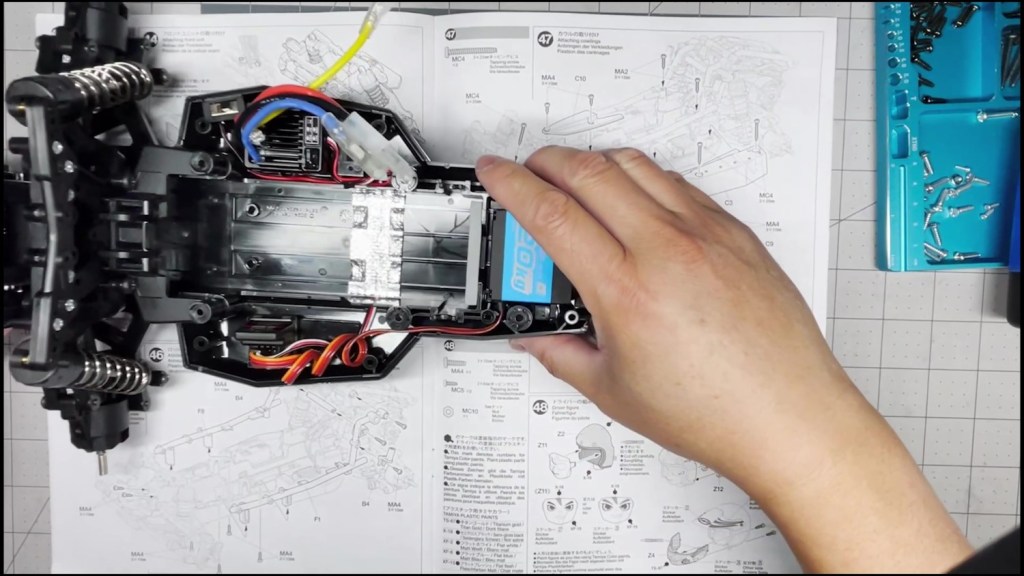
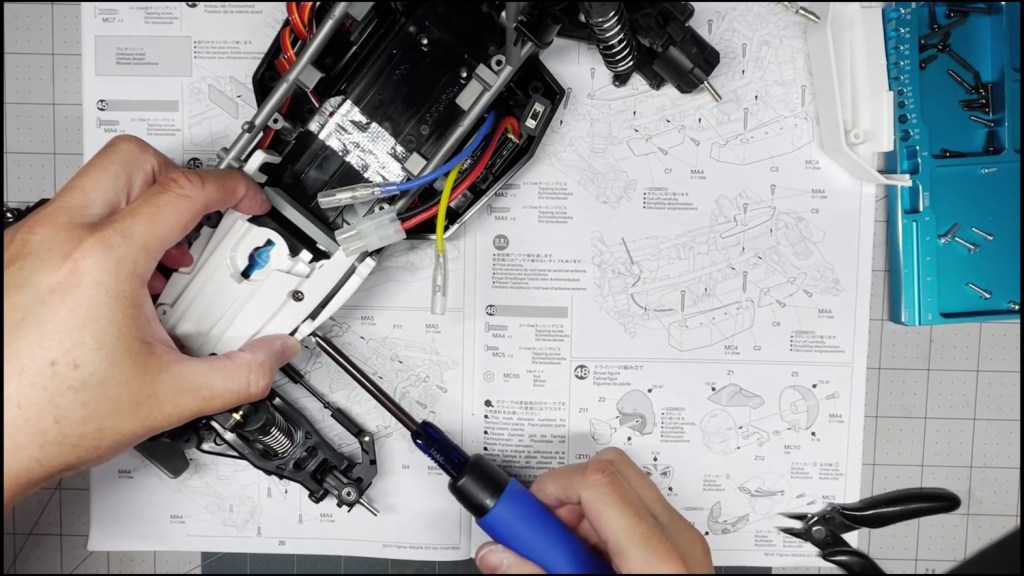
Next, find the polyurethane tape and cut one piece to size. This will serve as the battery spacer and cushion. The manual shows to tape on two pieces but our battery only needs one to stay snug in the tray.
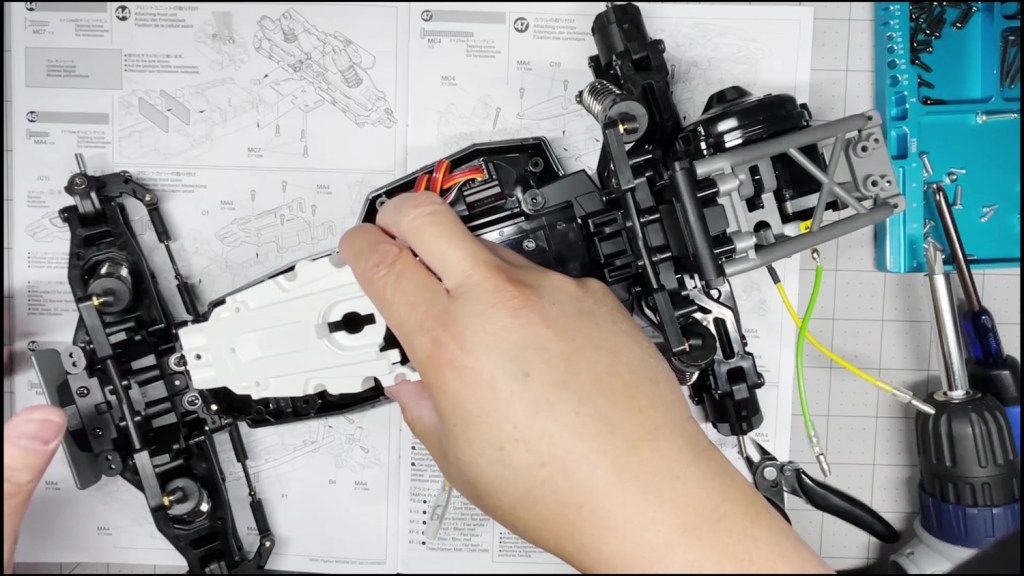
Notice how much excess padding sticks out above the front tray wall. This sticky material will attract dust and looks out of place. Measure and trim one side of the tape. Put it into the chassis with the cut side down for a clean look.
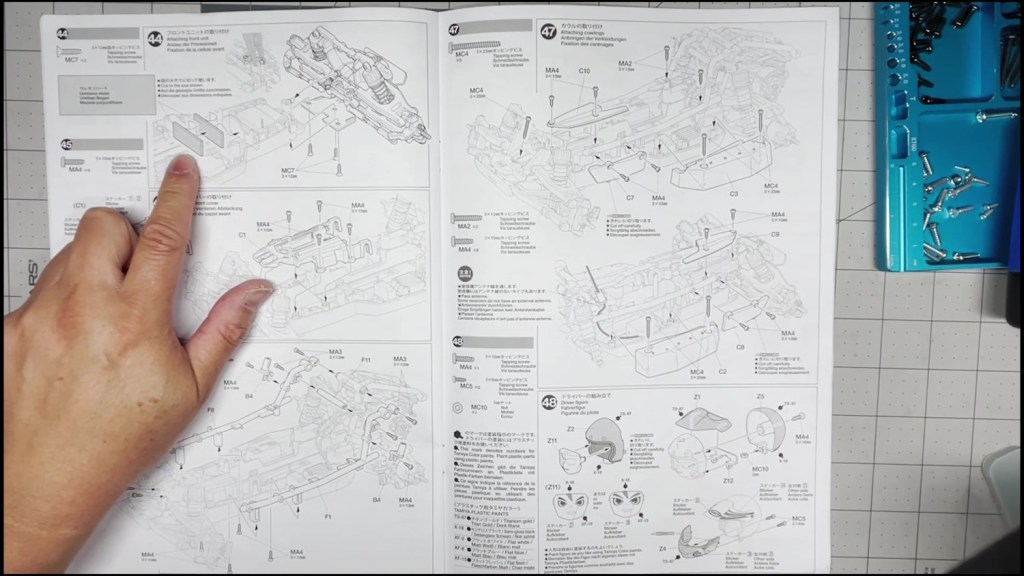
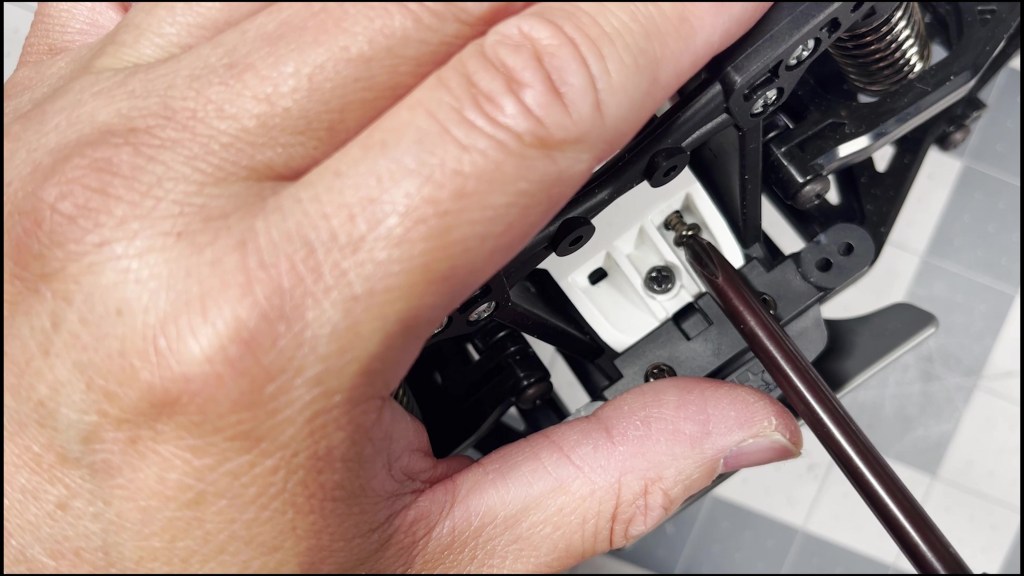
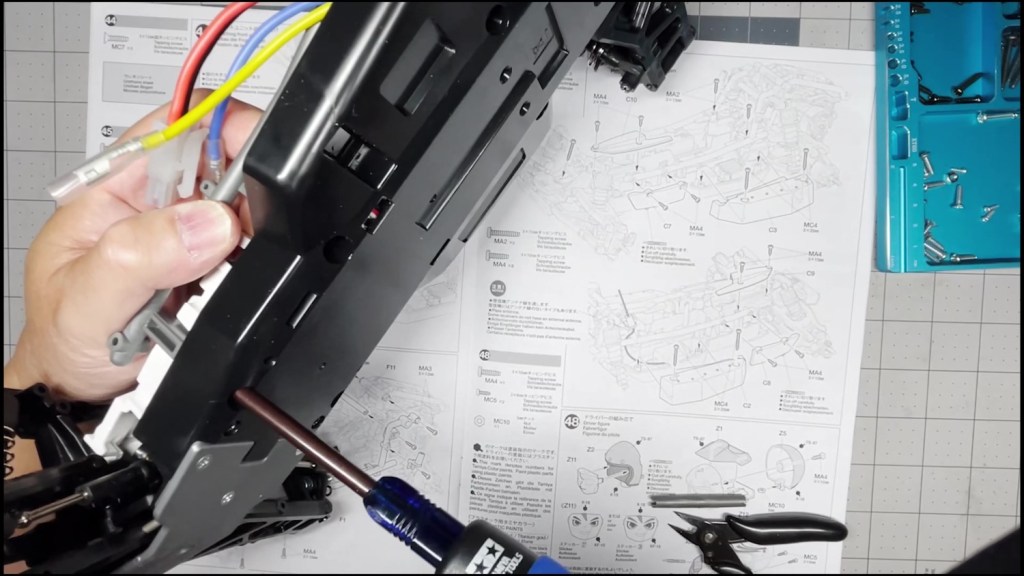
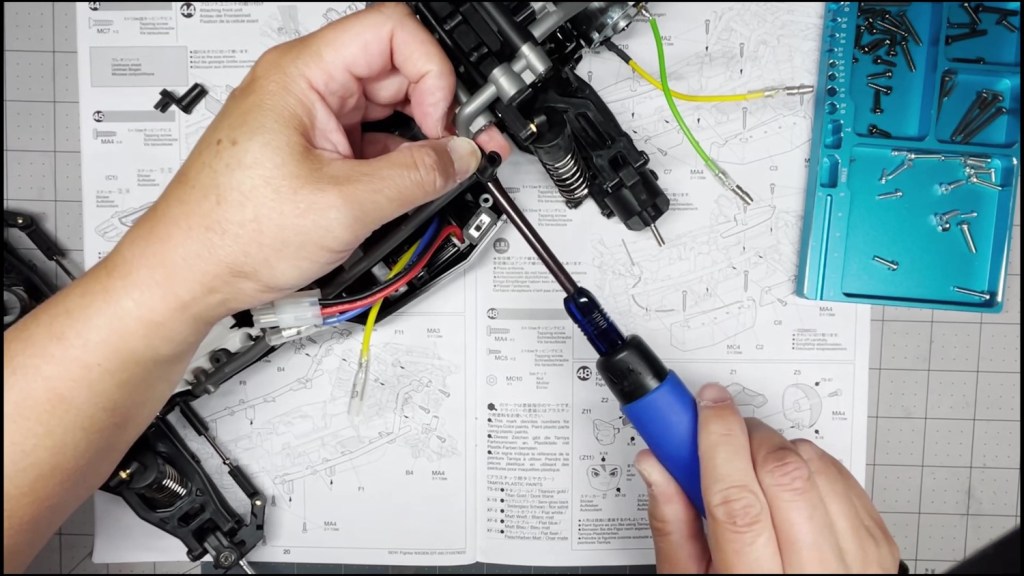
Attach the front end to the tub chassis with three screws from the bottom.
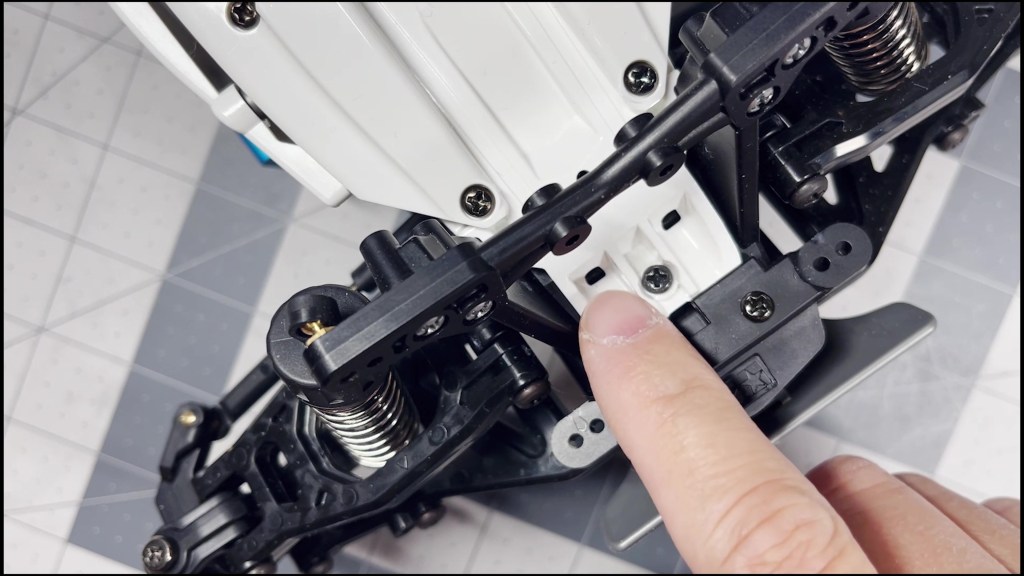
Snap on the steering link to the servo saver ball stud.
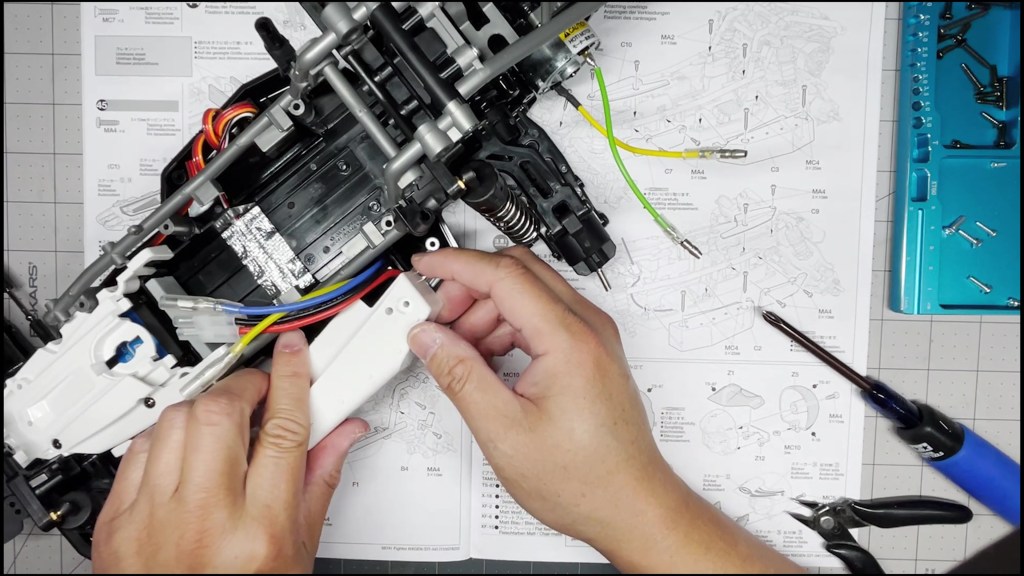
Place the nose piece of the body into place. It should seat completely flat on top of the tub chassis. Screw in 2 screws on each side to fasten it.
Here, I missed two screws that goes into the front of the nose piece. I realized it near the end of this part of the build.
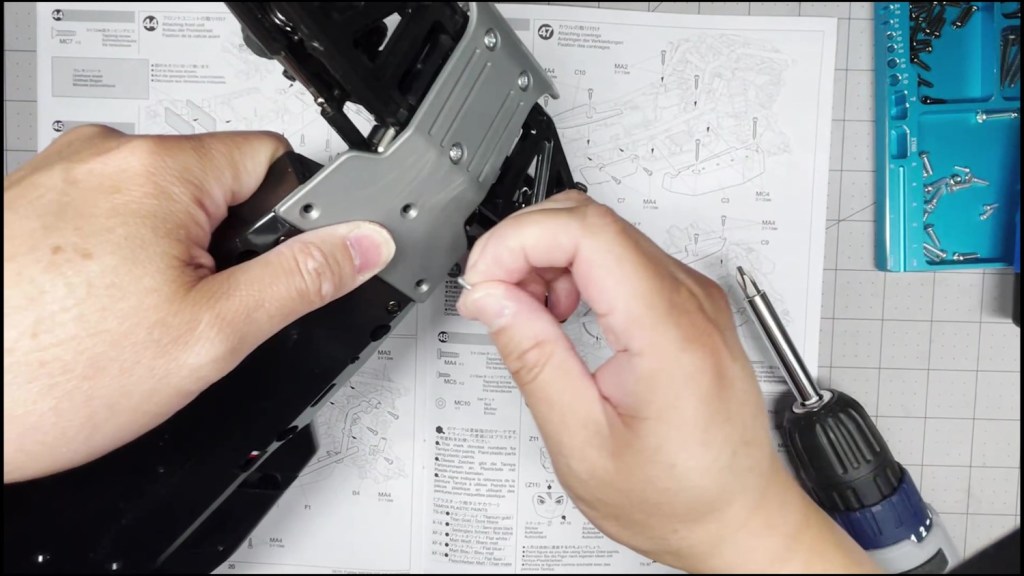
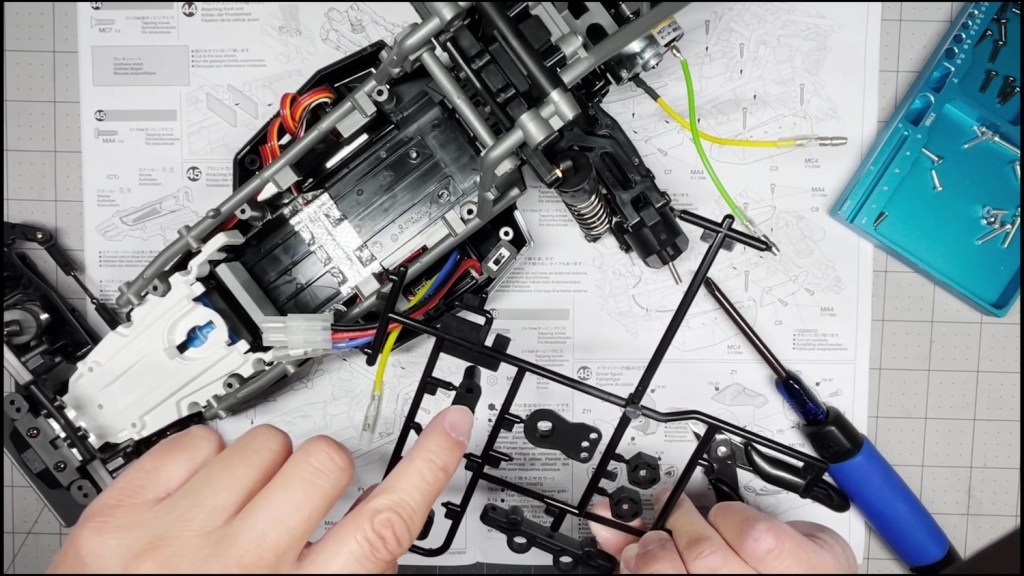
The roll cage attaches the chassis in three places for this step. They are at the front, mid chassis and at the top.
Starting at mid-chassis, attach the roll cage with three screws.
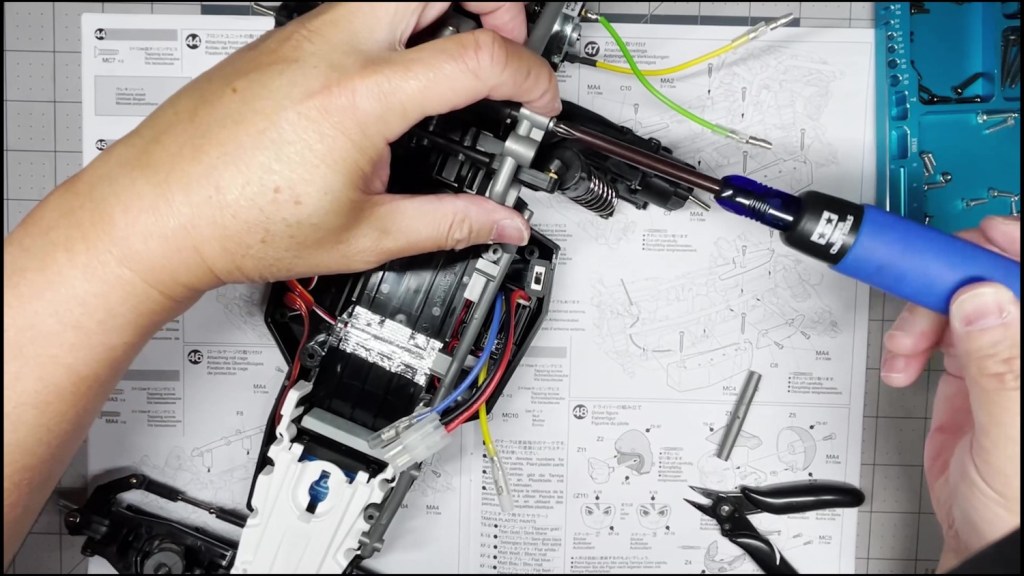
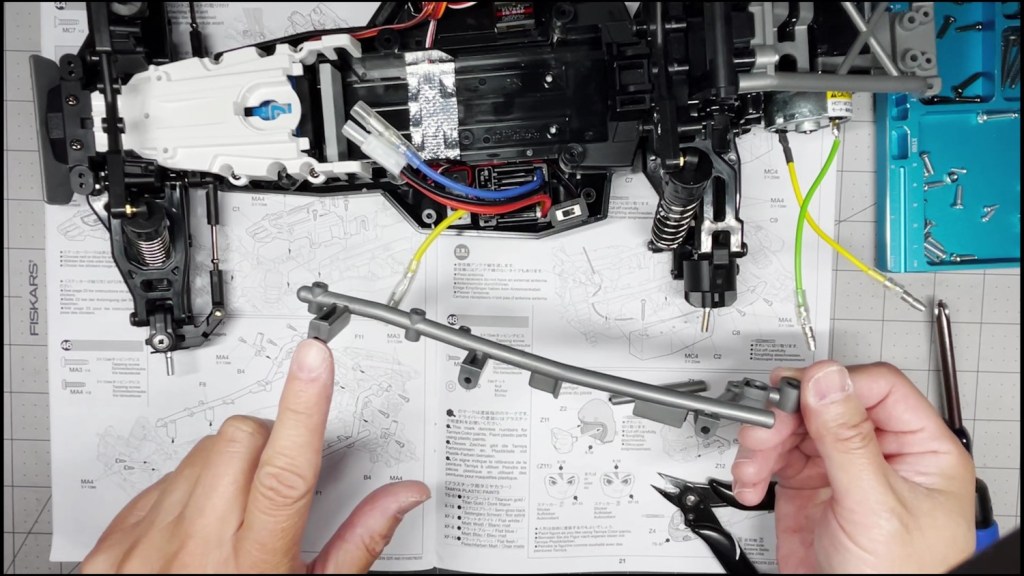
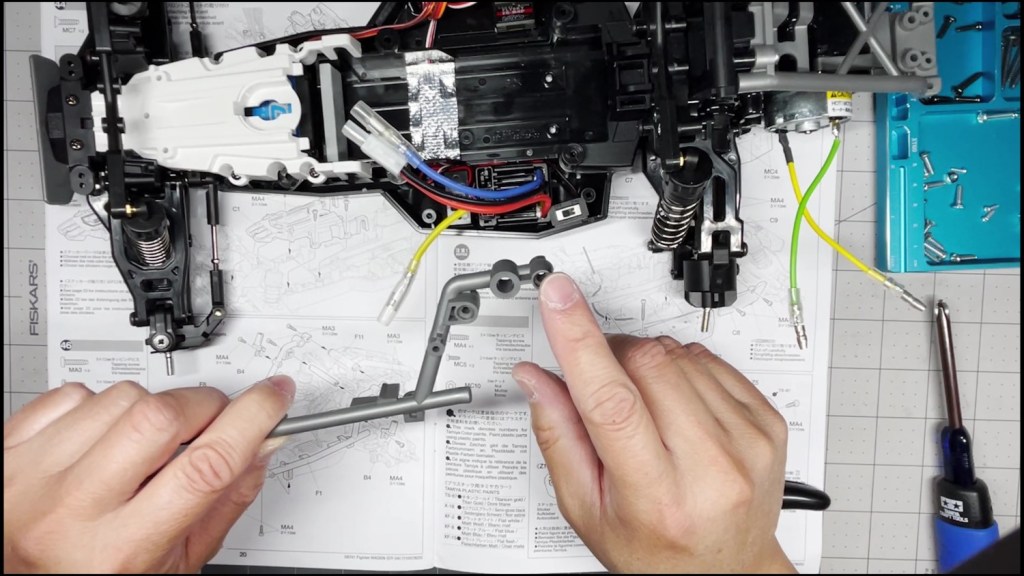
Insert the cross bar between the two sides of the roll cage. Turn the cross bar until it fully settles. Attach one screw on each side.
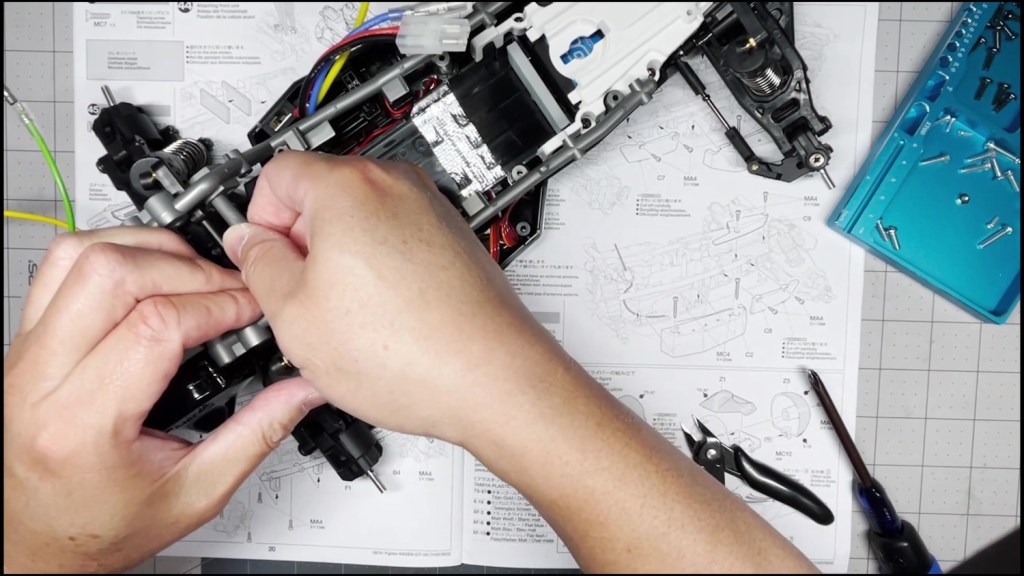
Attach the two antenna tube stands. One on each side of the roll cage.
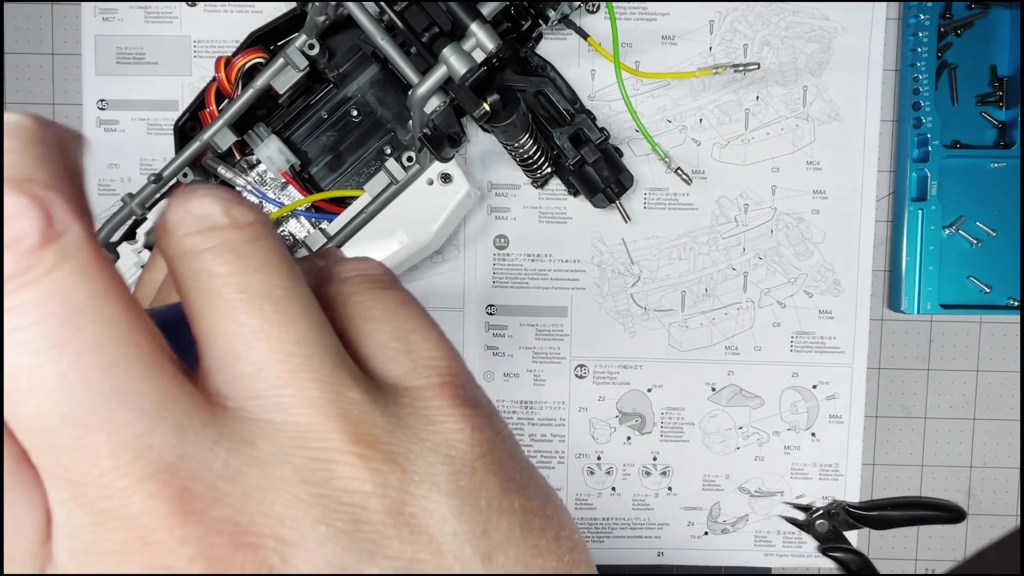
Attach the front chassis cover.

Attach the side chassis cover.

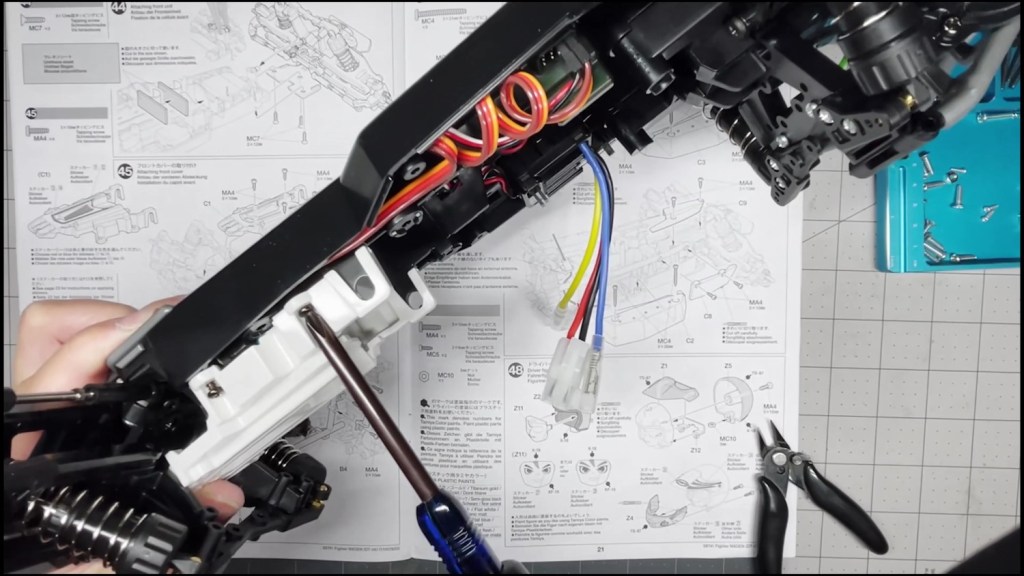
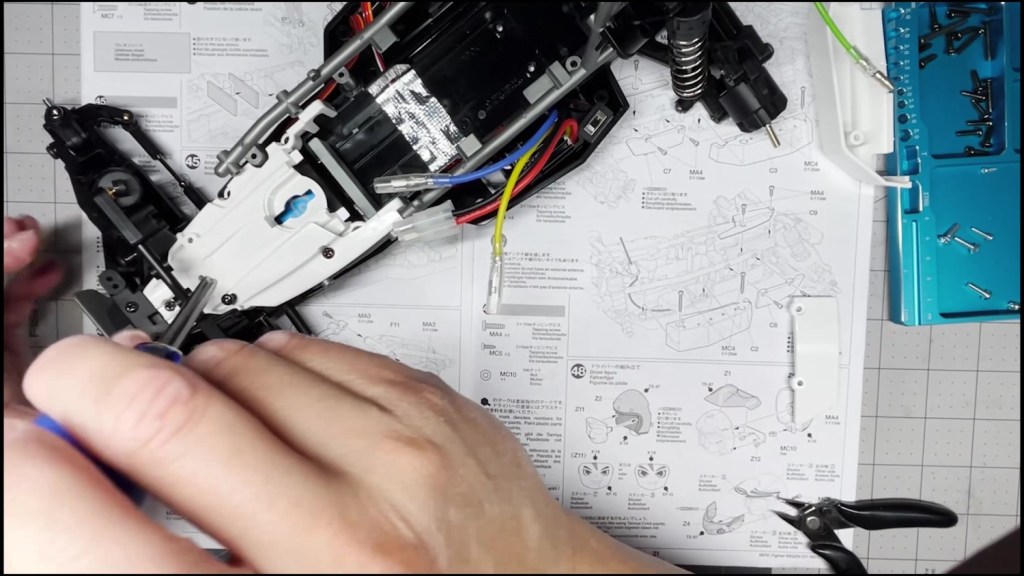
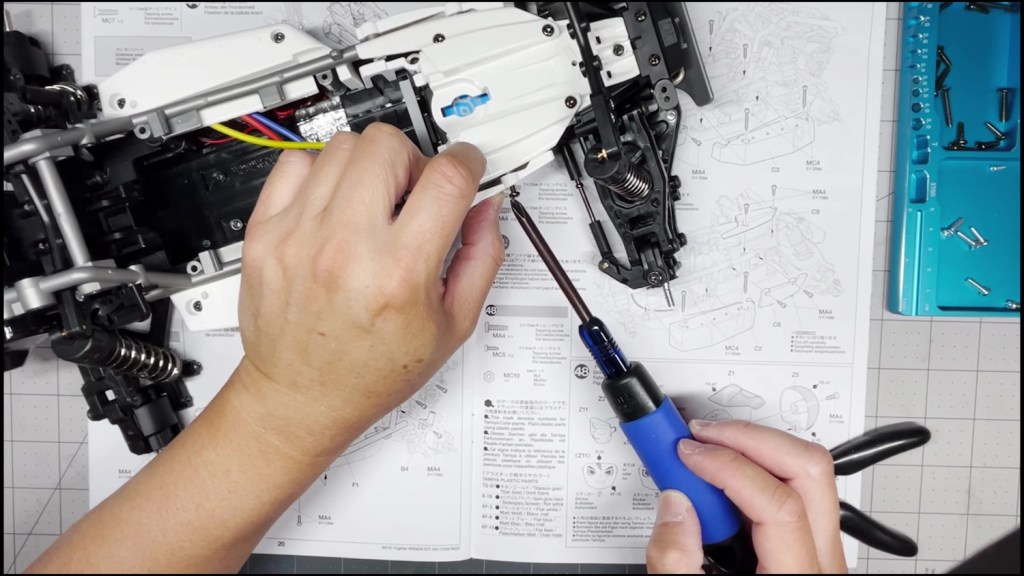
Attach the mid-body cover that goes over the ESC. We covered the on-off switch for now until the 3D printed adapter arrives.
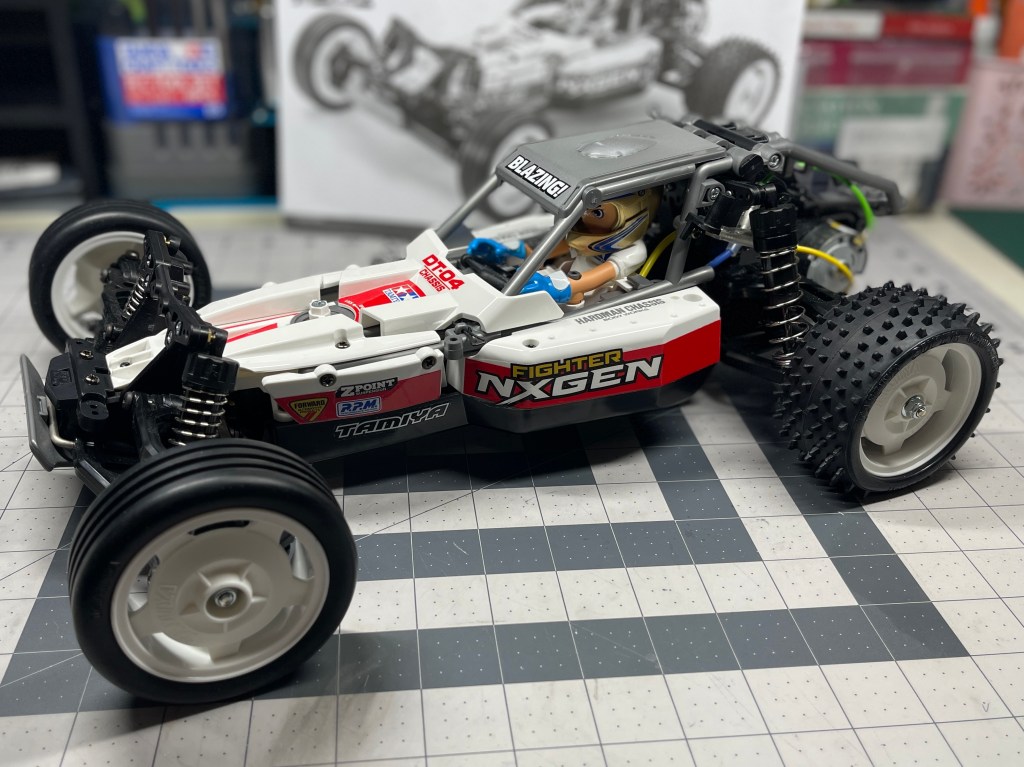
Repeat the same steps for the opposite side and the chassis is complete.
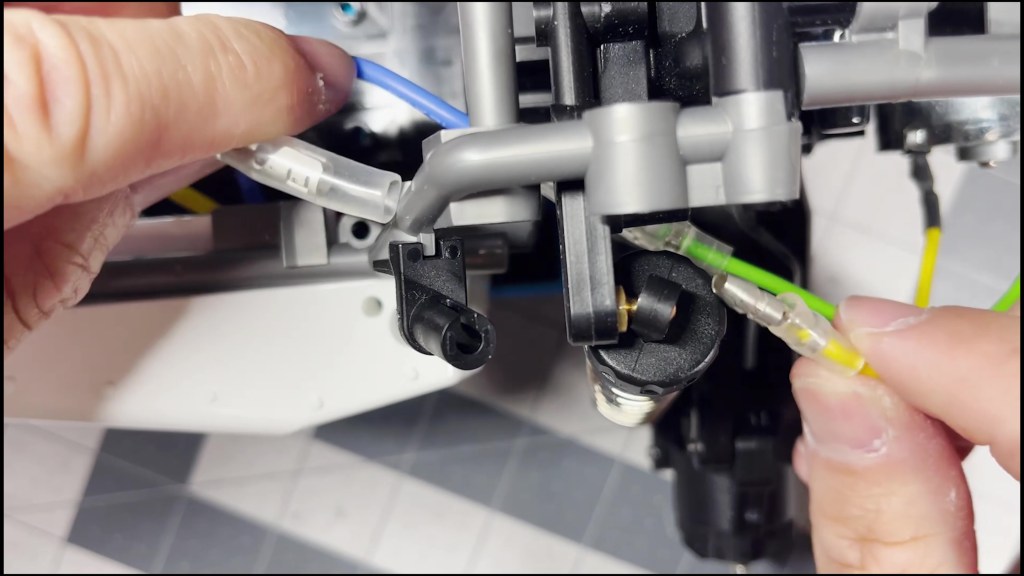
The final step is to connect the ESC to the motor. Blue to Green and Yellow to Yellow. That’s it. We are done with the chassis part of the build. Thanks for reading.
The chassis part of this kit build is complete! Thanks for reading.


Leave a comment