
Buy your Tamiya DT-04 Fighter NXGEN
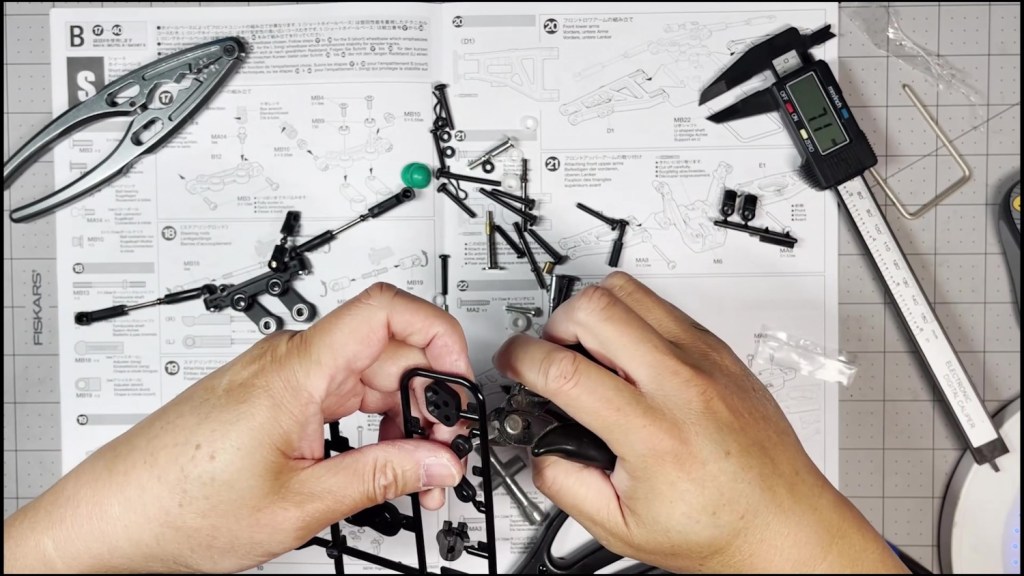
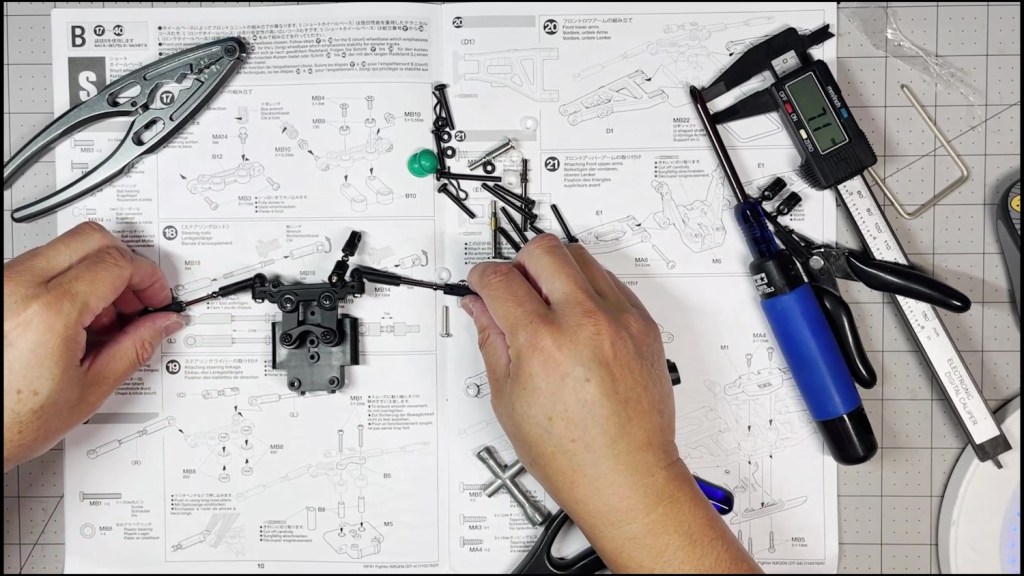
We are going to start building the front end of the chassis. It starts with putting together the Steer Linkage assembly.
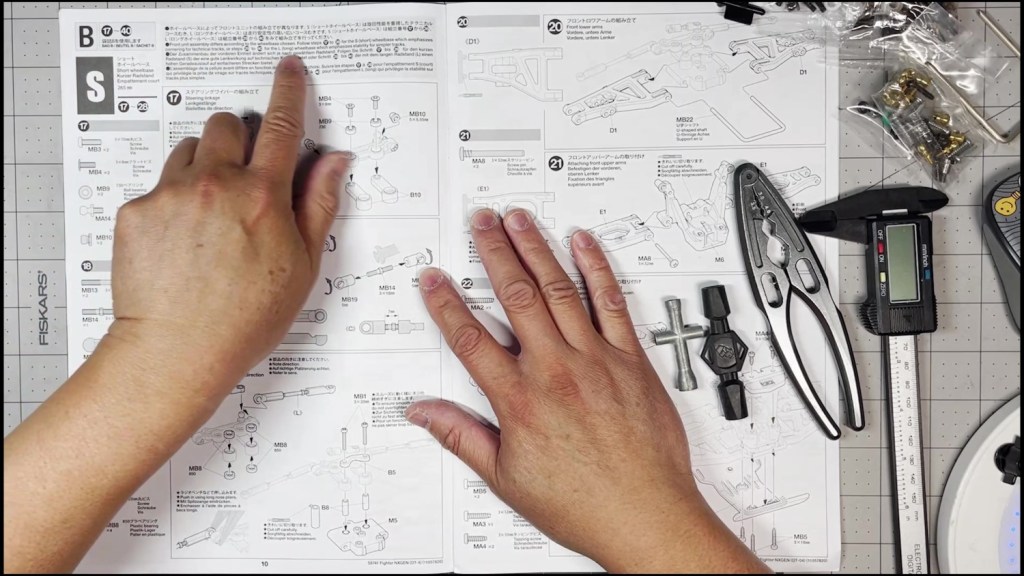
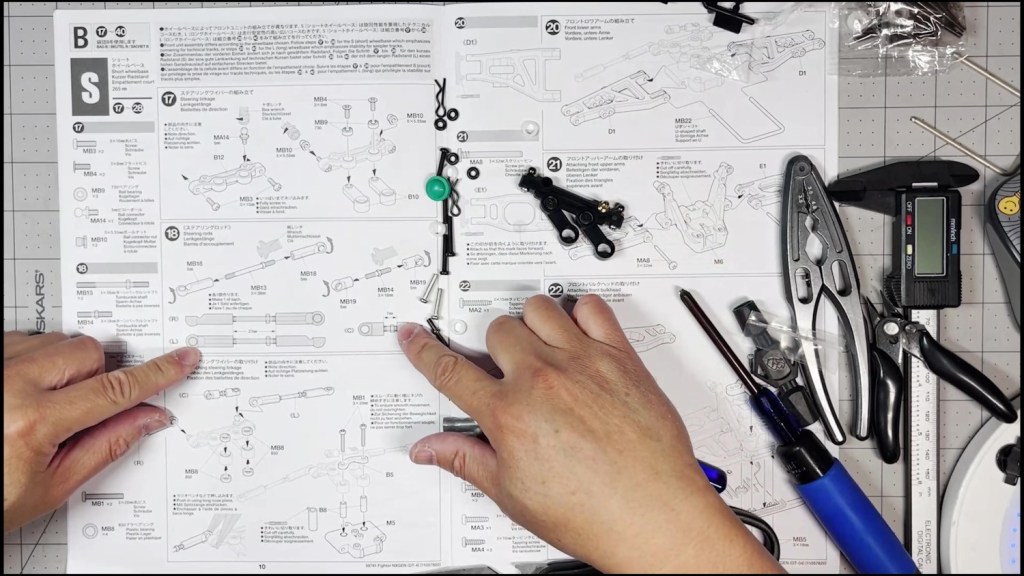
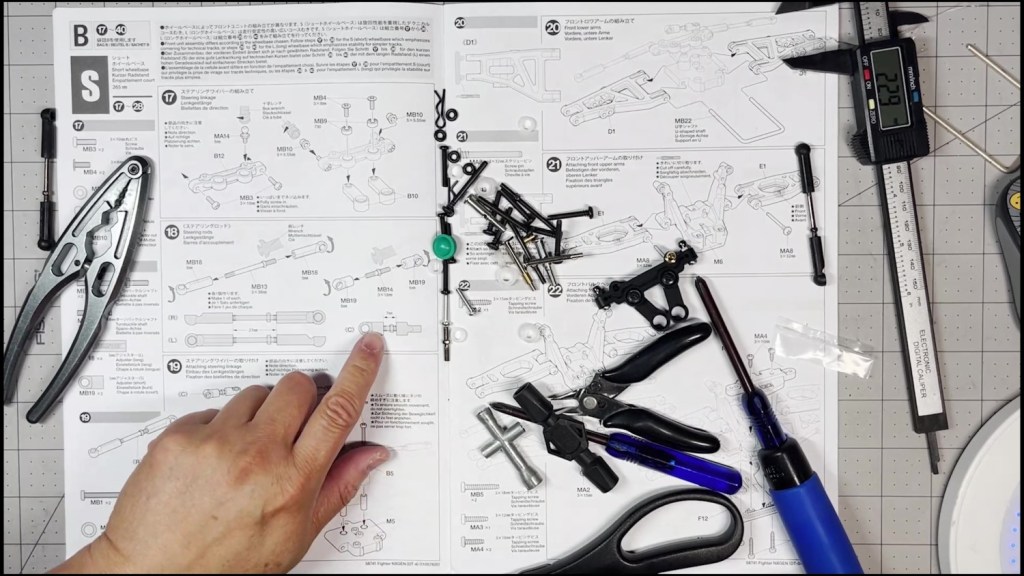
This article will cover Steps 17 to 19 of the manual if we’re building the kit with the SHORT wheelbase setup. If we’re building the LONG wheelbase setup, the steering linkage Steps 29-31 are the nearly the same. Read this paragraph in the manual carefully to decide which setup to choose to fit your situation. We are going to proceed with a SHORT wheelbase build. We will be using the contents of the B Parts Bag.
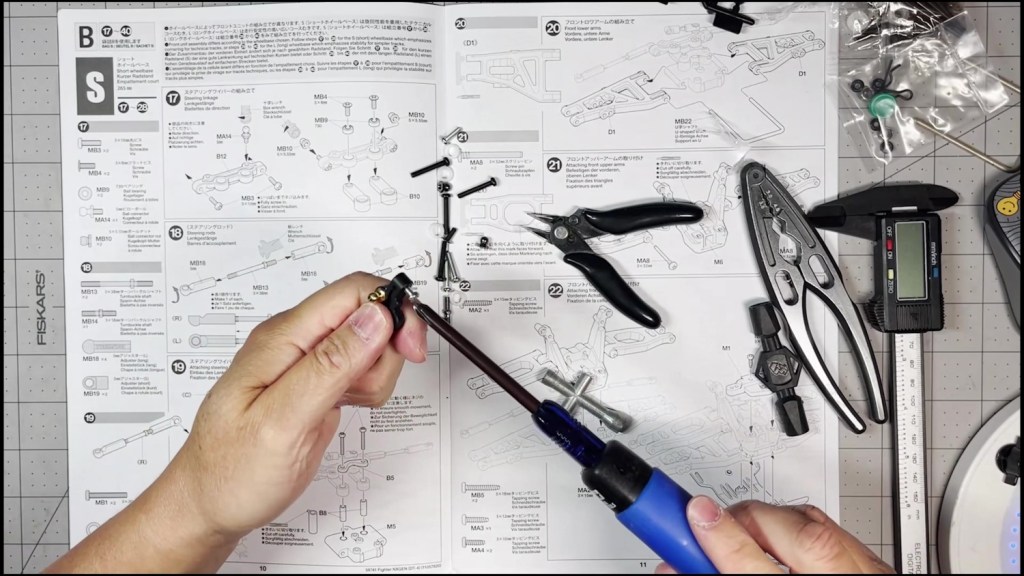
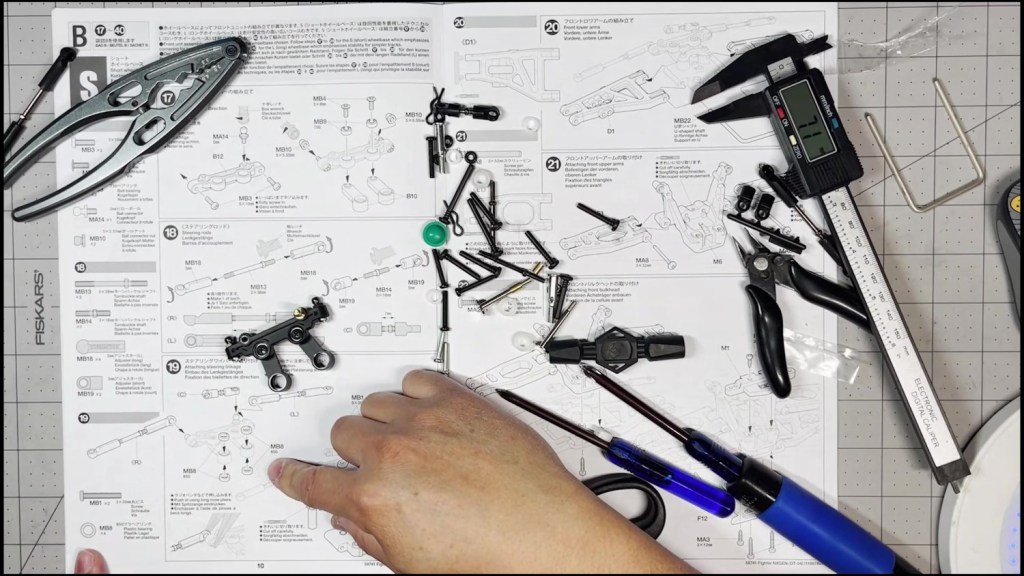
Cut out the steering bridge and make sure to hold it as shown. Note which side is up. Start screwing a brass ball stud into the upper right hole and tighten with the included cross wrench.
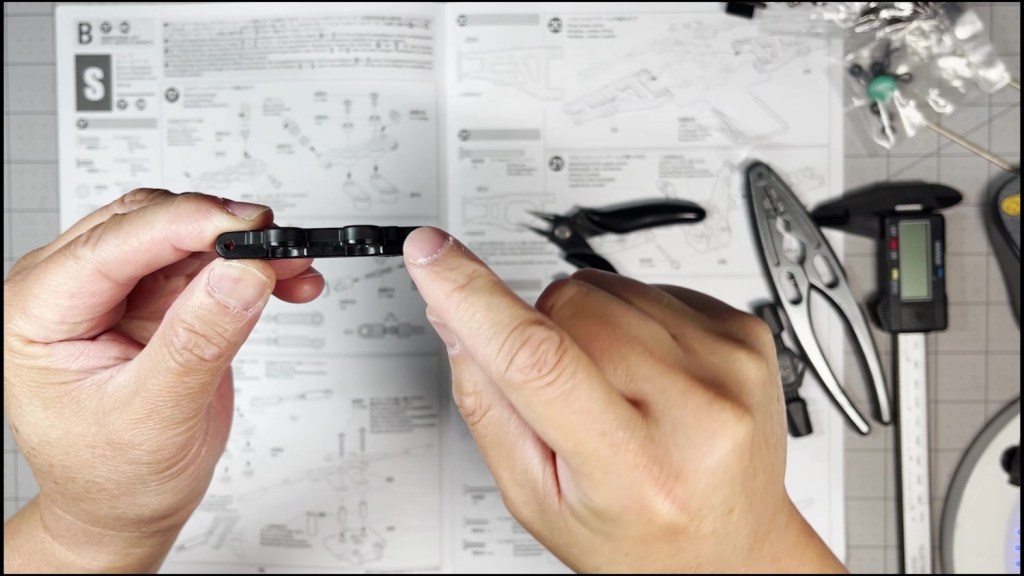
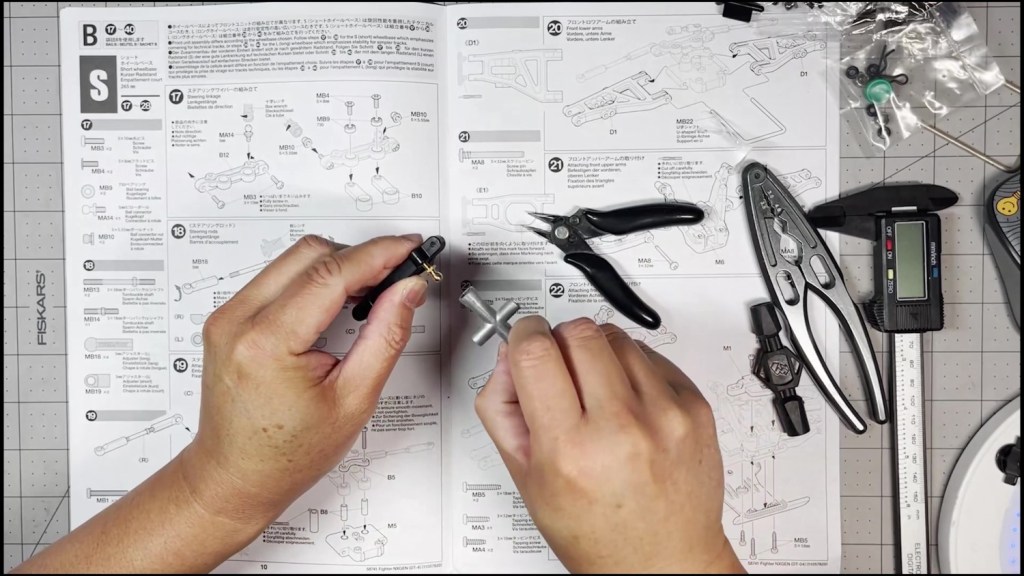
Fully turn a screw through the steering bridge on each end. Make sure the screw is protruding on the other side. Then twist on a gray ball stud and tighten with the cross wrench.
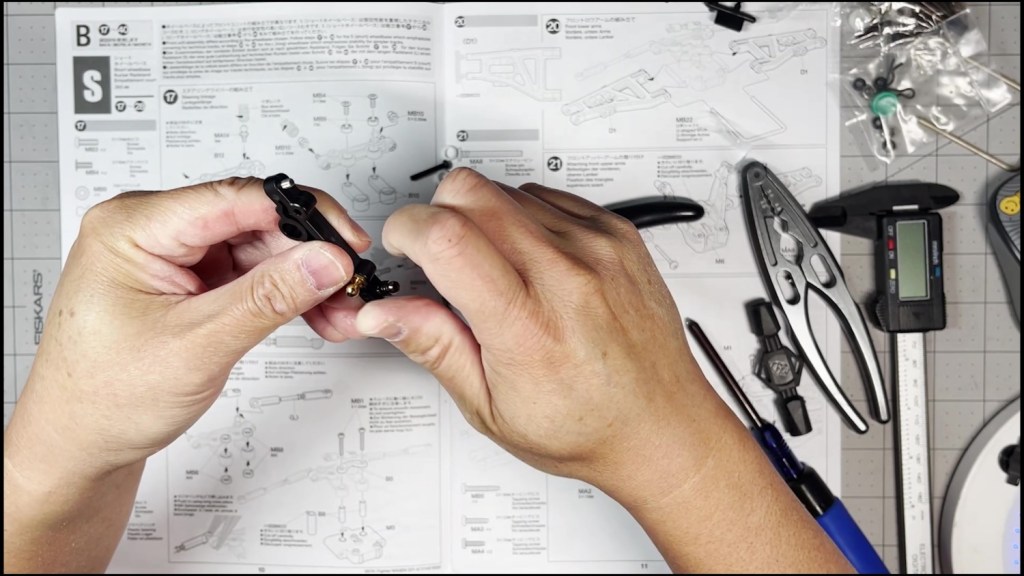
Next, find the two small ball bearings inside the bag that has the green damper bladders. Push one ball bearing into each side of the the steering bridge.

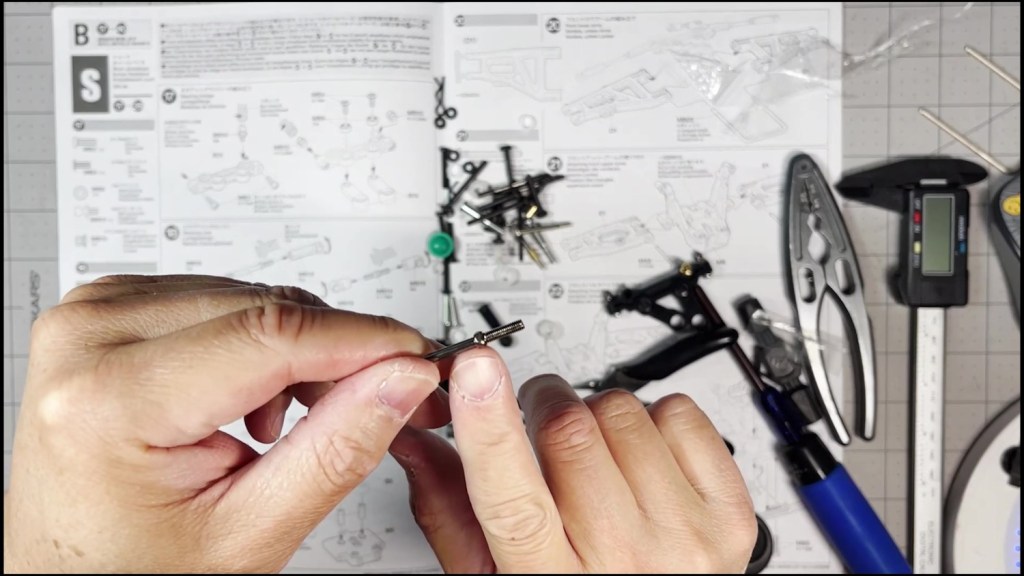
Push the steering link screw through the bearing and into the steering arm. This step required a smaller screwdriver. Shown using the Tamiya M 2.0-2.6mm screwdriver. Fully tighten the steering link screw.

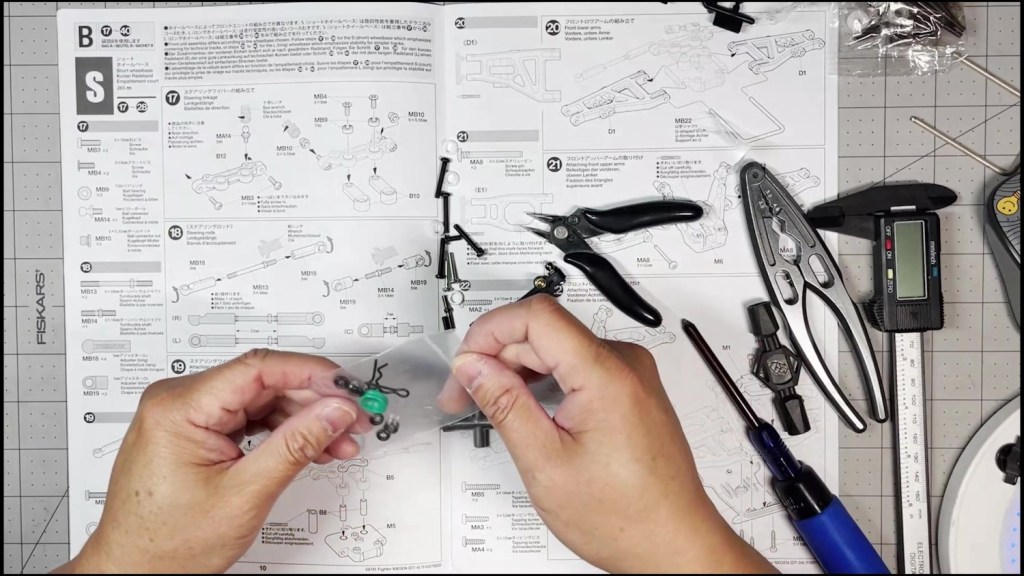
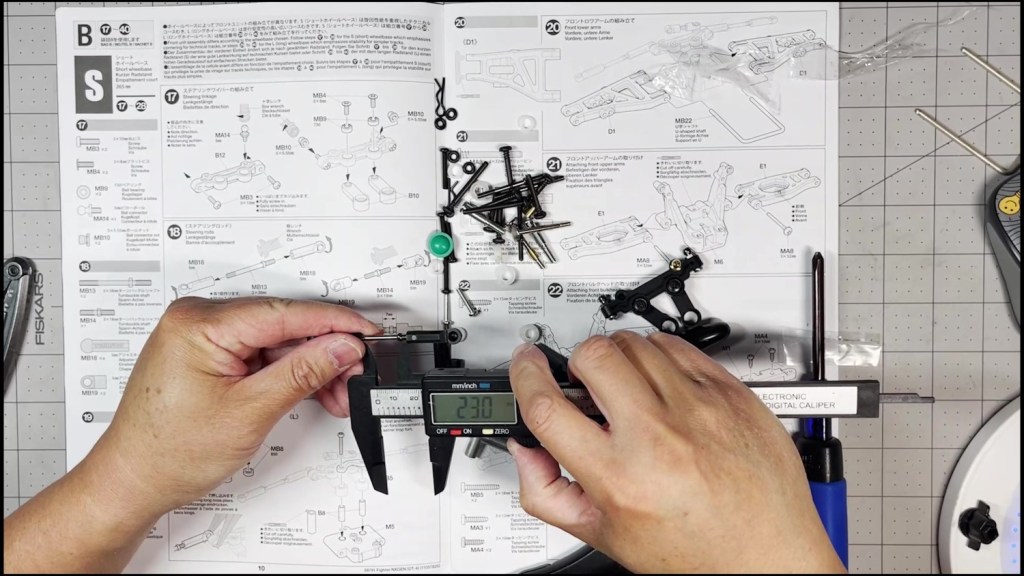
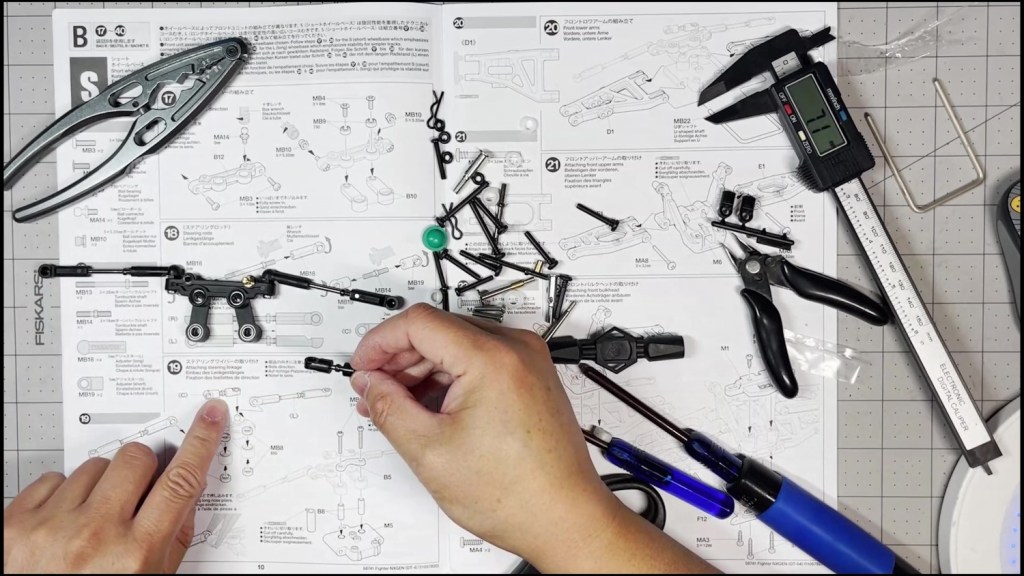
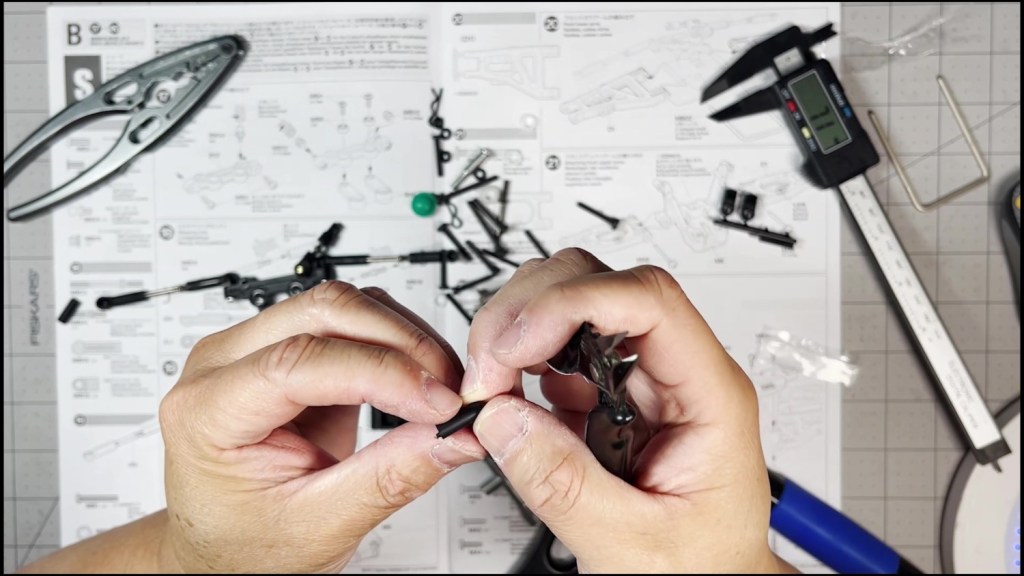
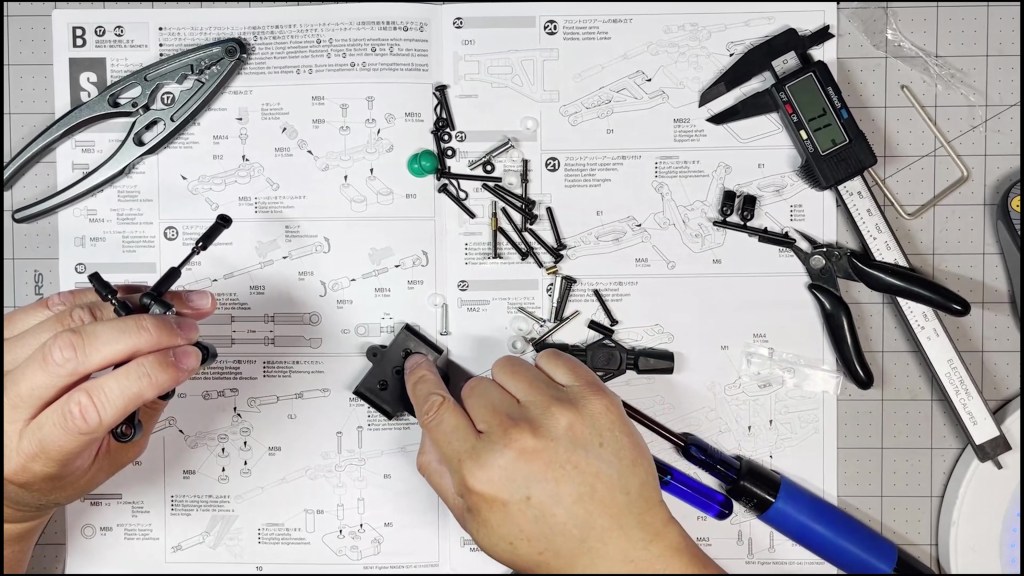
Next, we will build two steering links and one servo link. Notice the specified distance between the ends and direction of the cups.
Find the link shafts and note on which side the adjustment nut is located. We will twist the rod end in a clockwise direction on the right of the adjustment nut. The threads on the other end of the shaft will tighten in a counter-clockwise direction.
Firmly hold the steering shaft by hand or shaft pliers. Twist on an end cap from each side. A rod end wrench can be used to turn it to its desired depth.


Once both rod ends are twisted onto the shaft, we will measure the gap. The manual specifies they need to be 23mm apart. Also make sure the end rod cups are facing the specified direction as well.
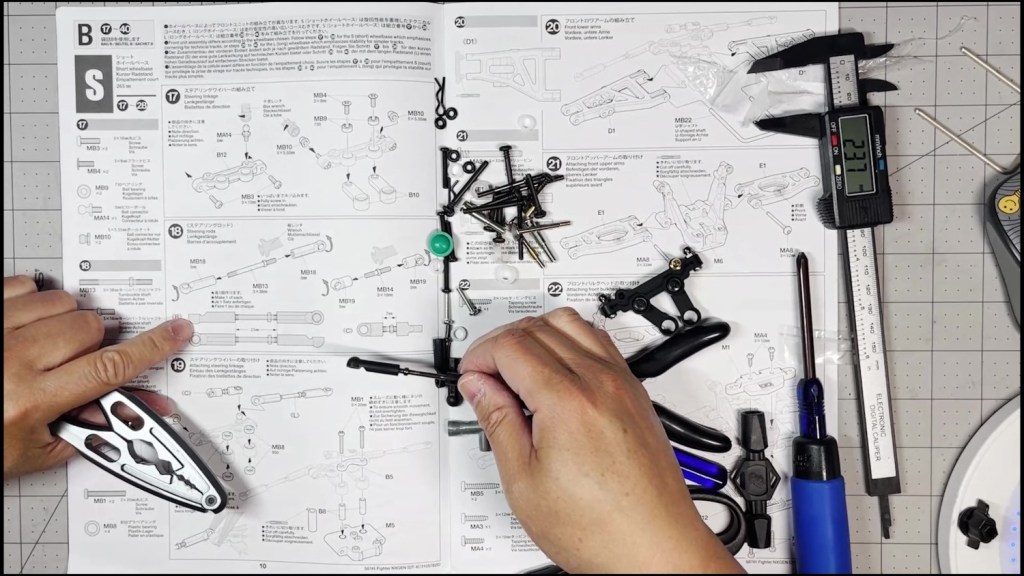
Next, we will build the servo link. Notice the link is much shorter. The threads are missing a small portion on one side of the adjustment nut. Missing thread side will tighten counter-clockwise.

Twist in the rod ends on each side of the shaft. Make sure they are 7mm apart and the cups are facing in the specified directions.

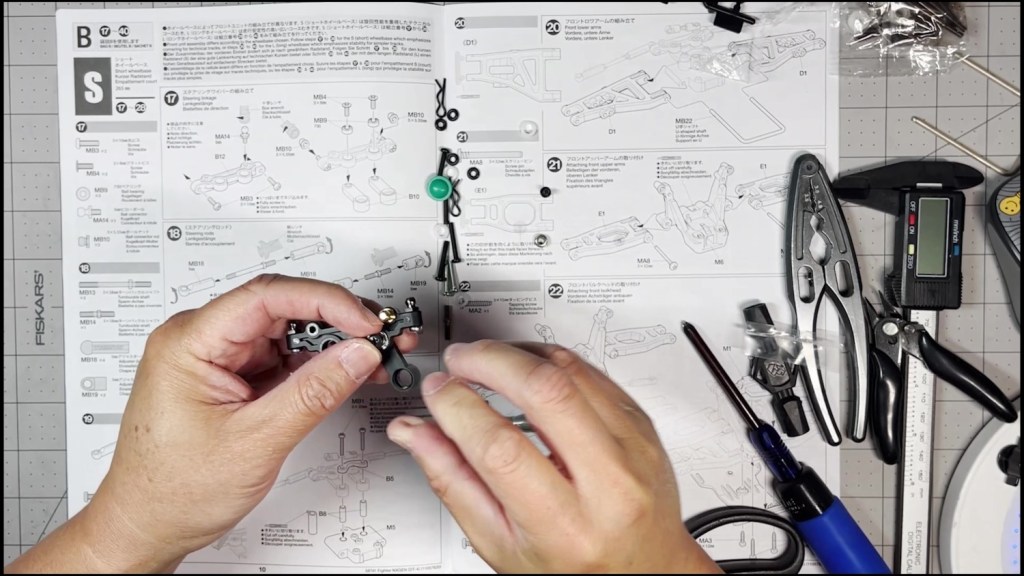
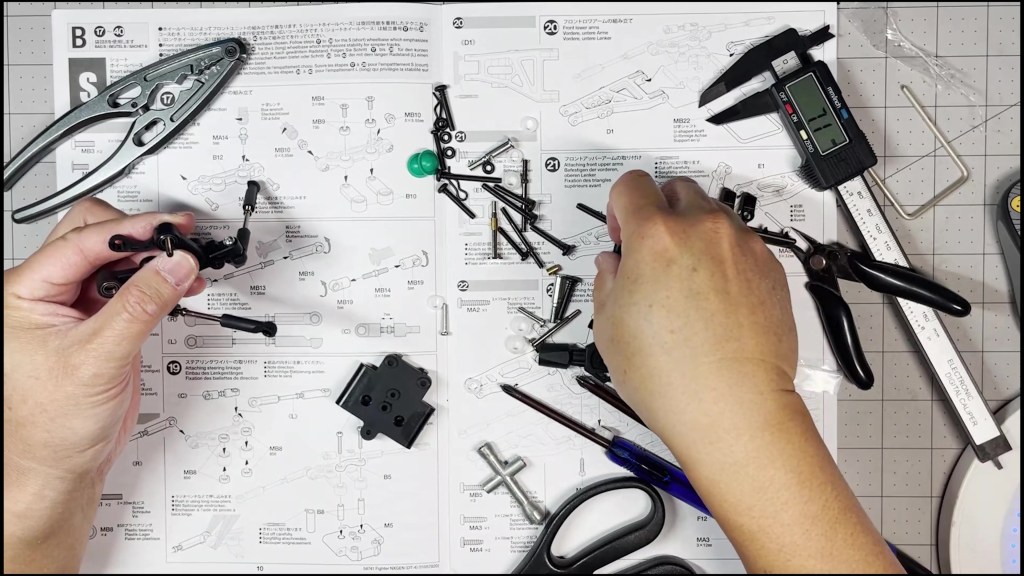
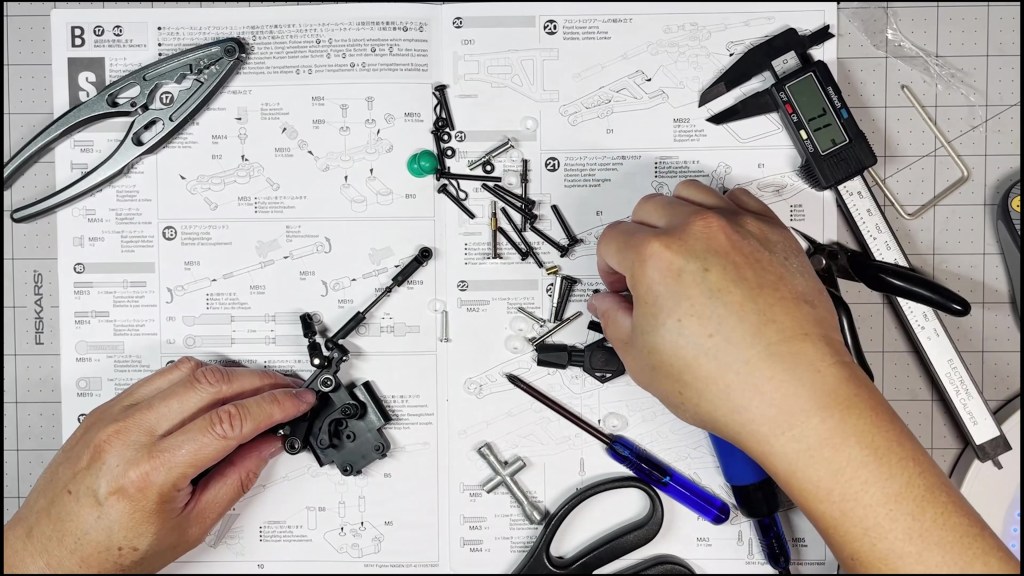
Push in a plastic bushing into the both sides of each steering arm. We are using ball bearings from the DT-04 Ball Bearings Kit.

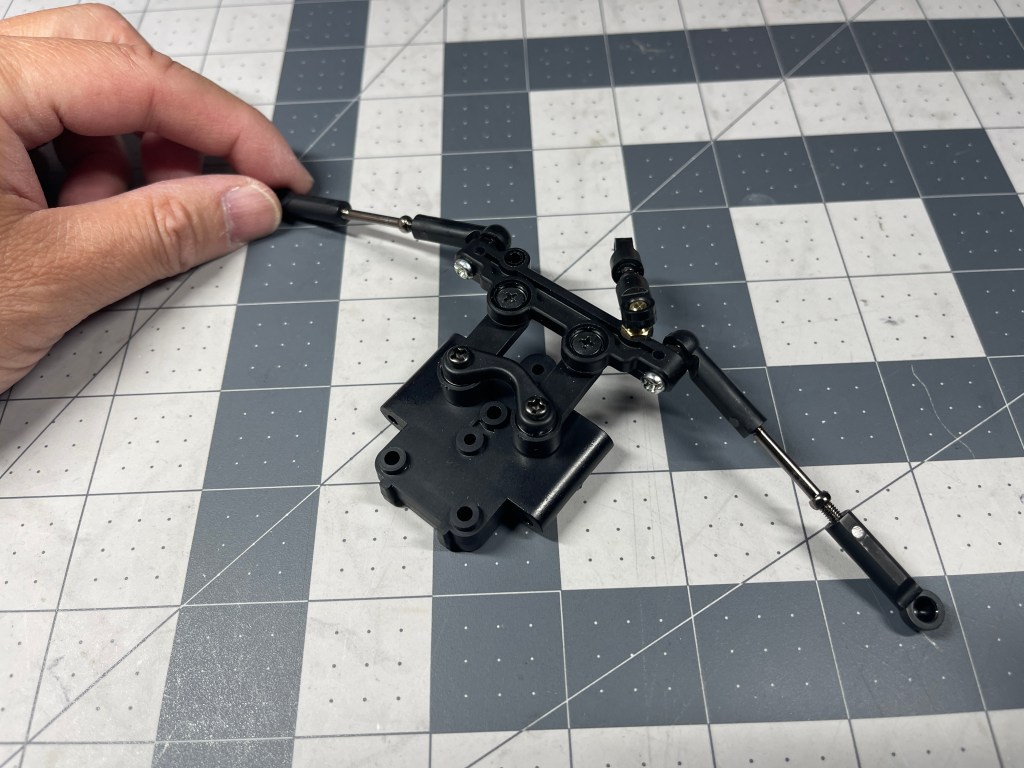
Now we are ready to snap the links onto the steering assembly. The manual specifies which link end will connect with the ball joints here. Follow that carefully.
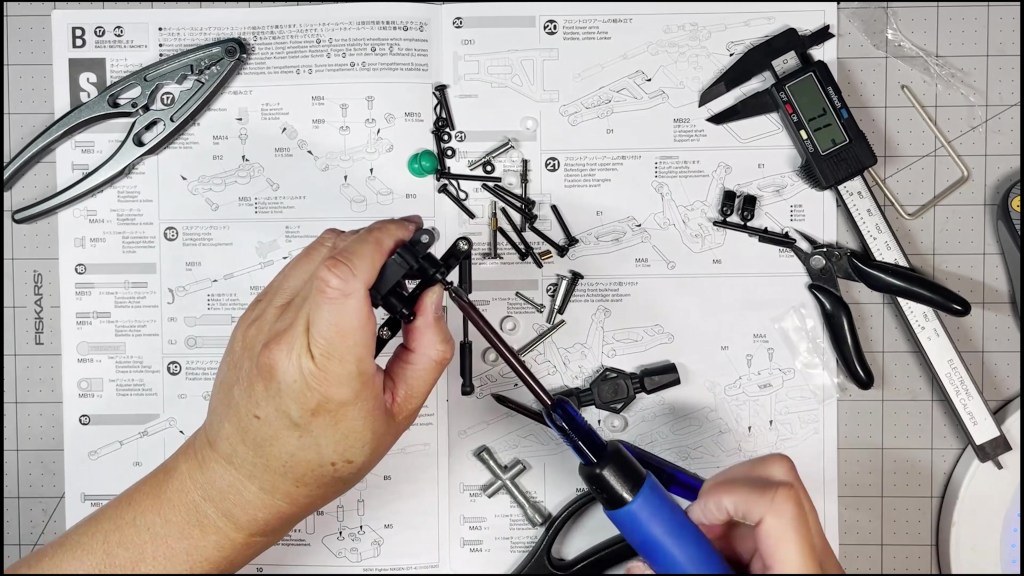
Next, we will need to cut out the Steering Tie (B5), Mounting Block (M5) and the Pivot Sleeves (B8). Make sure the sleeves are free of burs from the parts tree. Trim off any excess plastic until it is a smooth cylinder. It needs to turn freely inside the steering linkage assembly.
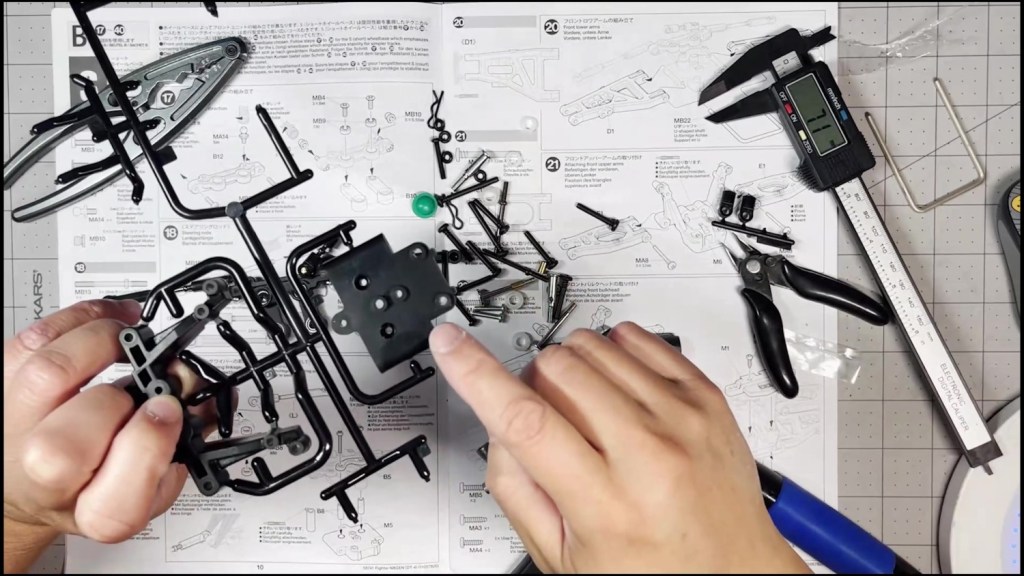
Thread the screw through the Steering Tie and ball bearings from the top. Then insert the Pivot Sleeve from the bottom.
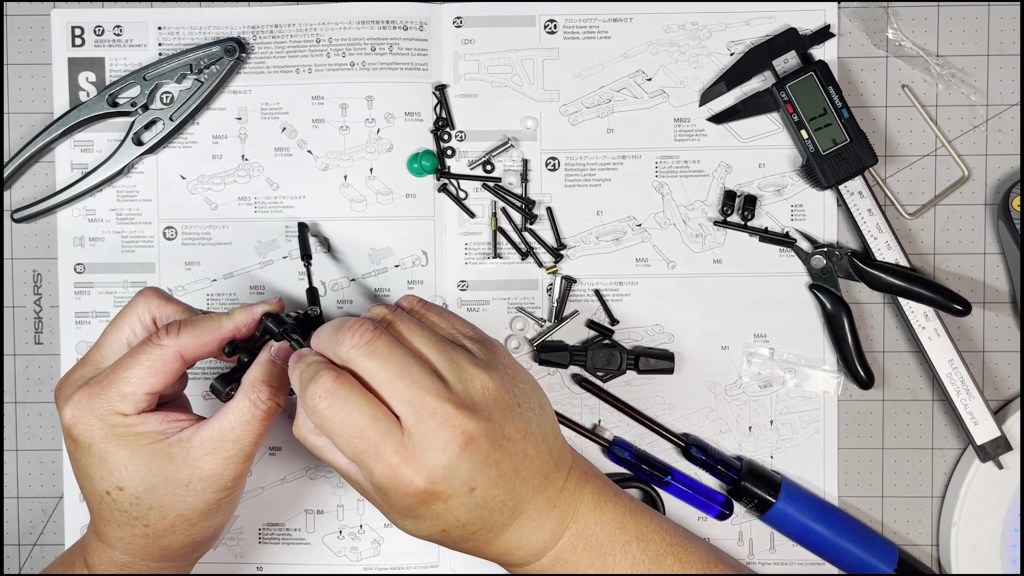
Line up the screw with the inset holes in the mounting block. The lower part of sleeve should go into the inset opening. The assembly should seat flush with the block.
Tighten both screws carefully as not to seize the arms from pivoting. Test the steering linkage assembly has a full range of motion.
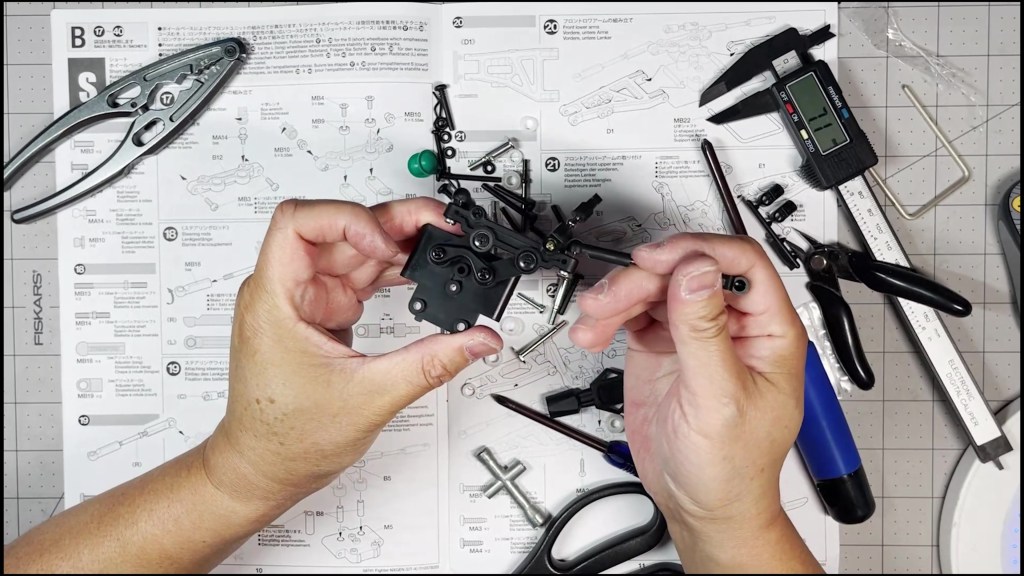
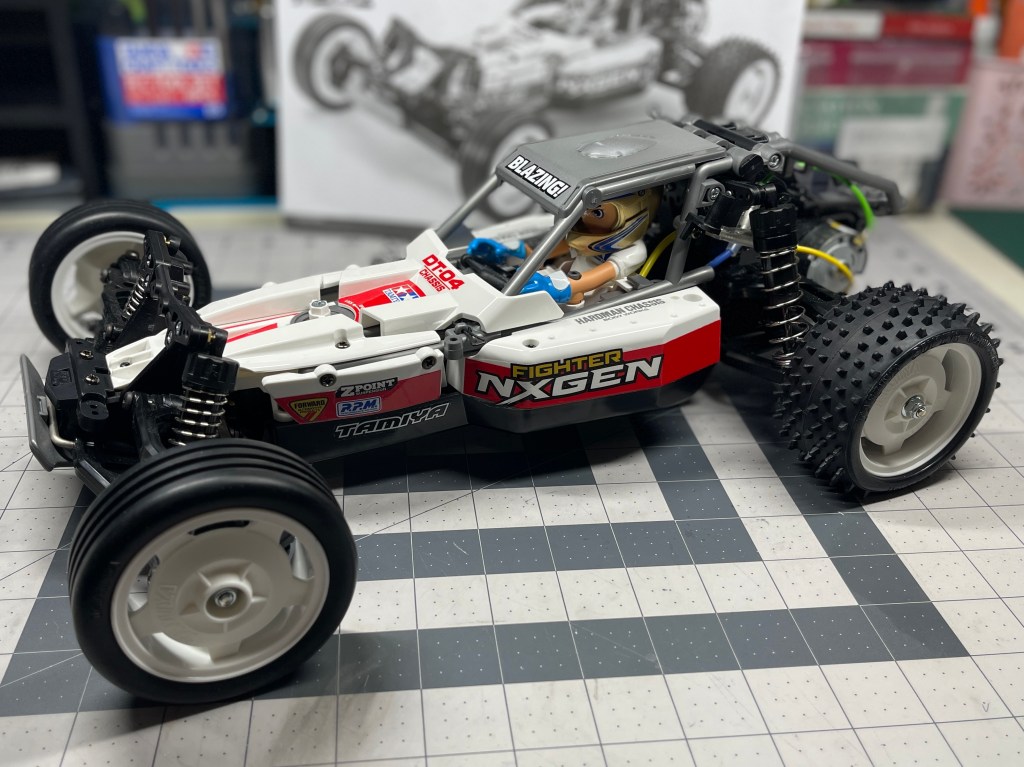
We’ve completed building the Steering Linkage assembly.
We hope you found this guide helpful. Feel free to leave a comment or question below. Thanks for reading!


Leave a comment