
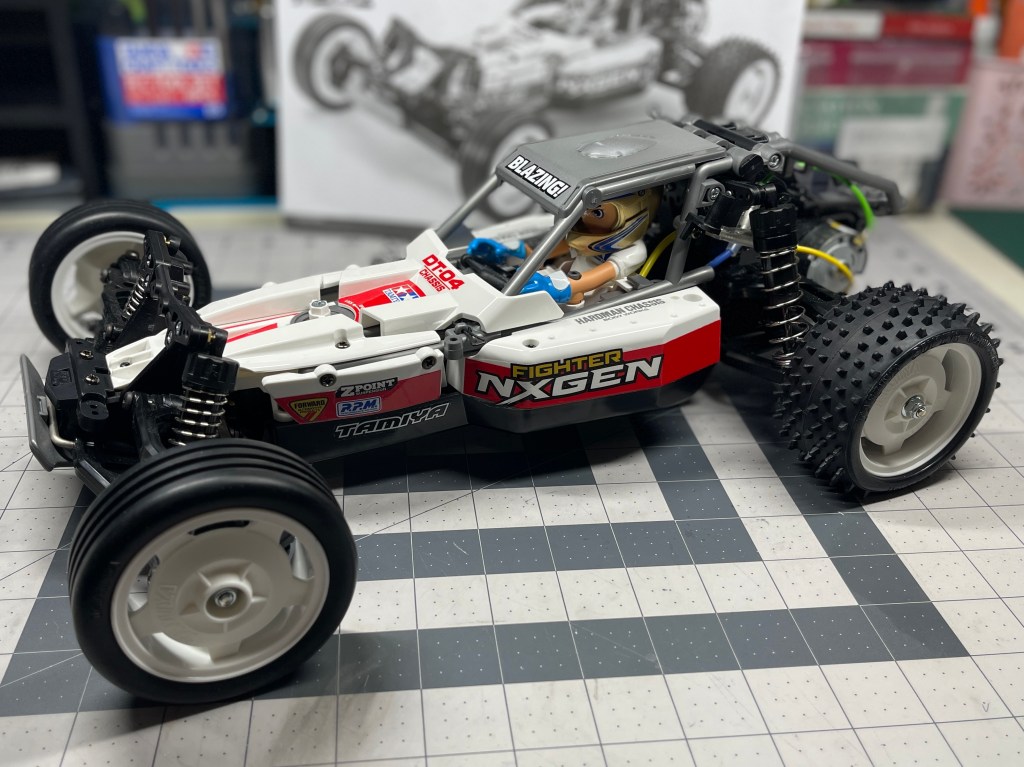
Buy your Tamiya DT-04 Fighter NXGEN
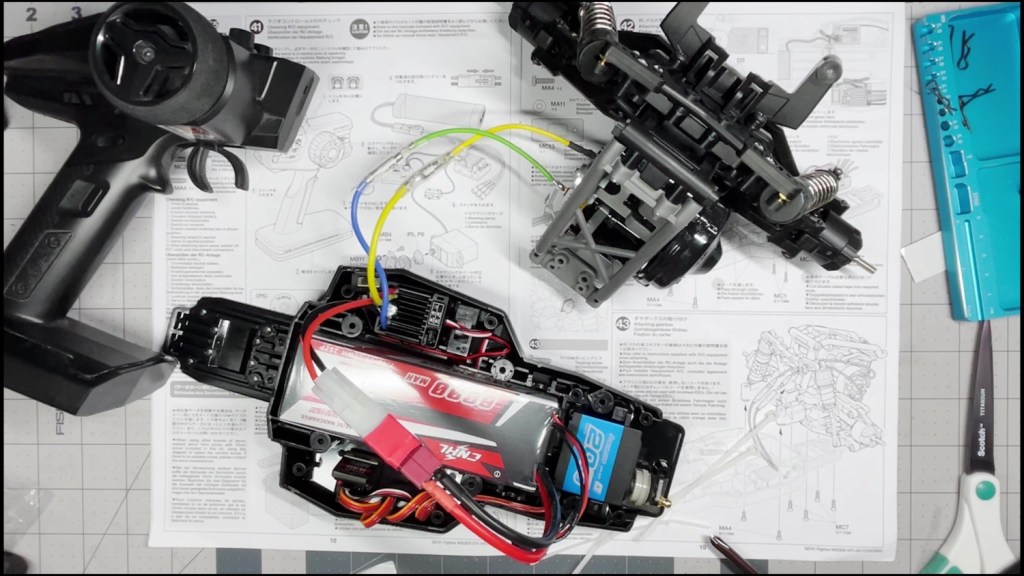
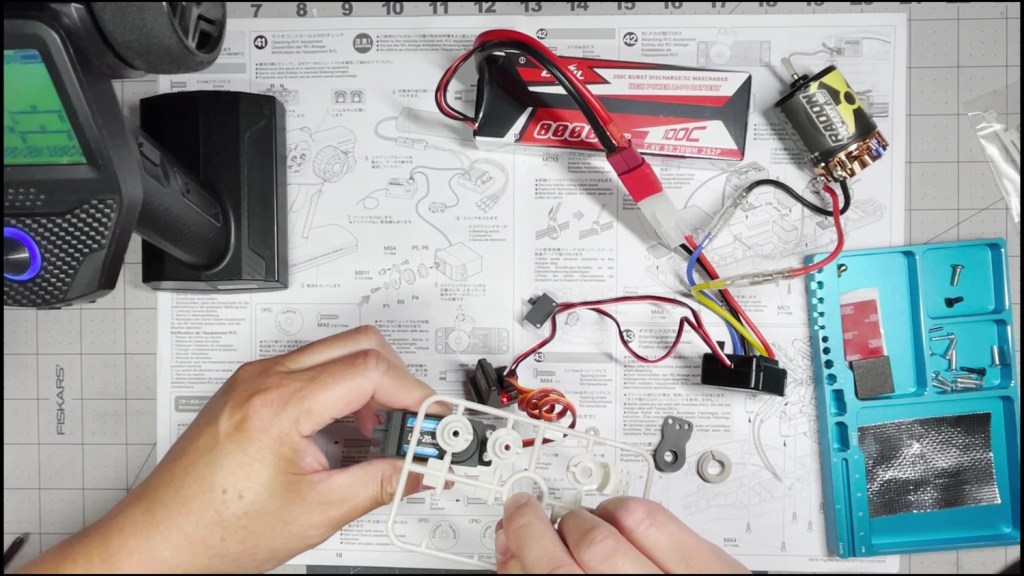
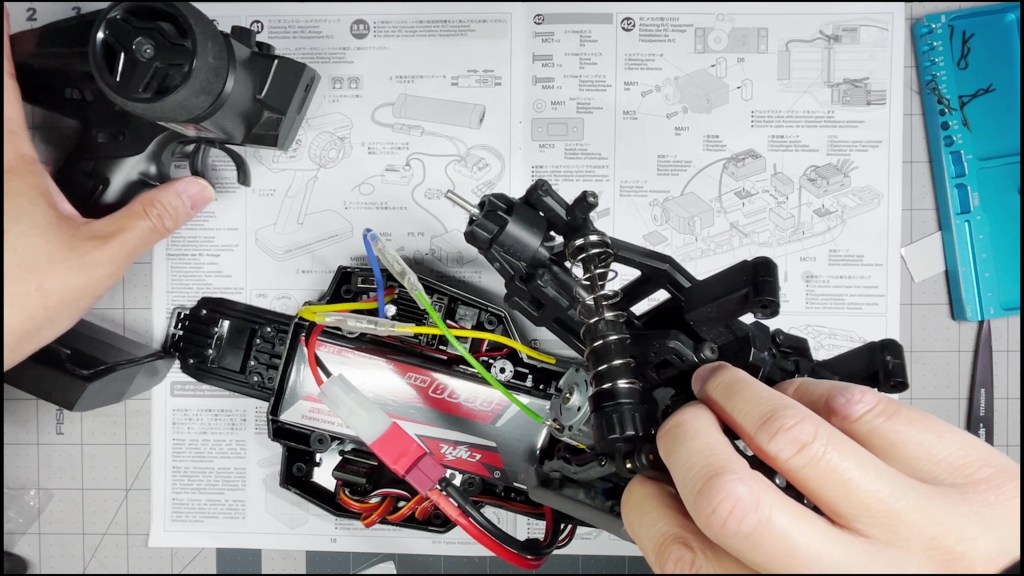
We are going to install the remaining electronics to the chassis. That includes the servo, electronic speed control (ESC) and receiver. We will leave affiliate links for electronics used in this article (or equivalent) in the footnotes.
The servo1 is a piece of electronics that rotates in respond to radio control transmission. It controls the steering of the RC vehicle’s front wheels. A budget standard sized servo with 20KG of torque is more than adequate for this entry-level chassis.
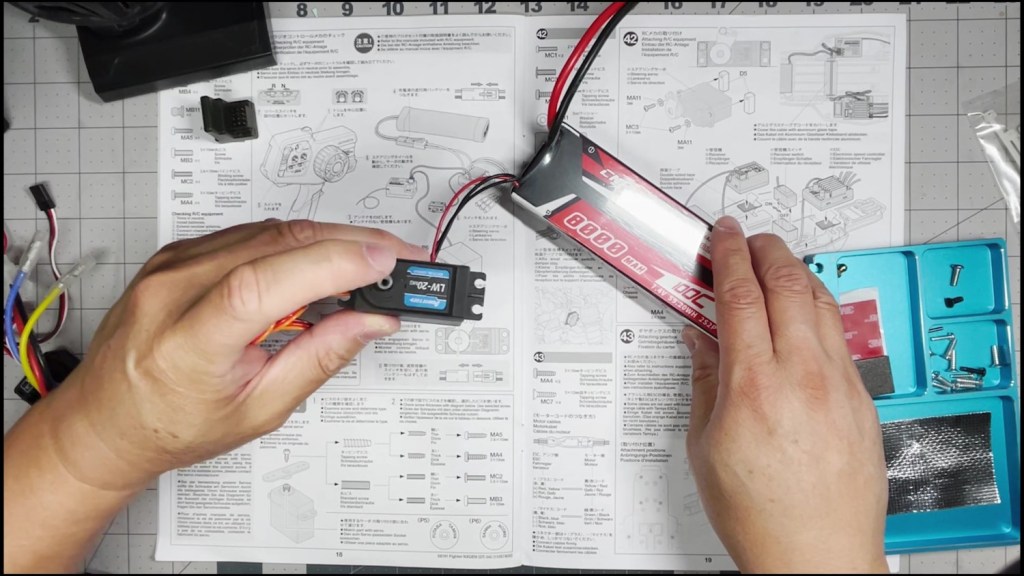
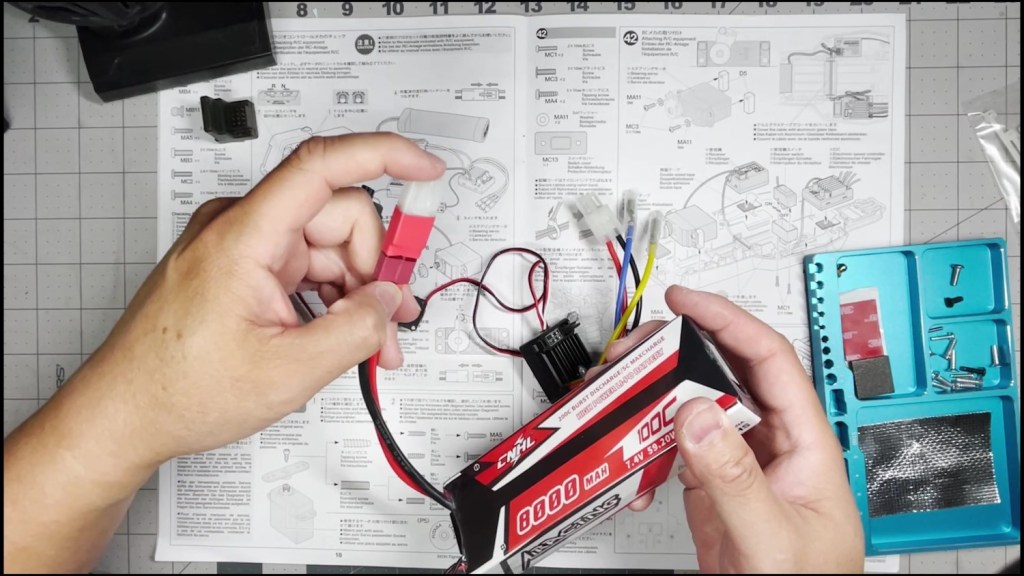
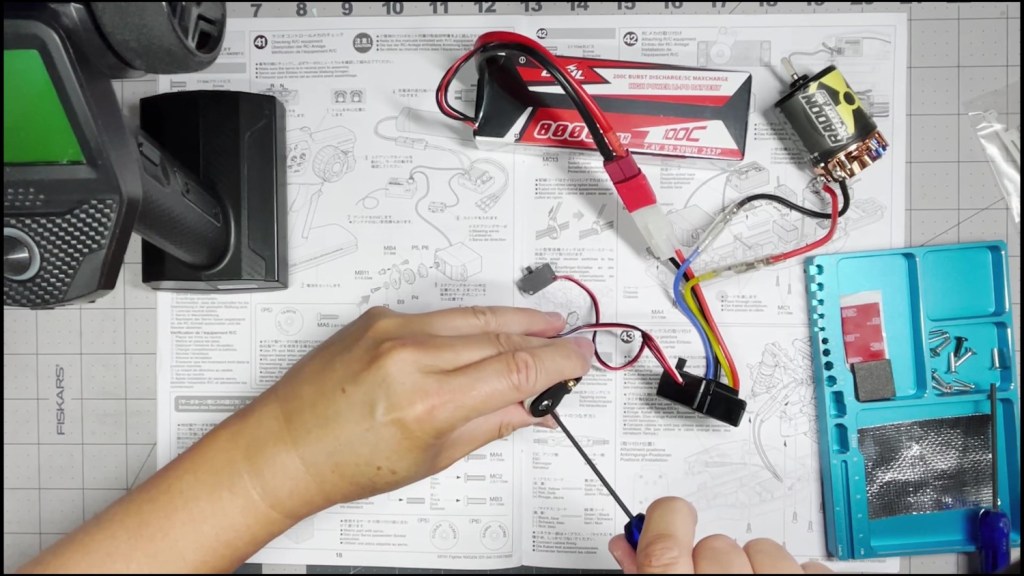
The electronic speed control or ESC does exactly what it says. It brings in power from the battery and controls the speed and direction of the motor. This Tamiya RC kit comes with a Hobbywing 1060 ESC2. The receiver3 receives the driver’s input from the transmitter. It directs the servo and ESC to respond accordingly. The battery4 is the on-board source of power for the electronics in the chassis. We are using a Deans to Tamiya connector adapter5 to connect the battery.
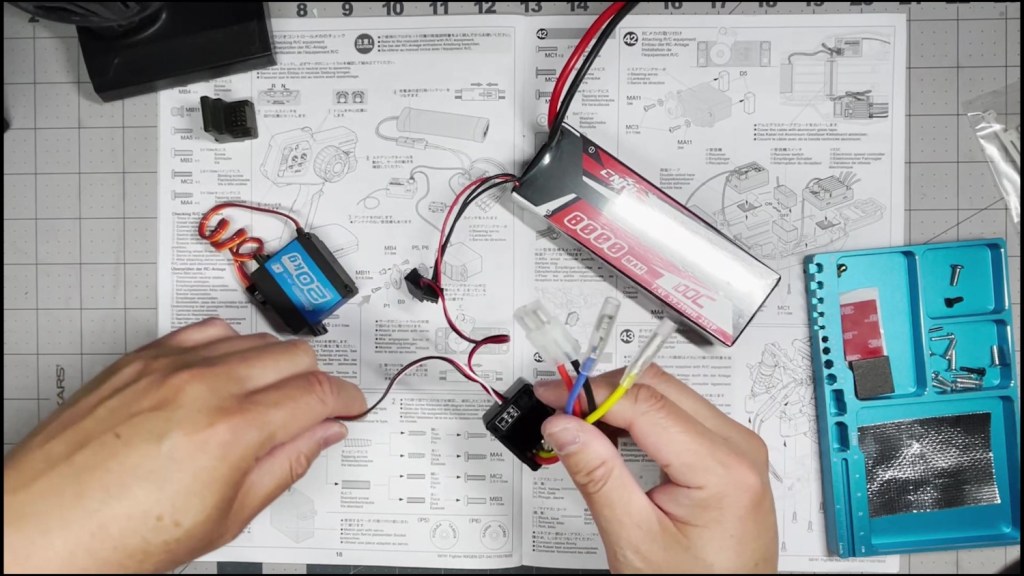

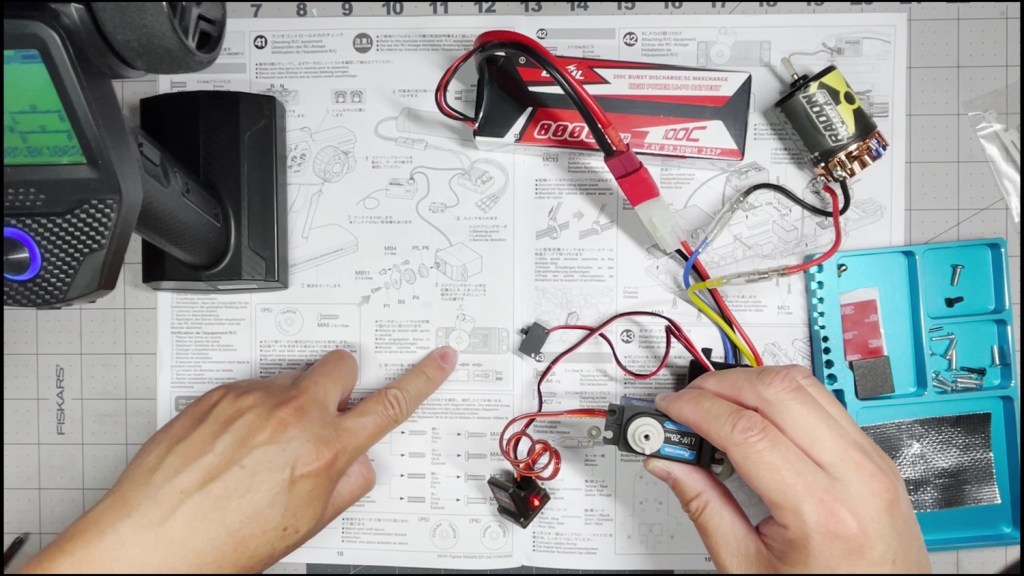
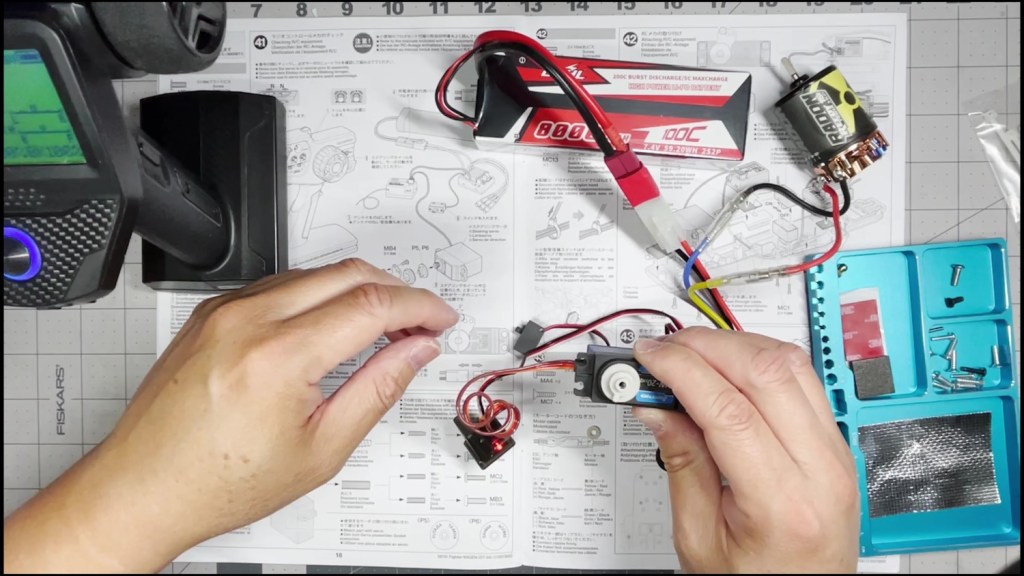
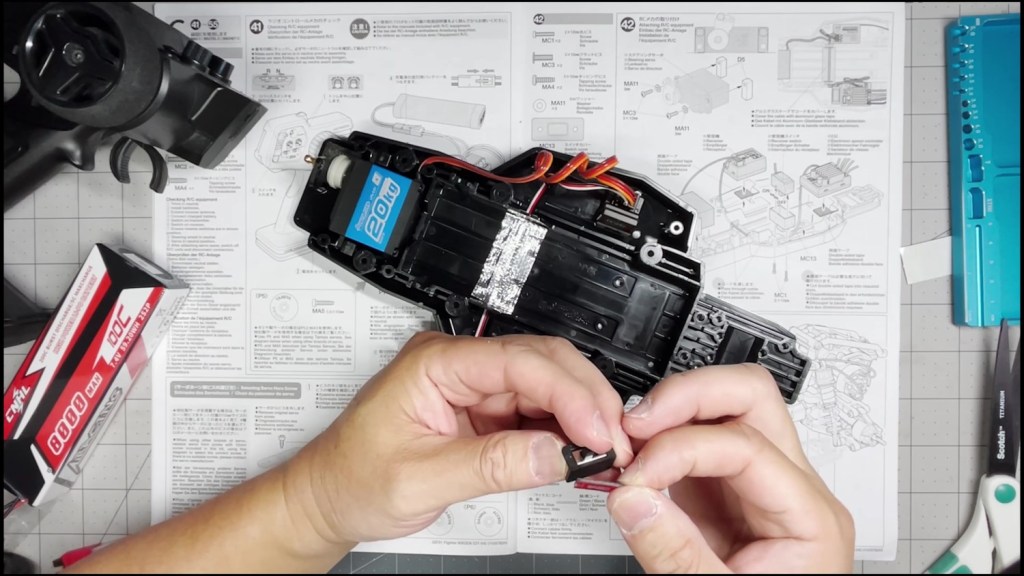
The first step is to connect the electronics and test them. This makes sure our transmitter and receiver are paired together. This step also centers the servo so make sure your trim settings are at zero before installing the servo saver.

Find and cut out the parts of the servo saver from the P parts tree.

Note the illustration where it shows the servo saver should be mounted at a clockwise 5 degree angle.
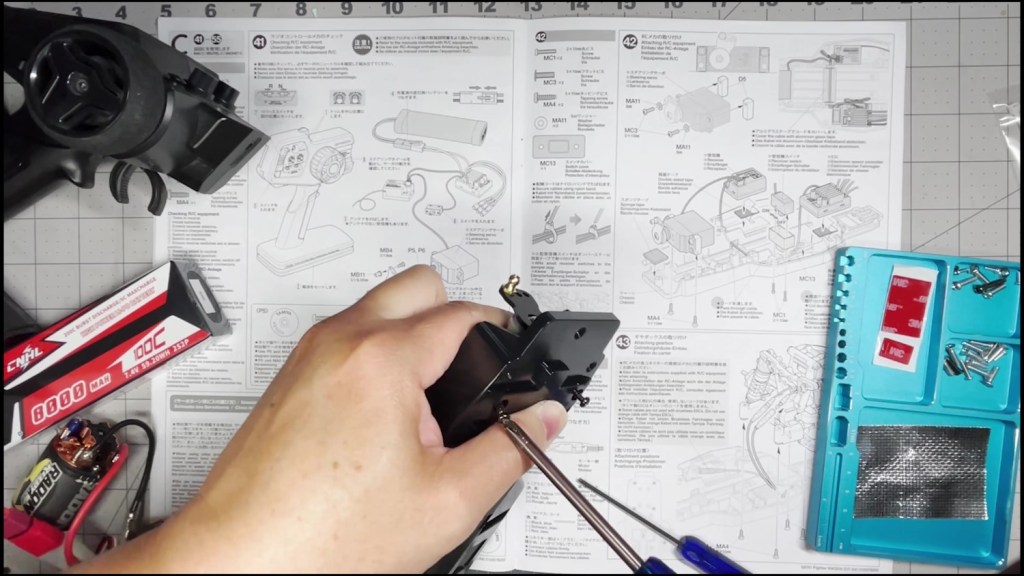
Next find the dark screw with a small button head. Thread this screw through the servo saver from behind.

Then screw on a ball stud by hand and tighten with a cross wrench. Place the servo saver onto the servo.


Find the screw that fits your servo and fasten the servo saver assembly.
The smooth side of the mount should face the servo with the hole on top. Use a washer and fasten the servo to the mount on both sides.

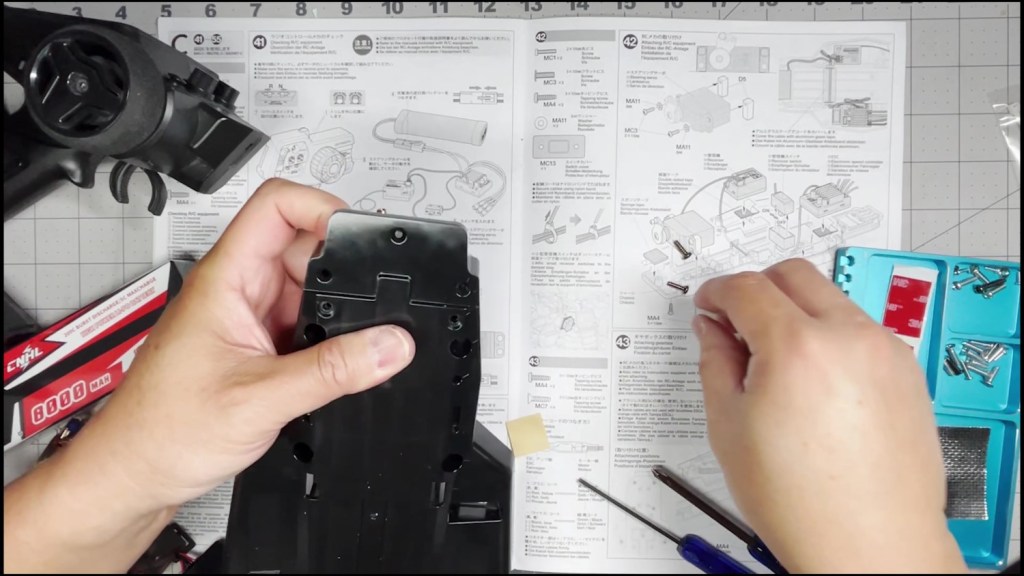
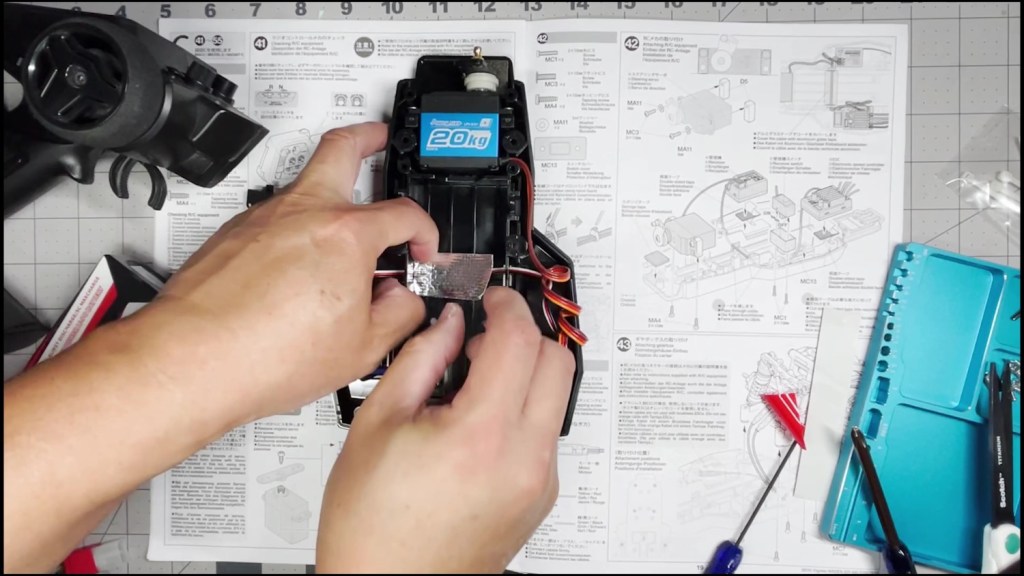
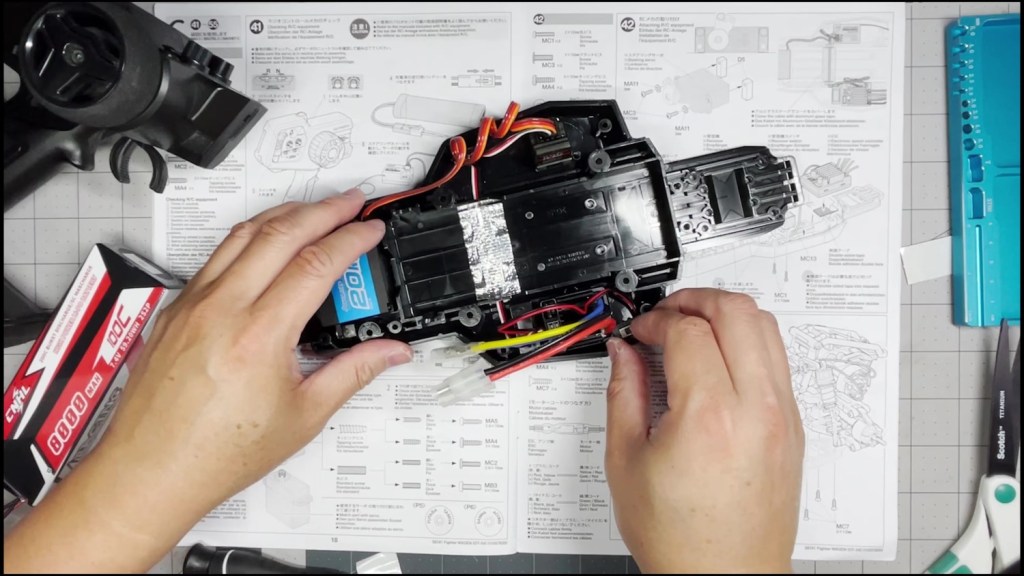
Peel and apply the included foam tape onto the chassis as shown.

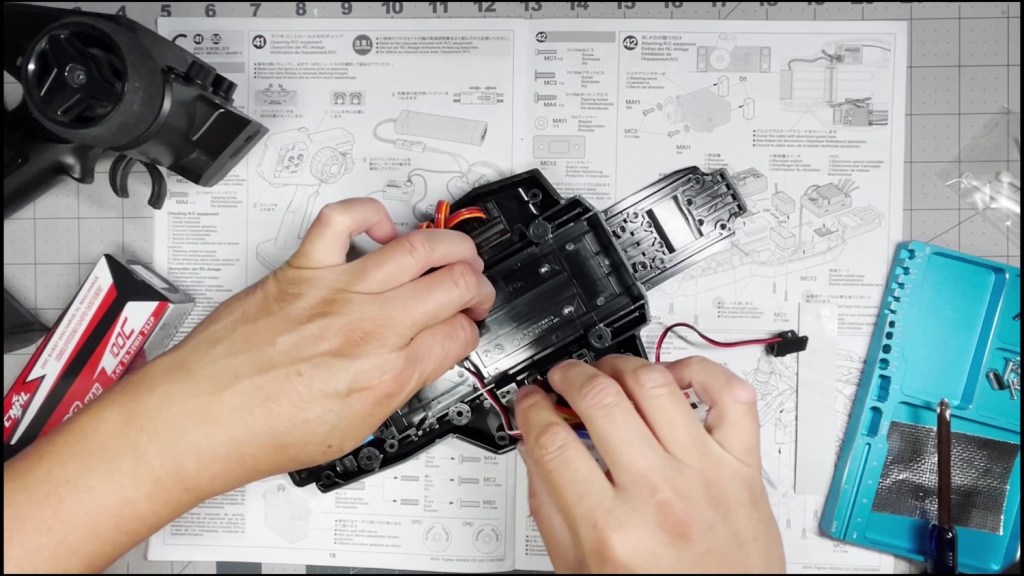
Line up the servo mount to the holes at the bottom of the chassis. Fasten with two screws.
Make sure the servo is fastened tightly to the chassis.

Cut out a piece of the double-sided tape to fit the receiver. Tape down the servo into the chassis in the location as shown.


Repeat with the ESC on the other side of the chassis. Thread the receiver wire under the battery compartment to reach the receiver.

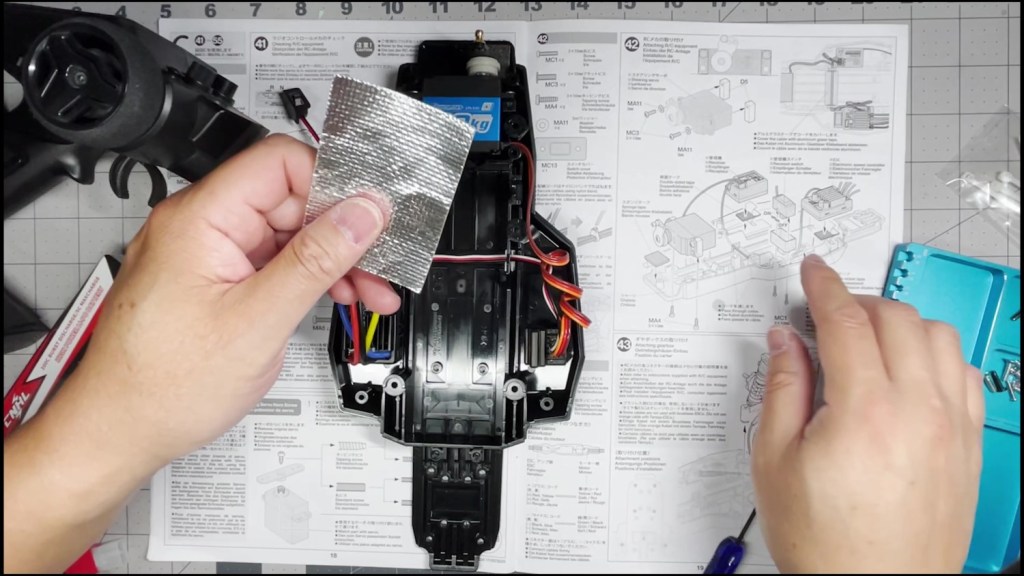
Cut a piece of the silver tape to size and apply on top of the wire.
Tape the on/off switch to the side of the chassis for now.
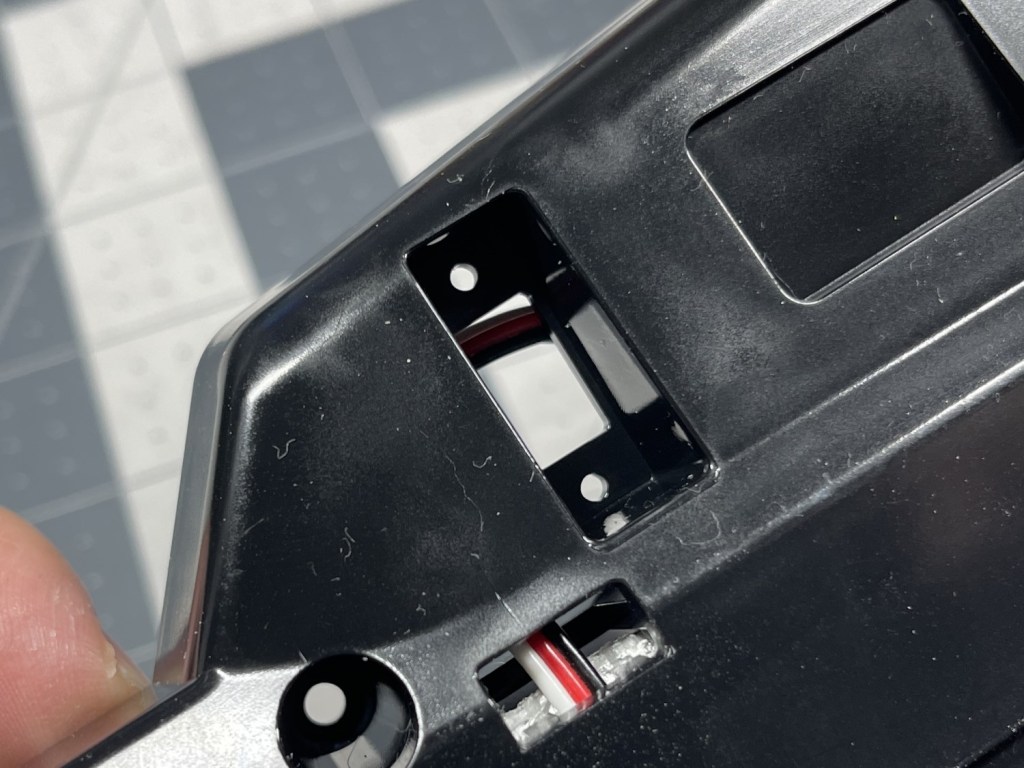
The downside of using a Hobbywing 1060 instead of a Tamiya TBLE ESC is the on/off switch doesn’t mount in the same way. There should be a rubber seal around the switch. Now there’s going to be a hole on the bottom of the chassis. We are working on testing a 3D printed adapter. Will update soon.
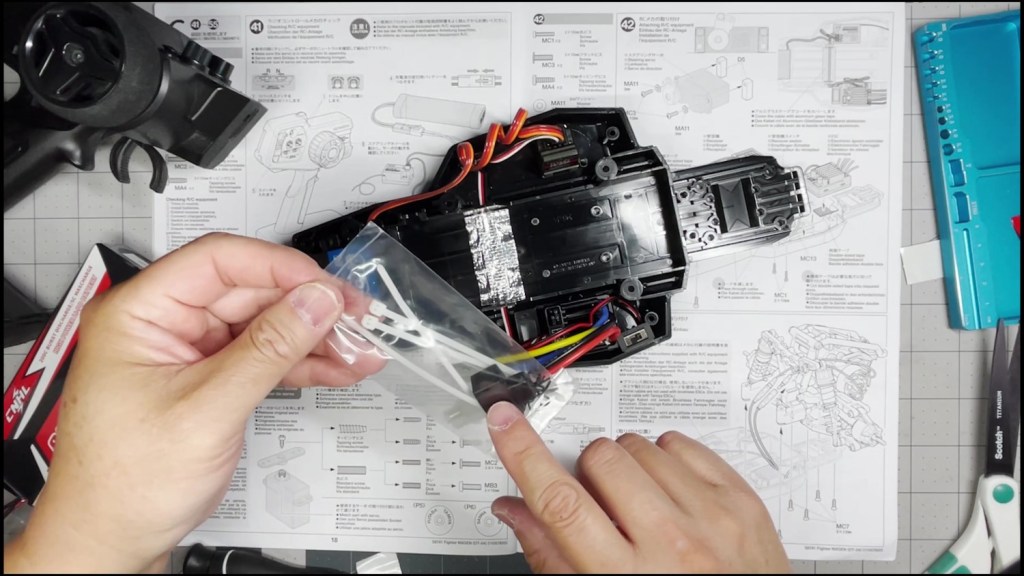
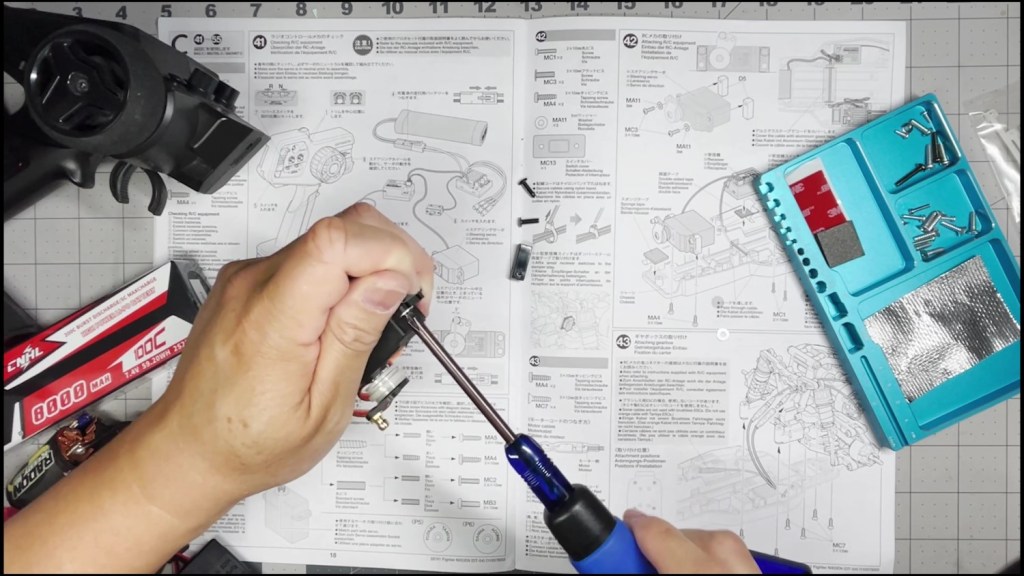
The final step is to plug the battery back in and test the electronics again.
That’s it for installing the electronics. I hope this article was helpful. Watch the full video below for more details. Thanks for reading!


Leave a comment