

Buy your Tamiya DT-04 Fighter NXGEN
Let’s put together the Tamiya signature driver figure. This cartoonish mascot gives the buggy a fun look. It takes time to paint the parts but it comes together very quickly.
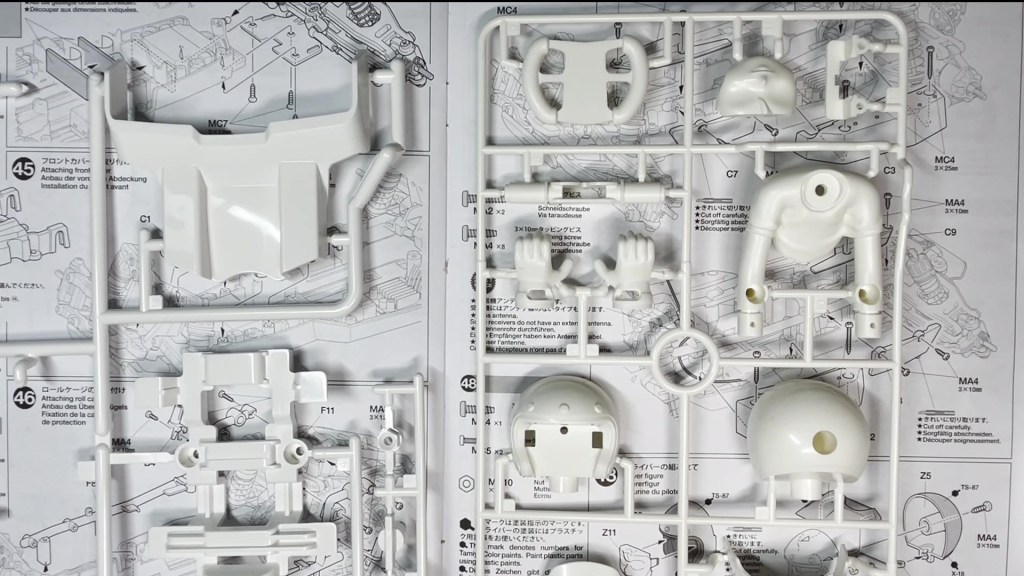
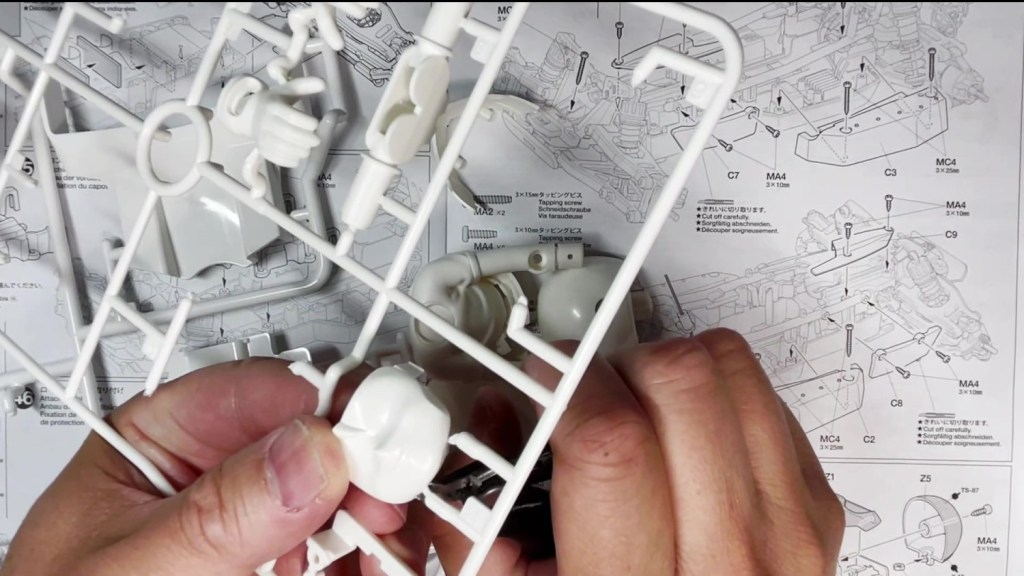
Let’s start by cutting out all of the pieces of the driver figure. Leave the Z tree parts 3 and 8 behind.
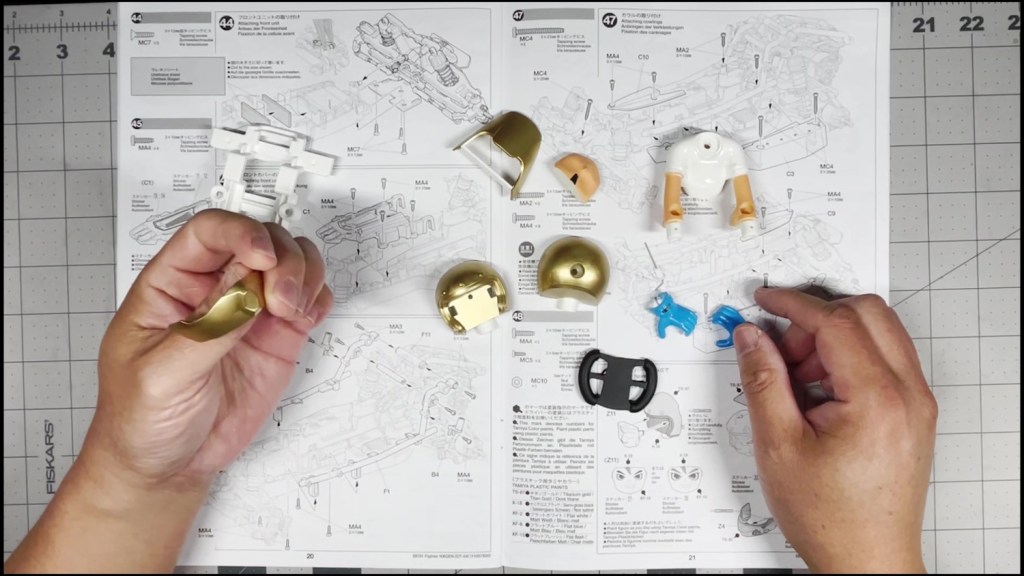
Let’s get to painting. Plan ahead to see which parts need to be painted in which color. Give each piece a light sanding, wash with soap and water then dry off with a paper towel.

The recommended colors are listing on the bottom left of page 21.
- TS-87 Titanium gold – Helmet
- X-18 Semi-gloss black – Steering wheel
- XF-2 Flat white – T-shirt
- XF-8 Flat blue – Gloves
- XF-15 Flat flesh – Face and arms
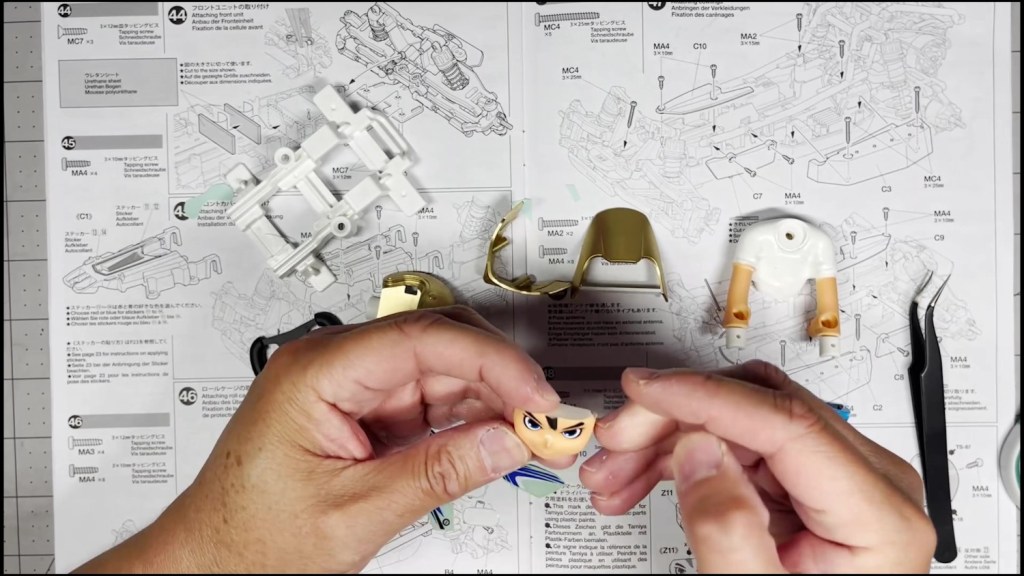
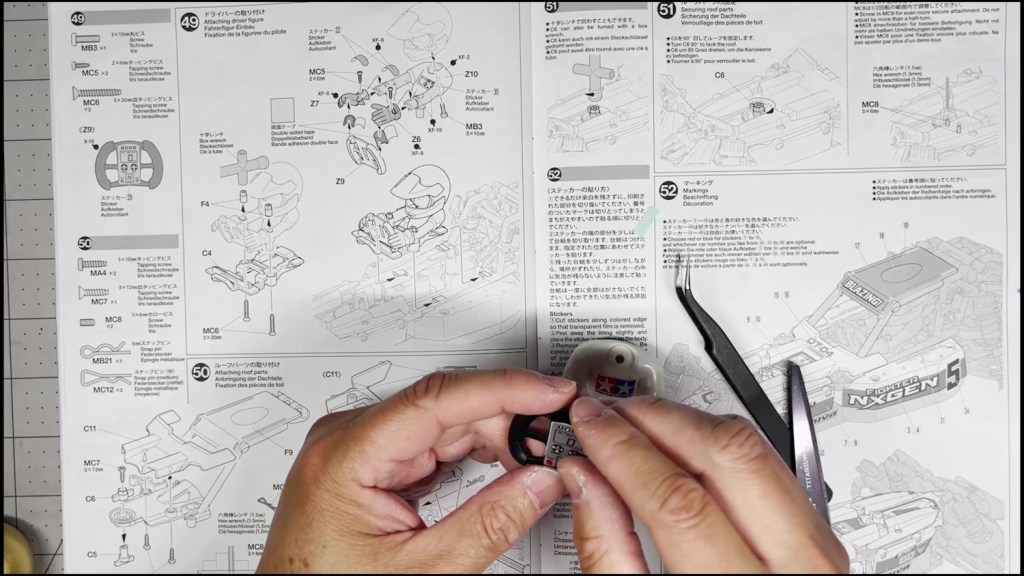
Next, we are going to cut out the driver figure decals. They are in the middle of the sheet on both sides. Choose from two pairs of eyes and apply it onto the face.

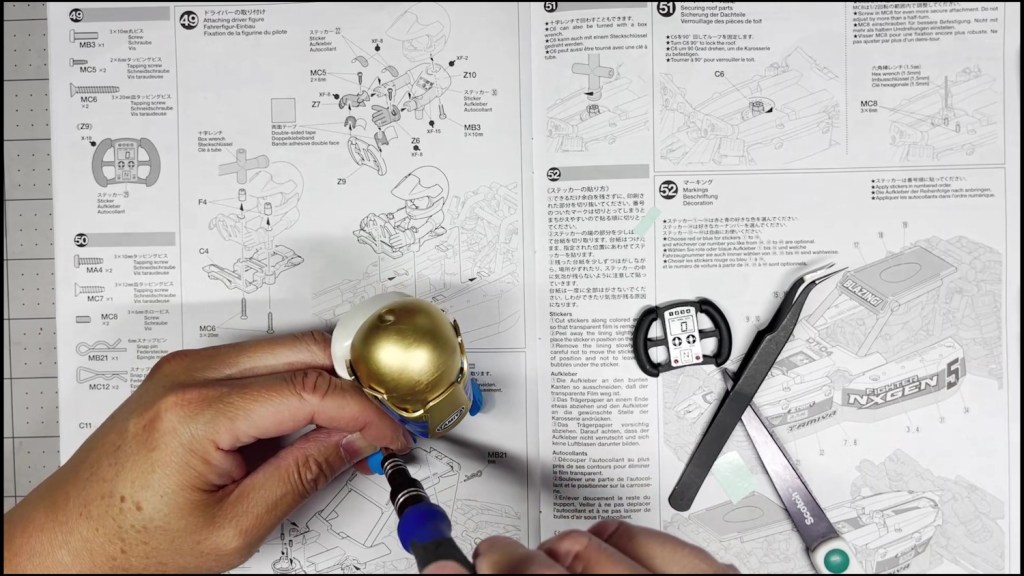
Now let’s assemble the helmet. Snap the face into the front of the helmet. Then hold the visor and face guard mount to the front of the helmet. Place a nut into the neck area as well.
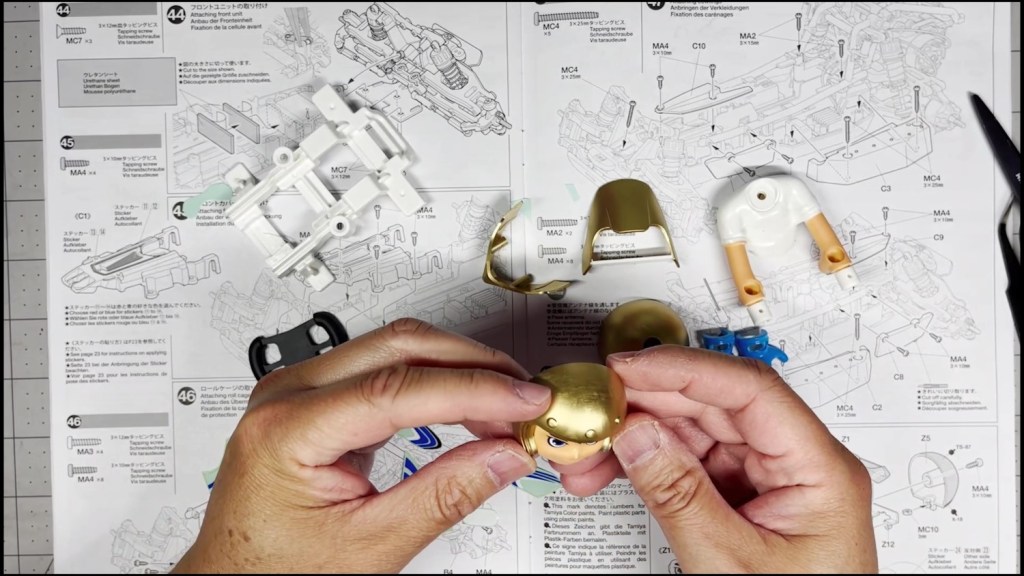
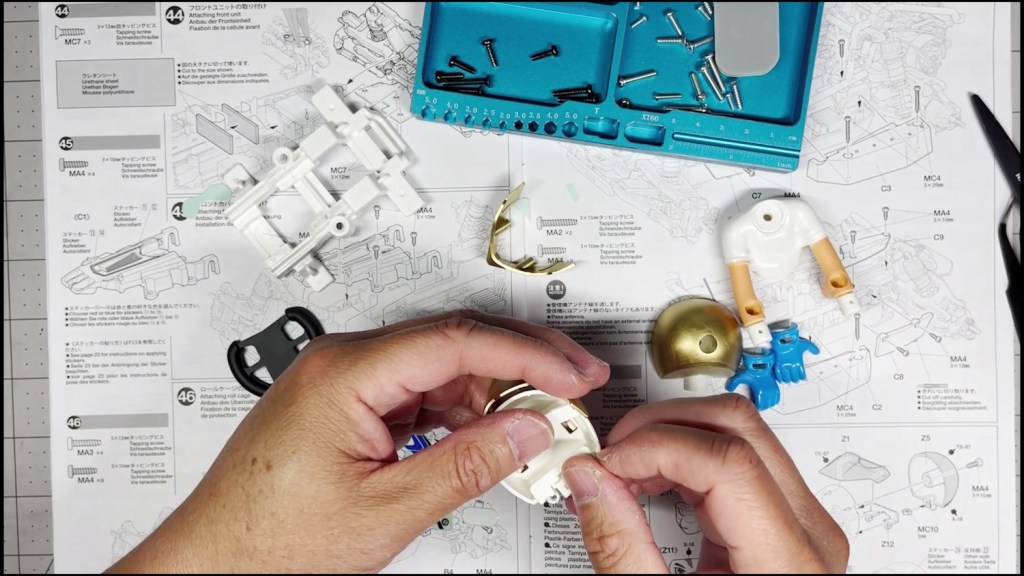
Before closing, make sure the visor and face guard mount are seated properly. Insert a screw from the back of the helmet and tighten. There should be no visible gap between the two pieces.

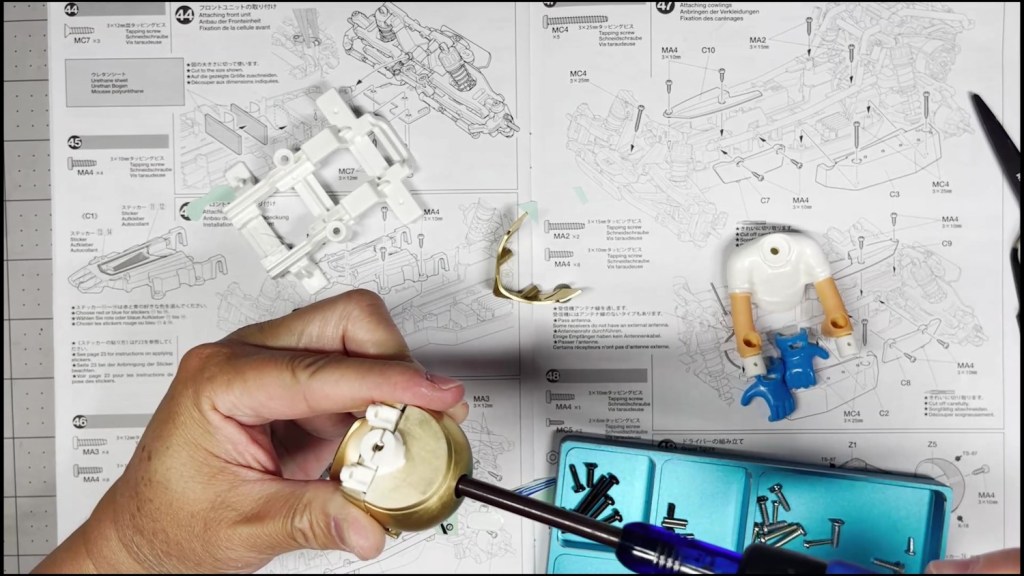
Line up the face guard to the mount and secure with two small screws. A precision screwdriver might be needed for this step.


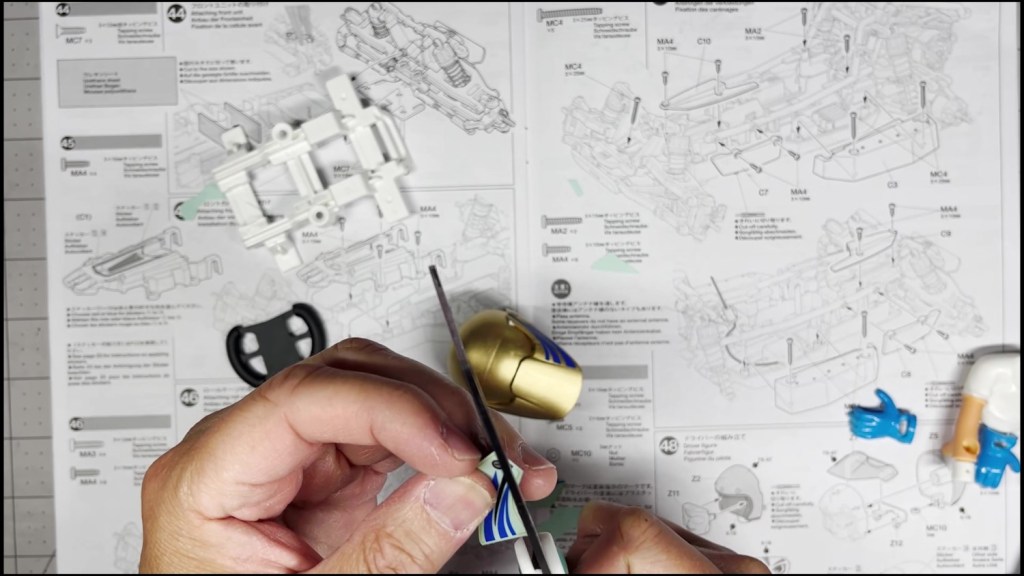
For the remainder of the helmet decals, make sure they are trimmed tightly against the gold line. Place the wings decals on each side of the visor and face guard. Don’t forget the oval Tamiya sticker in the middle.

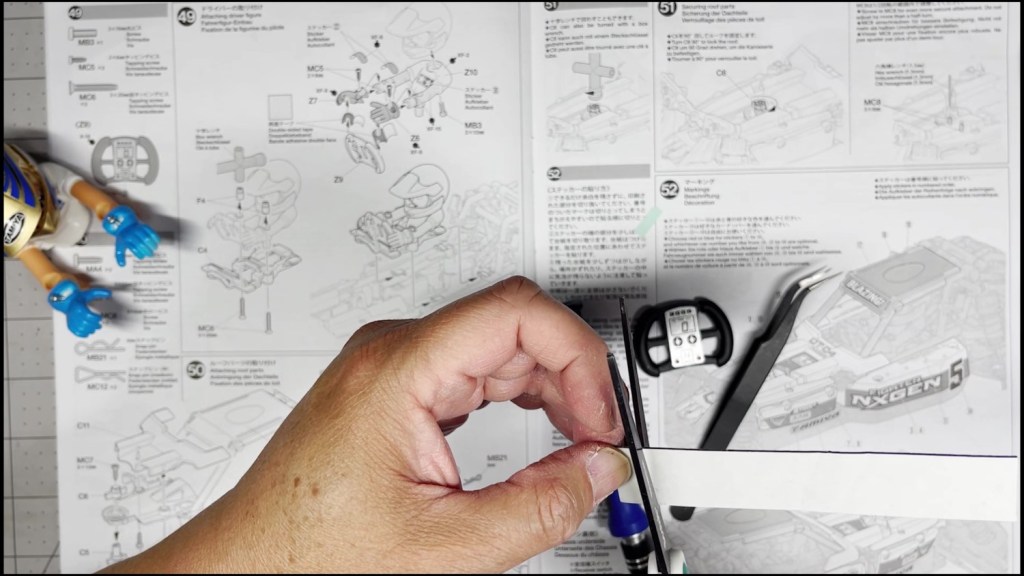
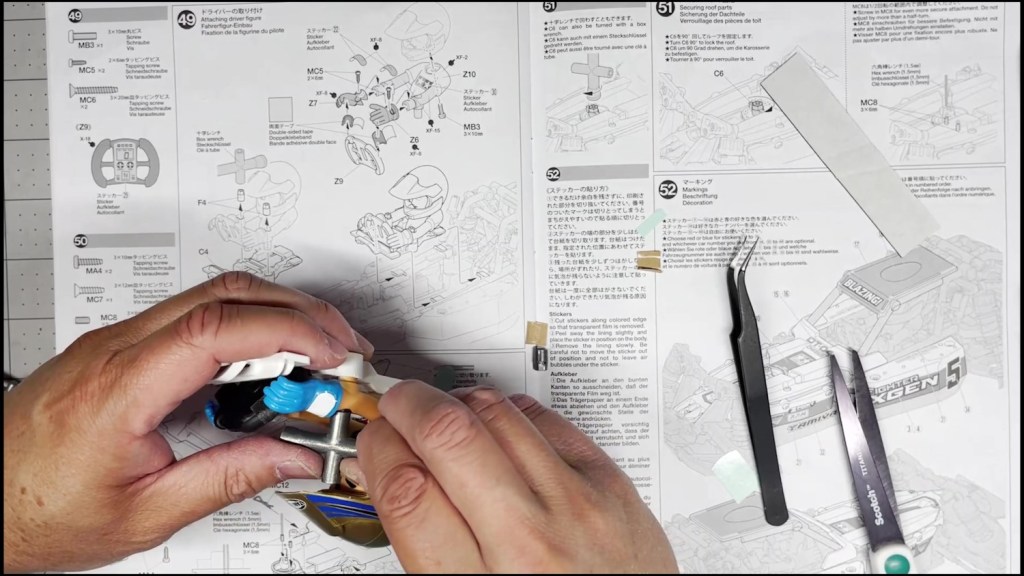
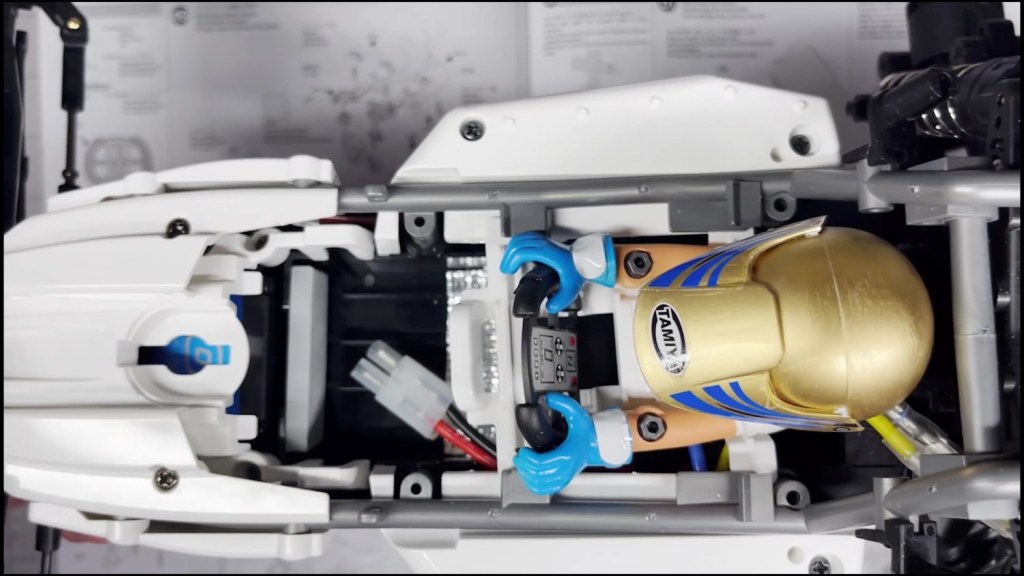
It’s time to put it all together. Start by placing the red and blue Tamiya logo on the driver’s chest. Then apply the dash decal to the middle of the steering yoke.

Line up the helmet with the body and fasten with one screw through the bottom.


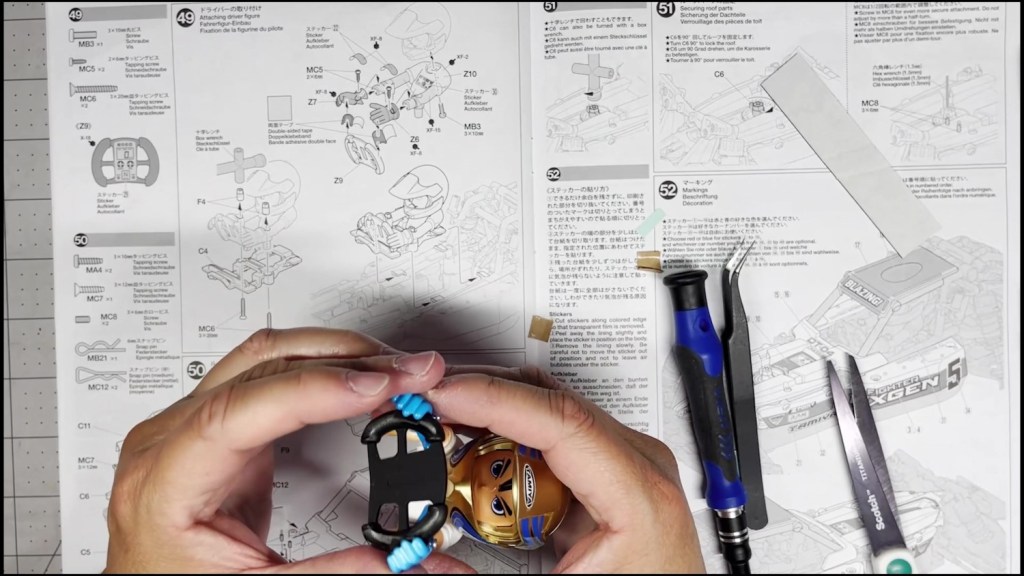
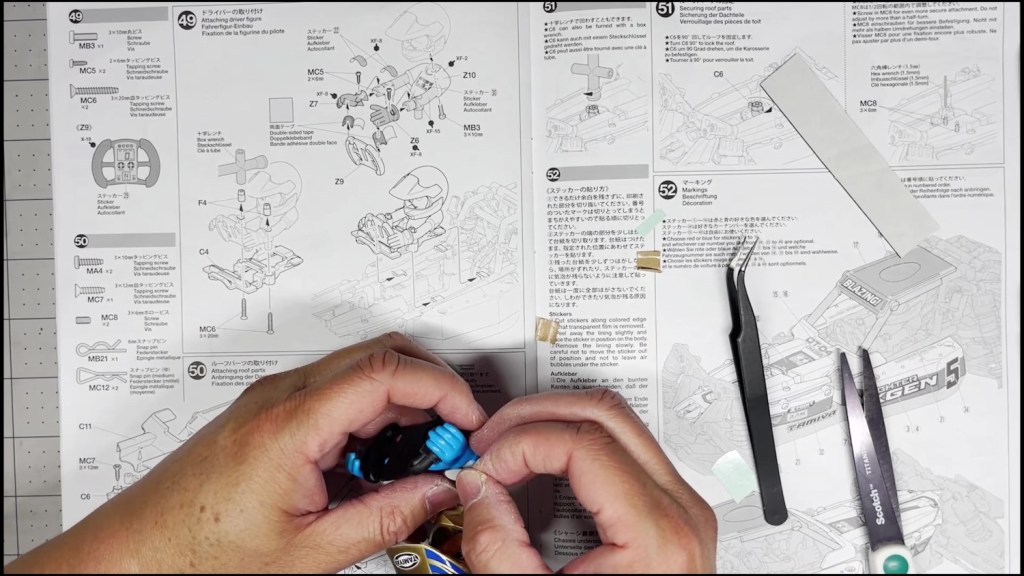
Loosely attach the two gloves with a screw. Make sure they are allowed to rotate without falling off.

Place a small square of double-sided tape on each side of the steering wheel.

Place the gloves onto the steering yoke and tighten both screws to lock in the hand position. Cover the screws with the white oval decal.

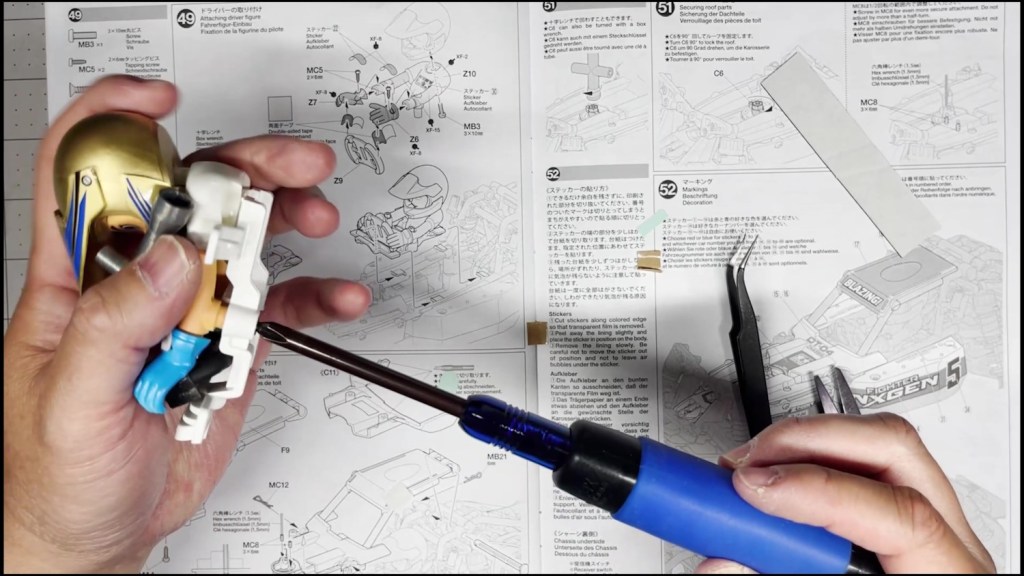
Connect the the mascot to the driver figure base. Hold the cross wrench to the nut on the top side and secure a screw from the bottom.
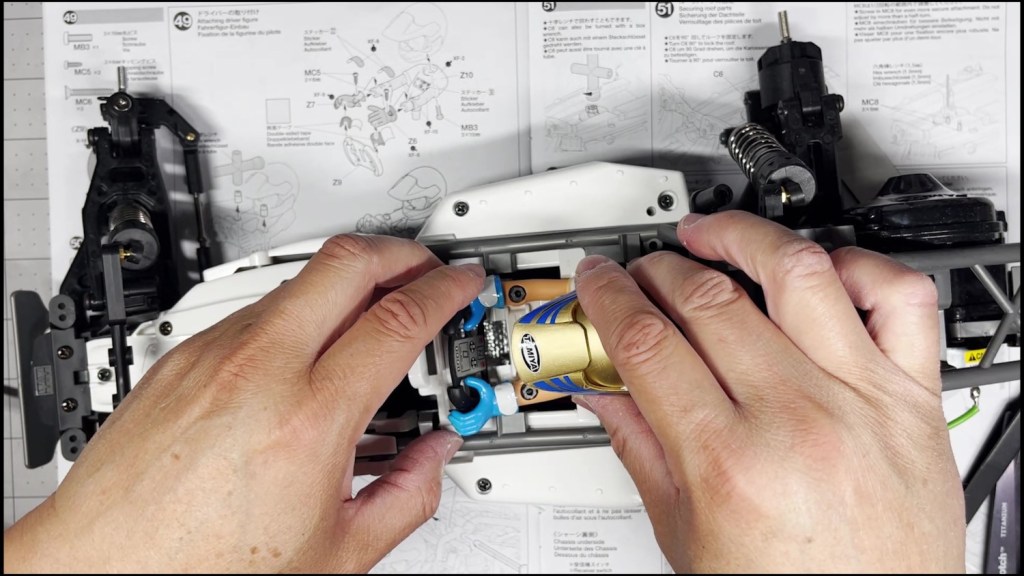
Locate the four tabs that will hold the driver figure onto the chassis. Slide the figure into the tab until it stops.

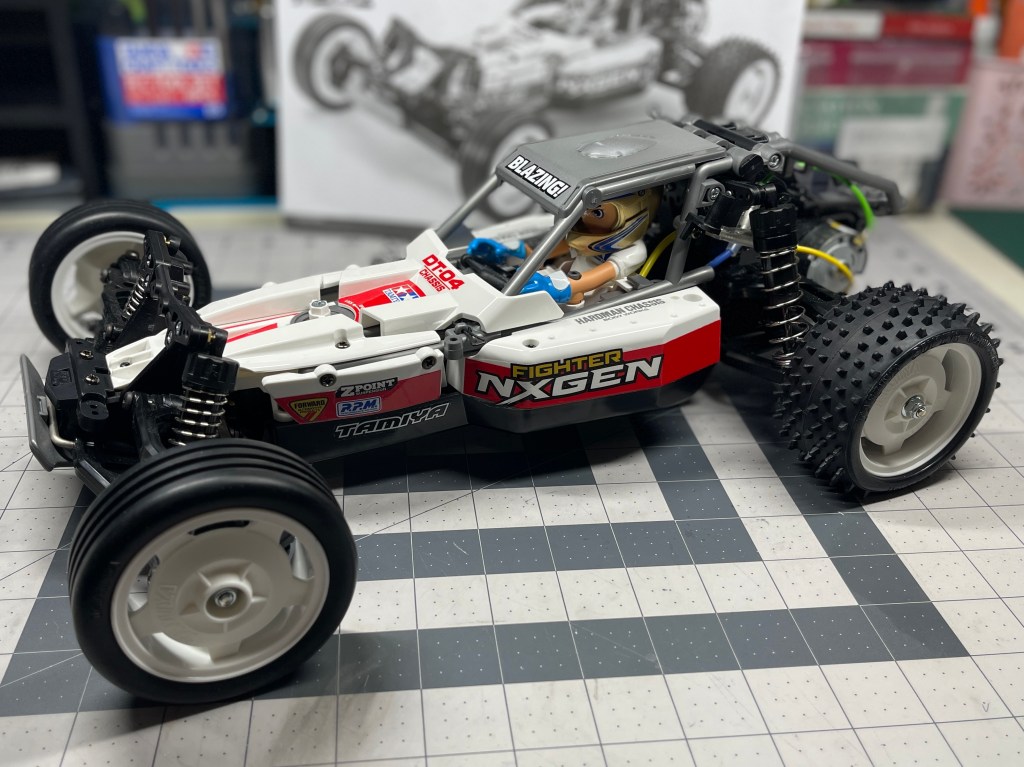
The driver figure is complete! I hope you found this article helpful. Thanks for reading.
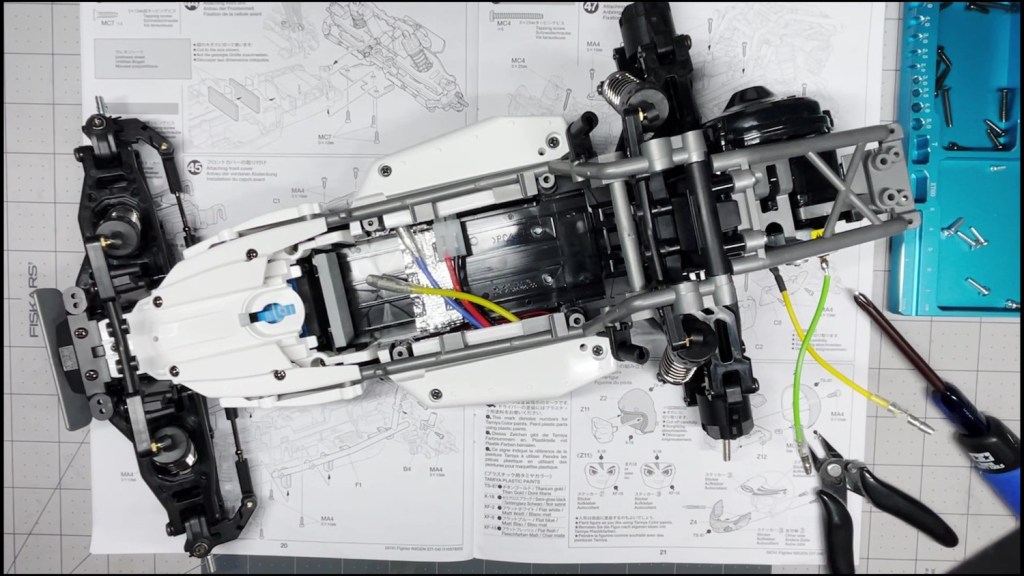
The chassis part of this kit build is complete! Thanks for reading.


Leave a comment