
Buy your Tamiya DT-04 Fighter NXGEN
Putting on the wheels is the last step of building this kit.
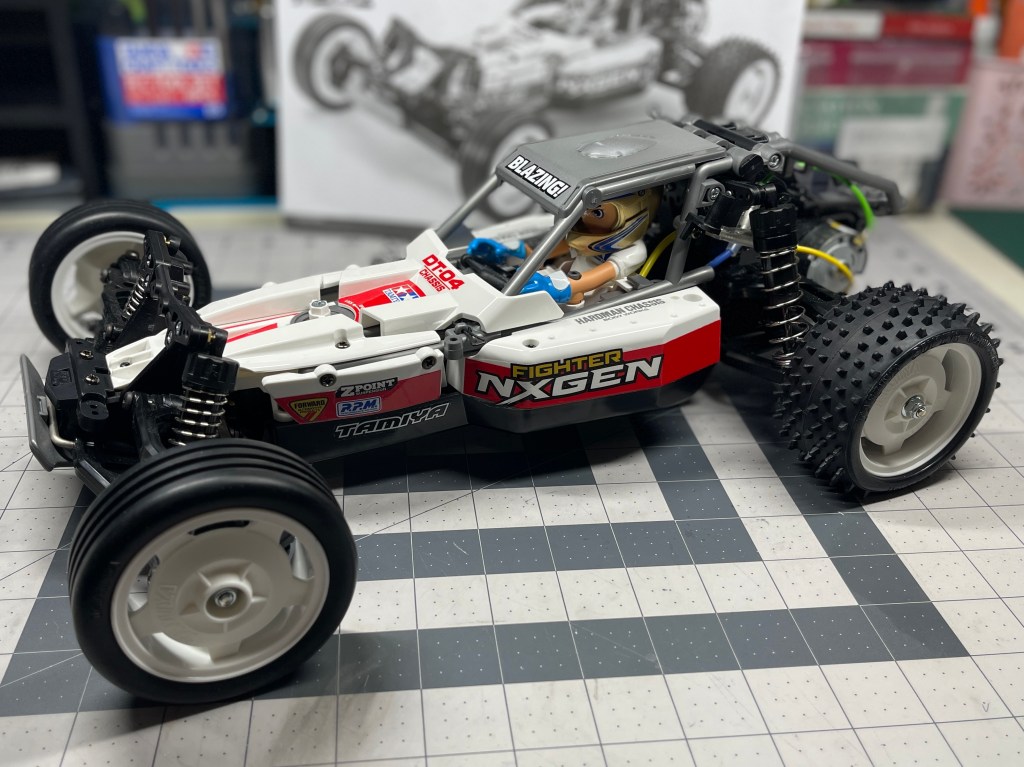
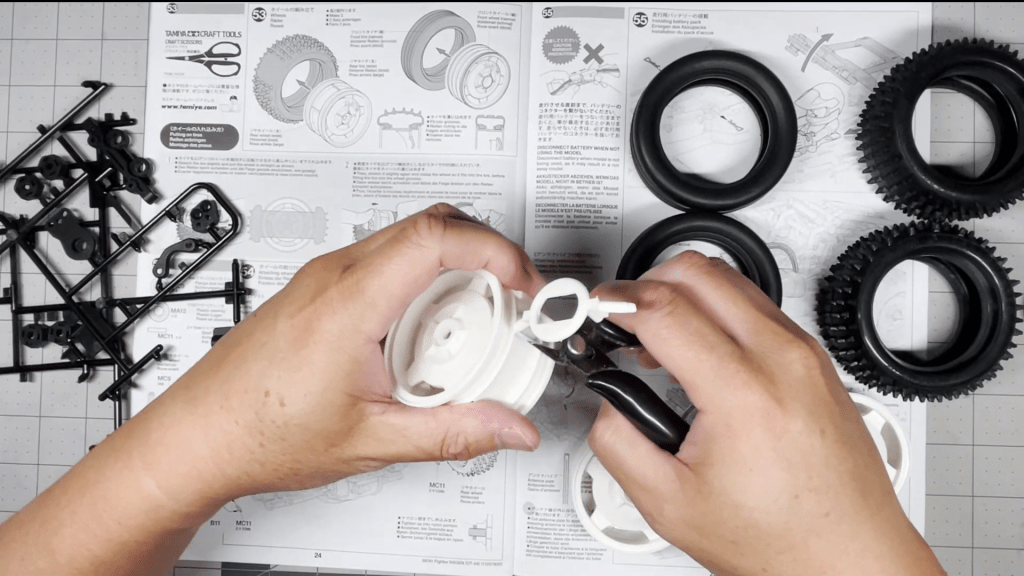
Cut out the front and rear wheels. Make sure to trim off any excess plastic.
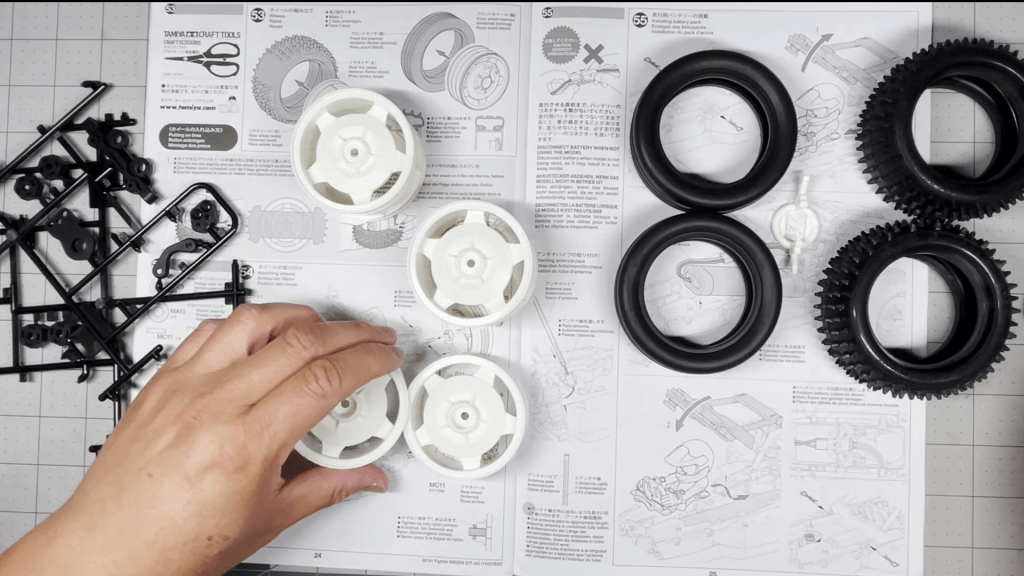
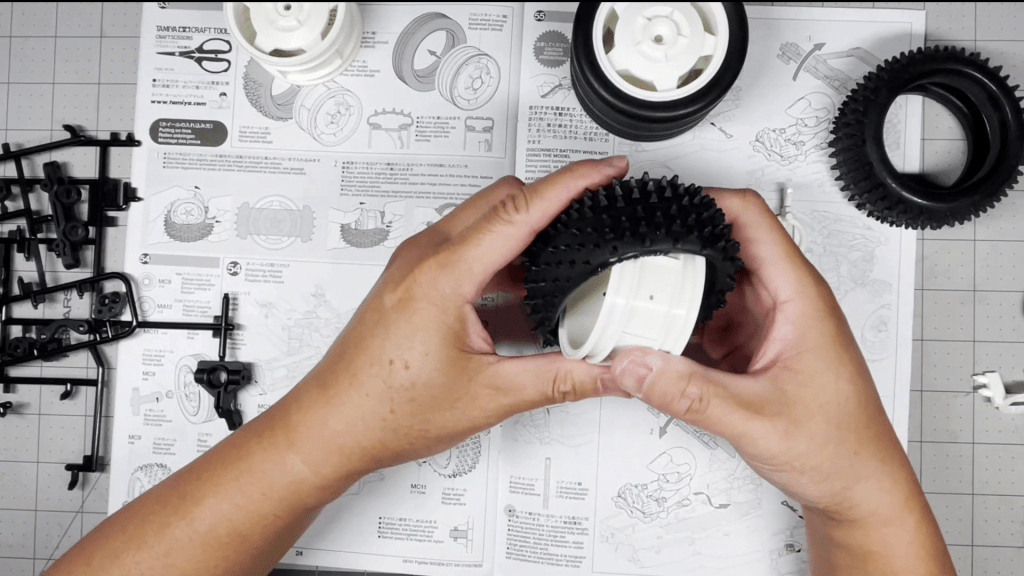
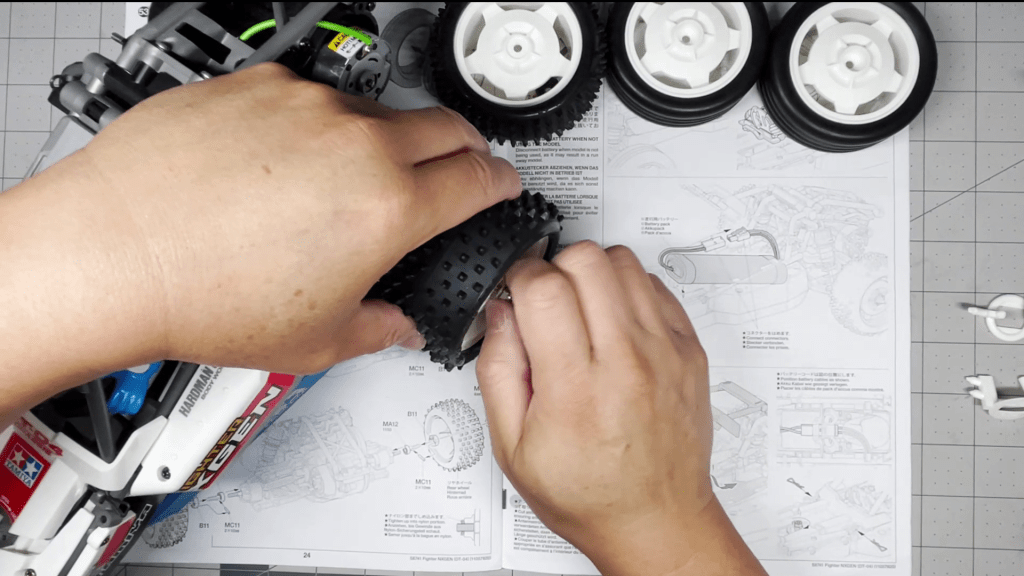
Stretch the front tire slightly and put the wheels straight in. Then stretch the tire again and rotate the wheel until it fits into the tire. Then push the tire into the wheel grooves.

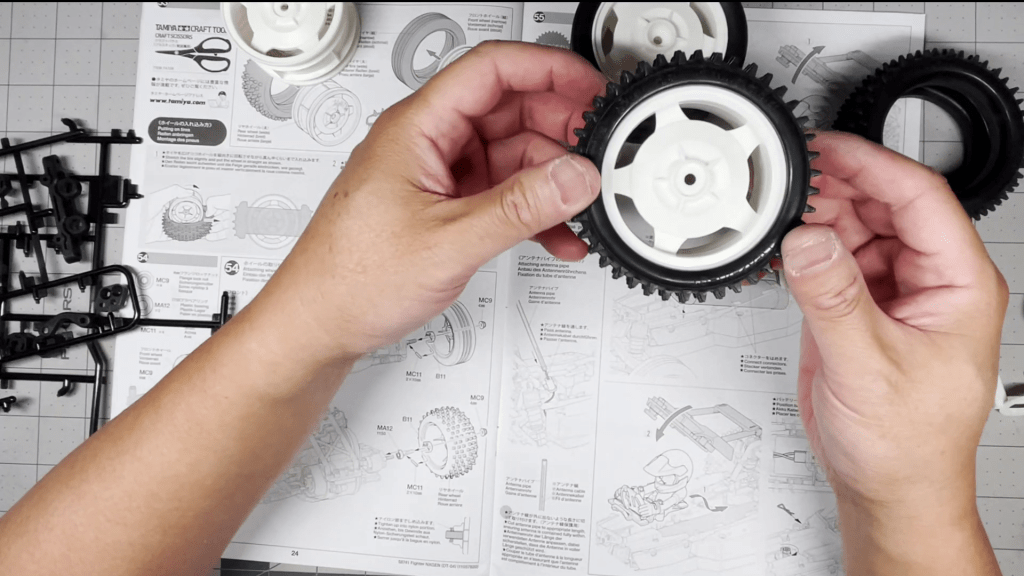
Make sure there are no gaps between the wheel and tire.

Repeat for the rear tires.
Cut out the plastic wheel hexes and gather the pins, wheel nuts and 2 remaining bearings.

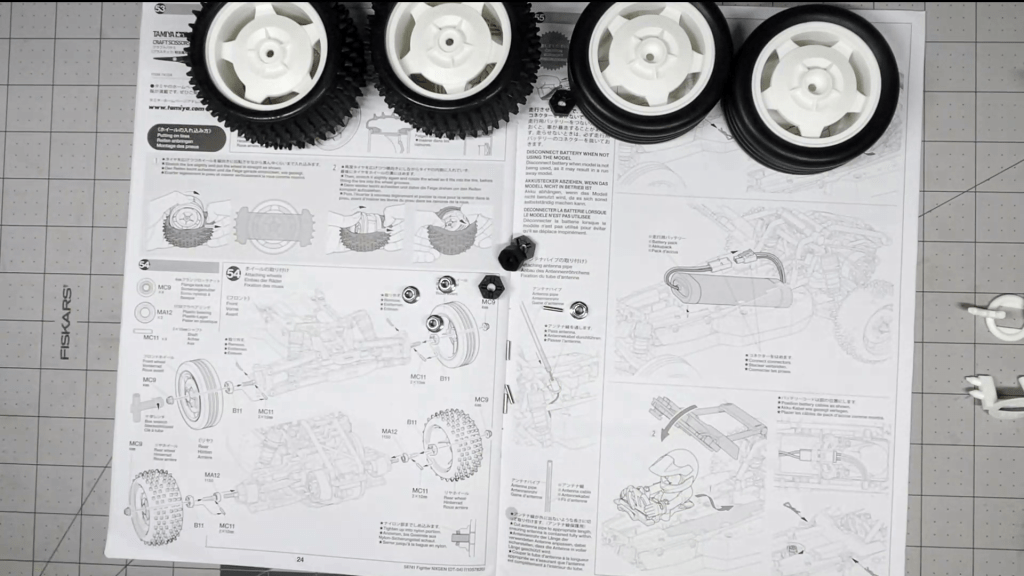
For the rear axles, we have to place a ball bearing into the hub.


Push a pin through the axle and line up the groove in the wheel hex.


Push the wheel hex over the pin until there is no gap.
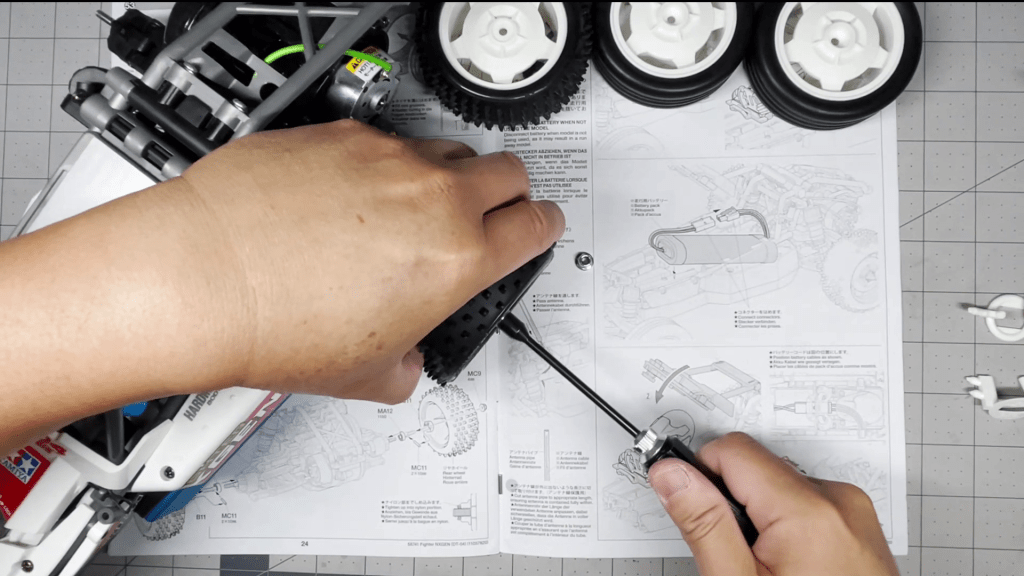
Put the wheel onto the axle and twist on a wheel nut by hand.

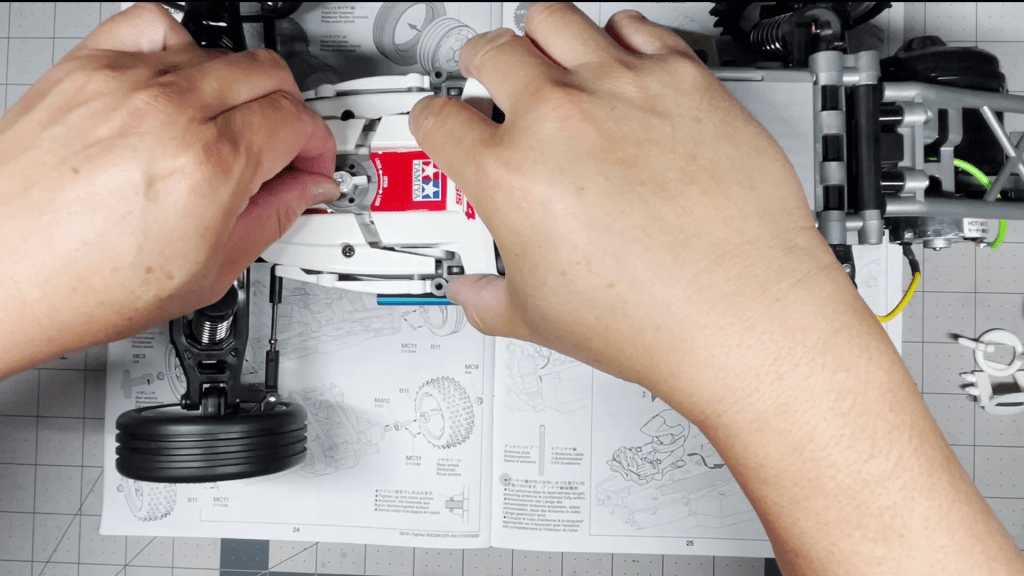
Then tighten the nut with a nut driver. Repeat for the other side.
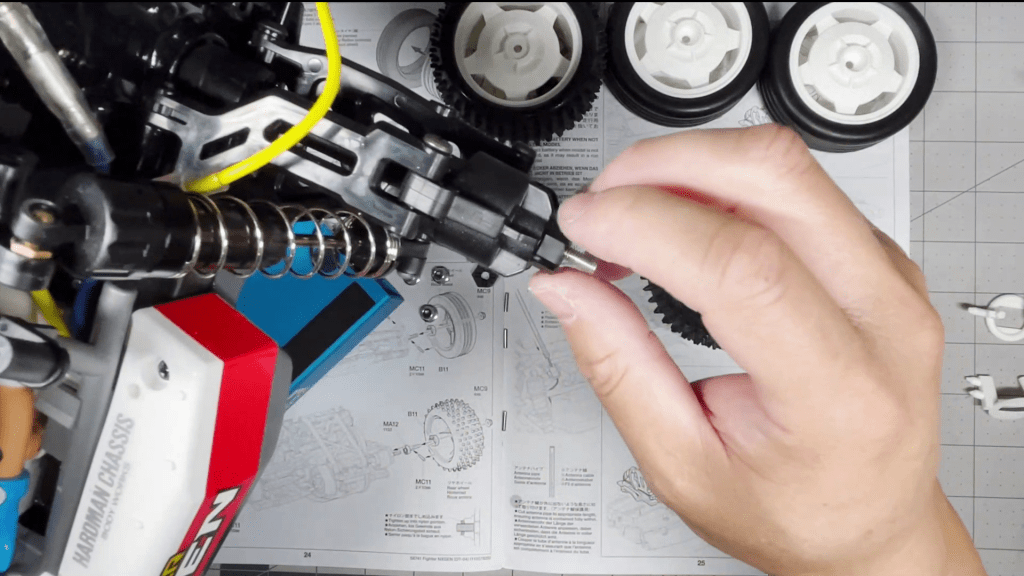
There is already a bearing installed in the front wheel hubs. All we have to do is remove the body pin and insert the wheel pin.
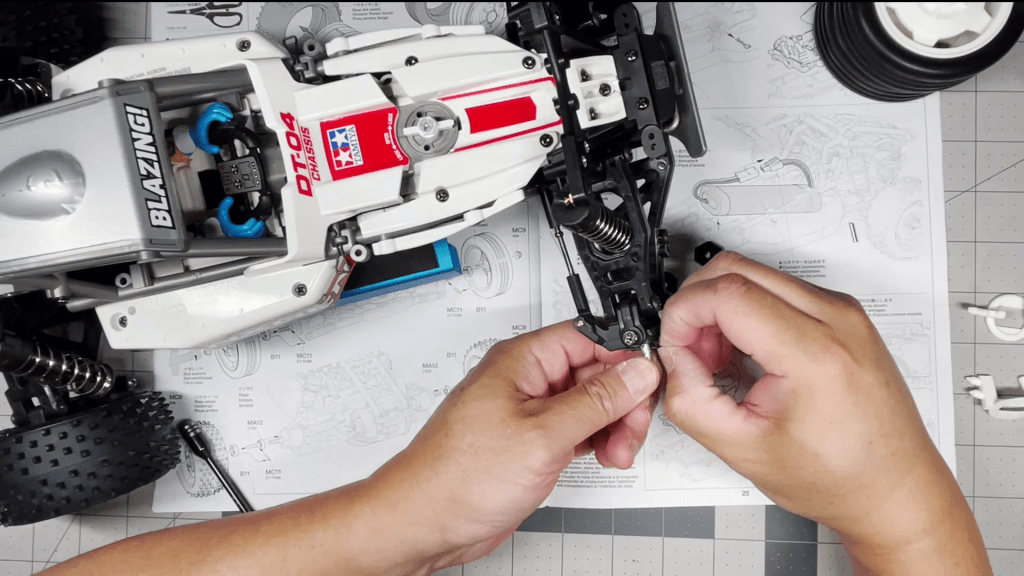

Push the wheel hex into the pin and install the front wheel.

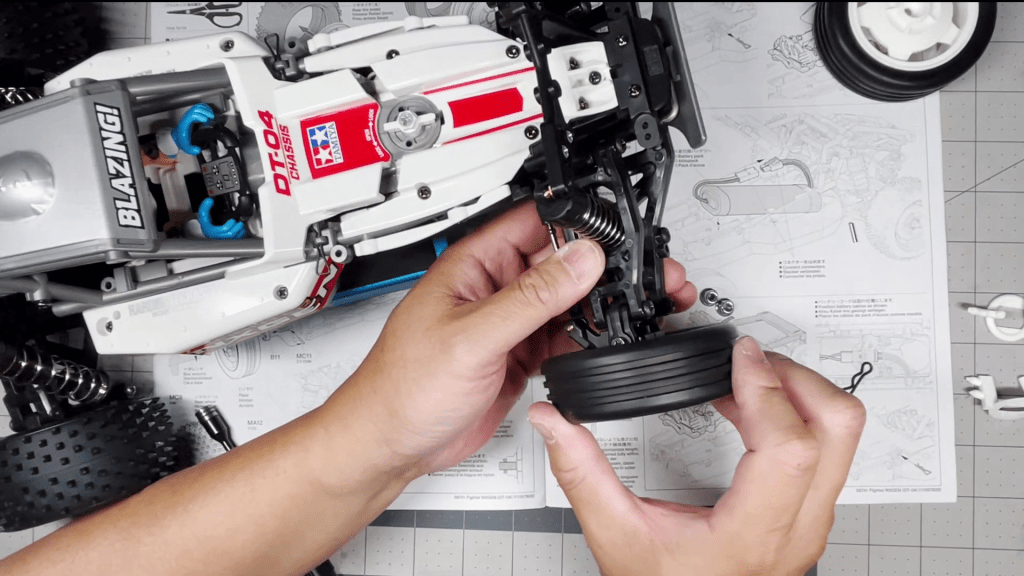
Tighten the front wheel nut. Repeat for the other side.
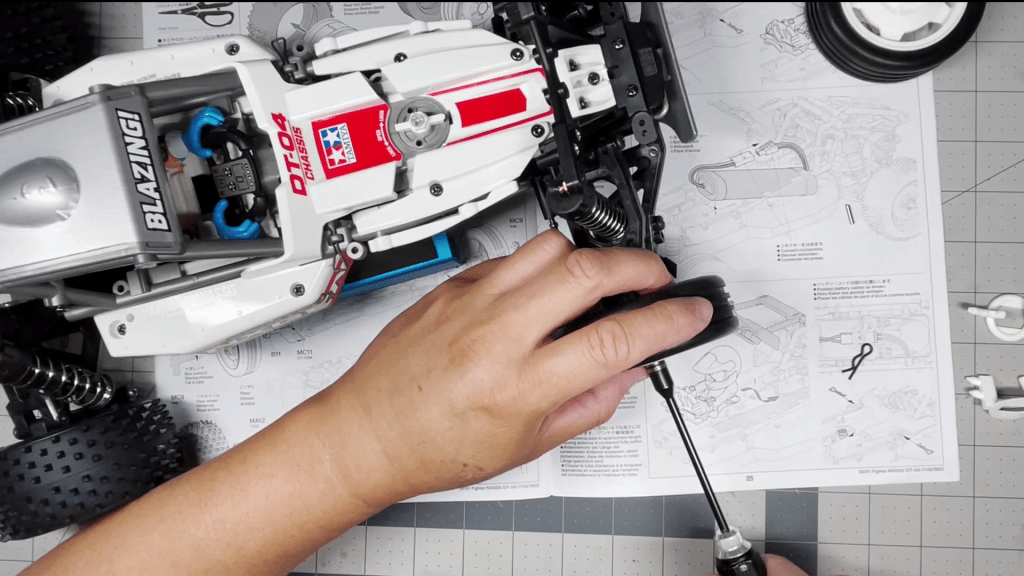
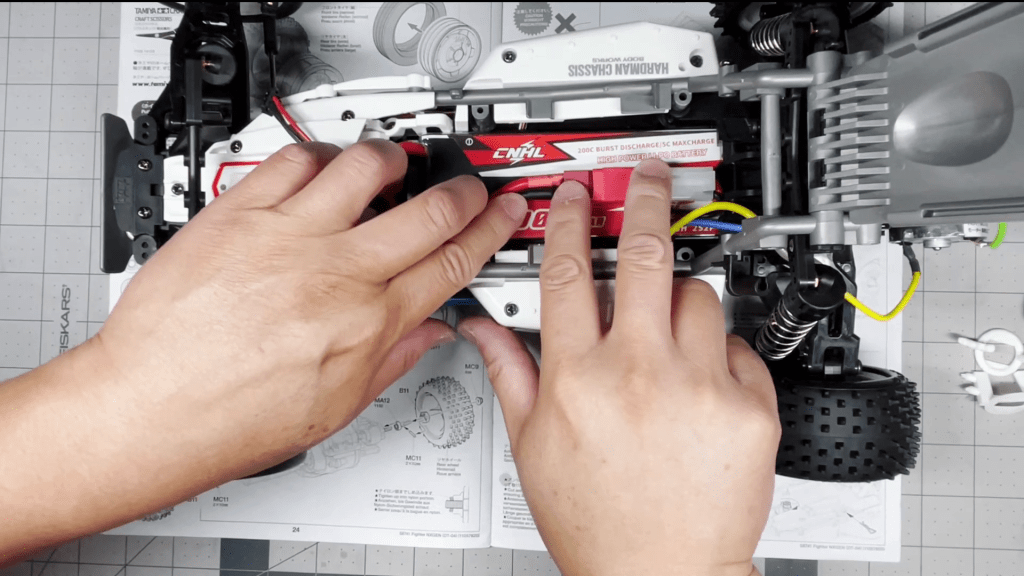
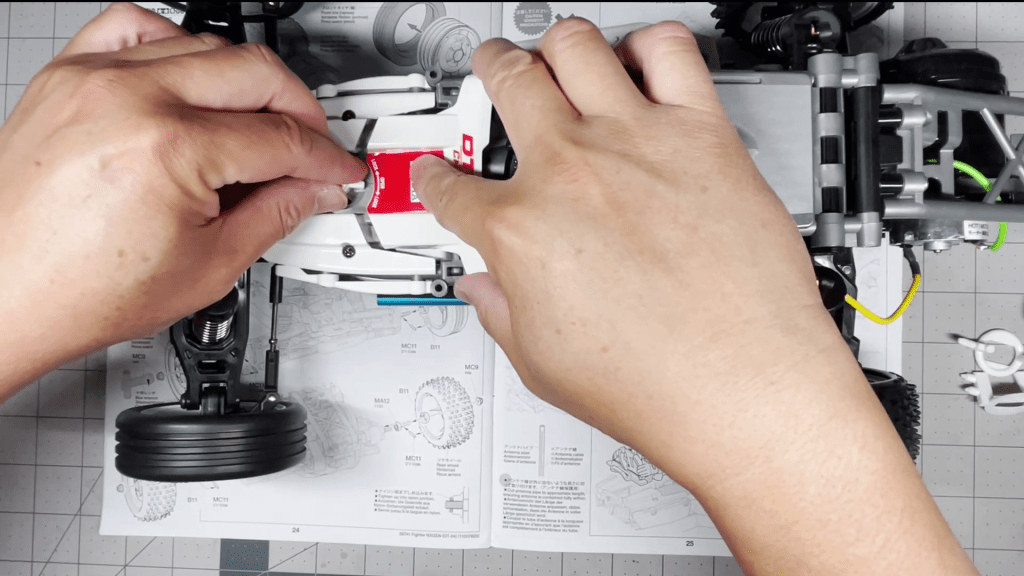
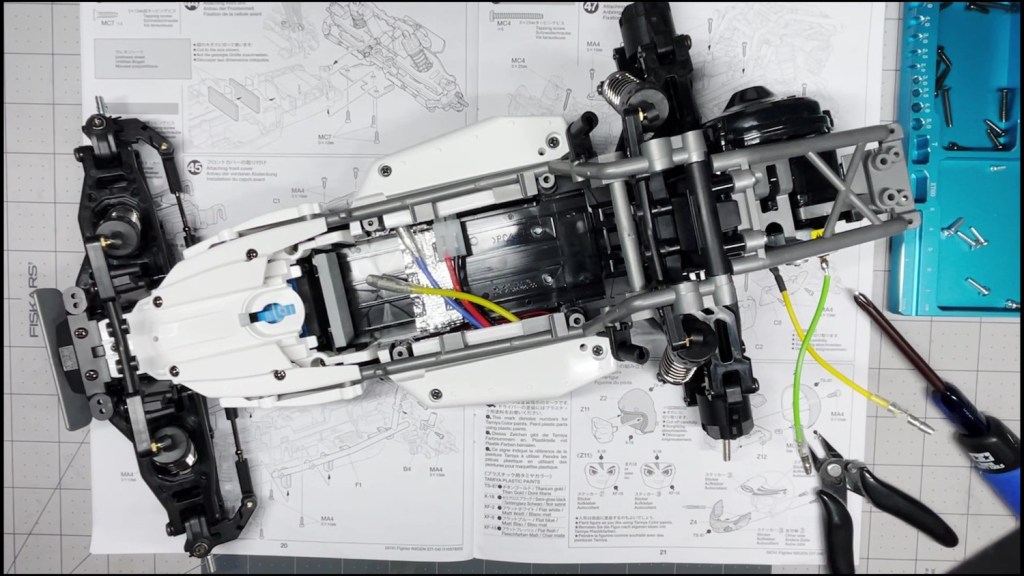
To install the battery, remove the two pins and turn the latch to unlock the top roll cage.

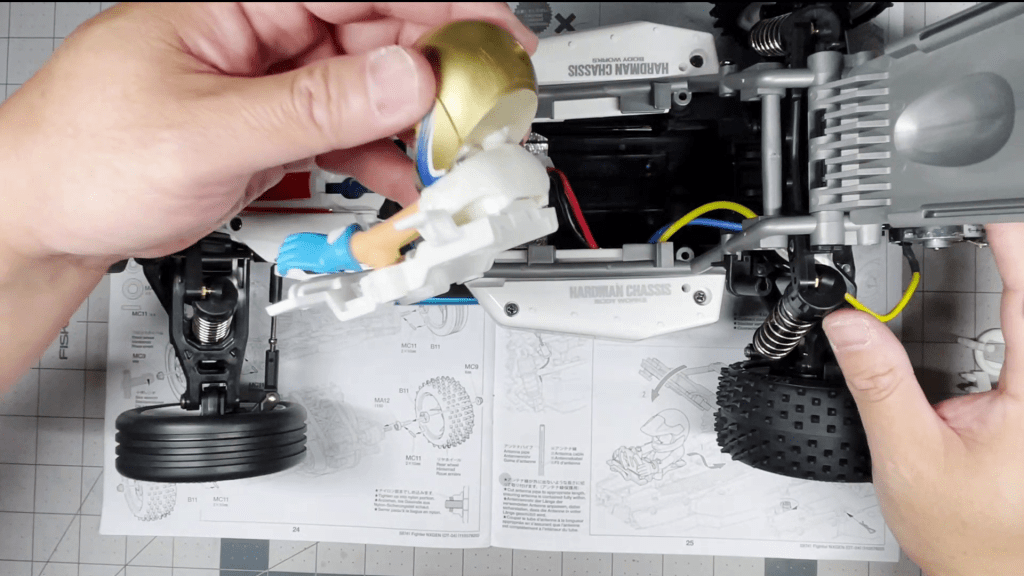
Open the hatch and slide out the driver figure. Place the battery into the compartment with the wires facing the front of the buggy.
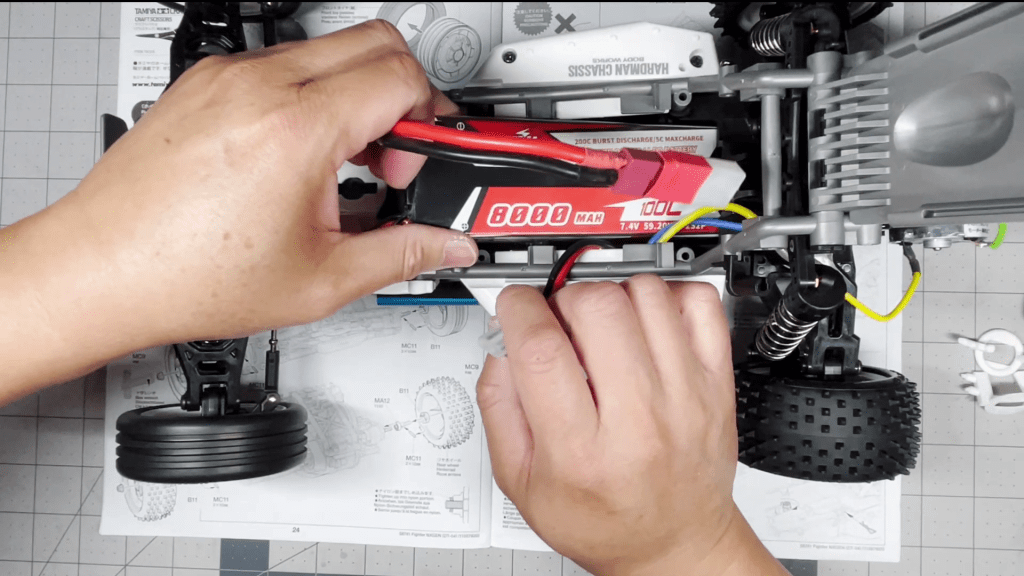
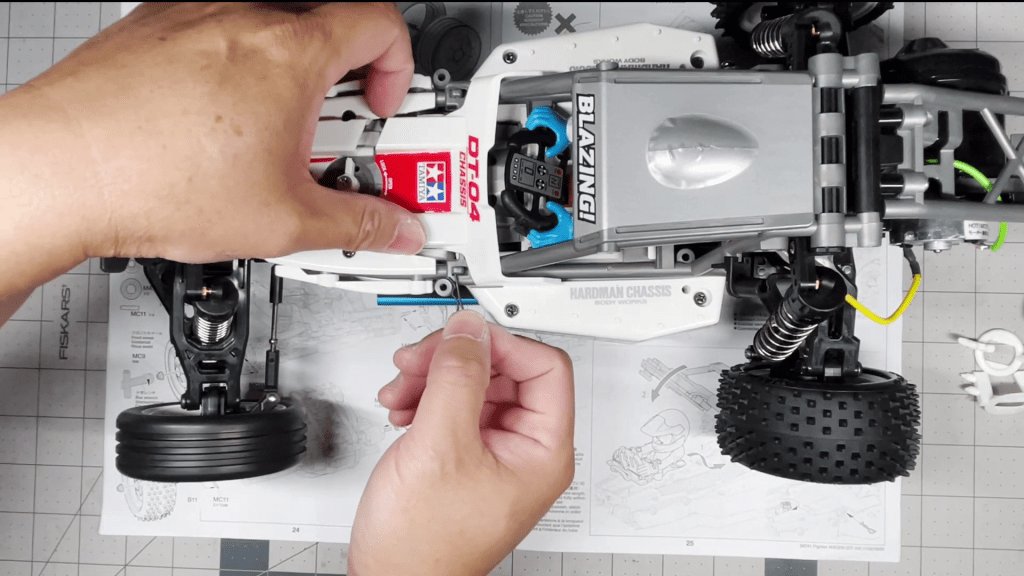
Connect the battery to the ESC and line up the connectors flat against the middle of the battery.

There is a space between the driver figure and battery where the wire and connector will go. Slide the driver figure back into position.
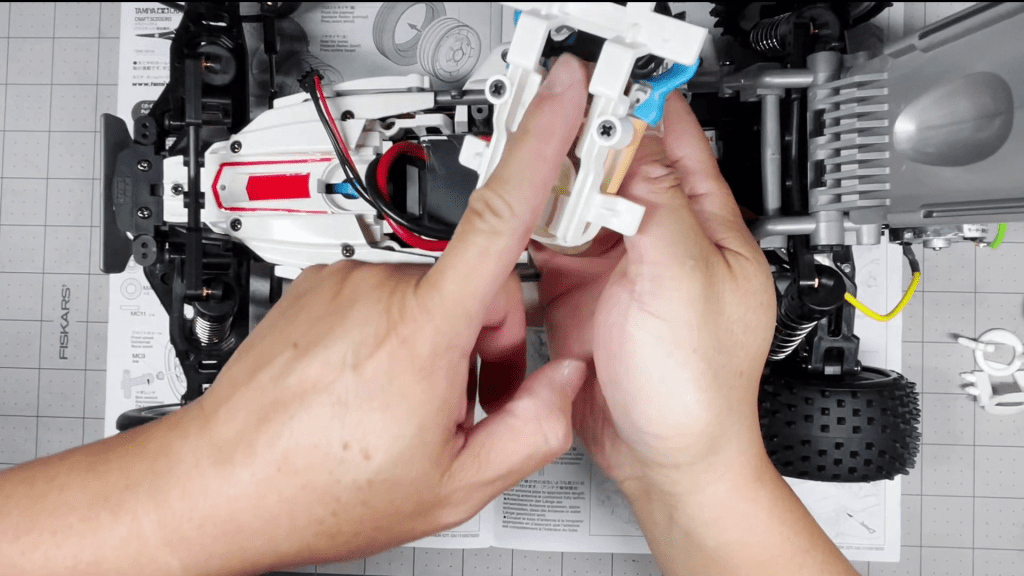
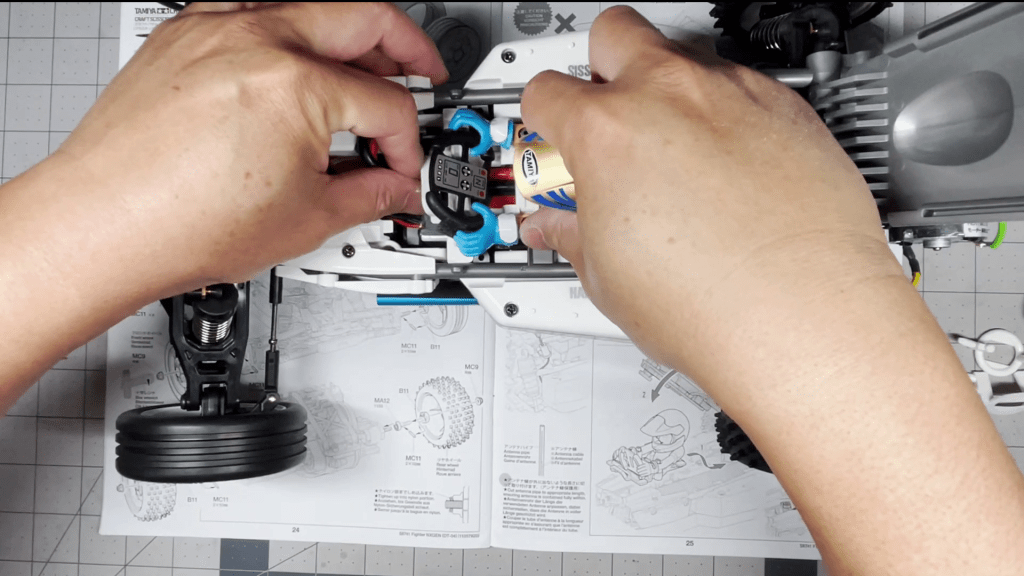
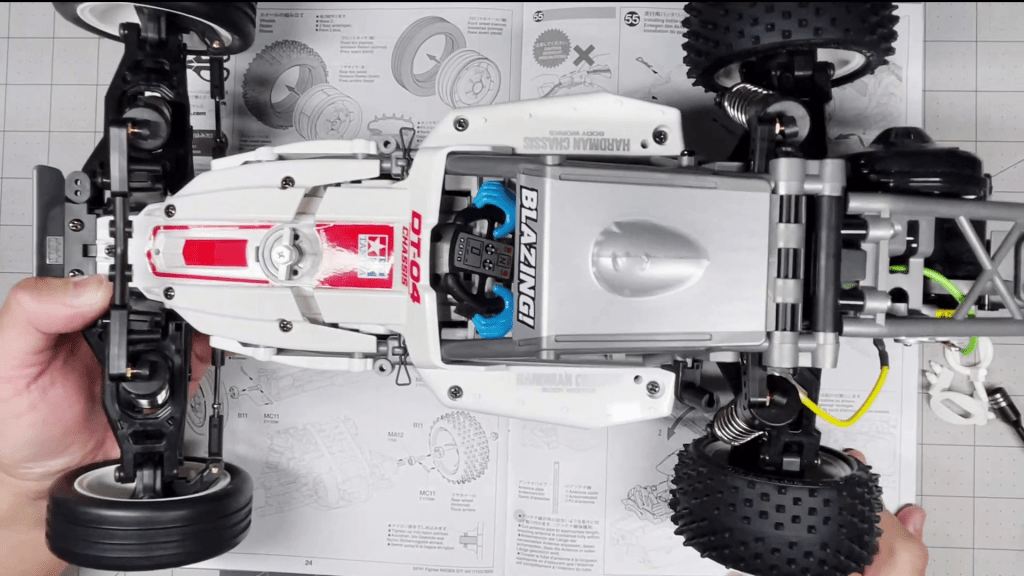
Push the remaining wire into the chassis and close the roof roll cage hatch.

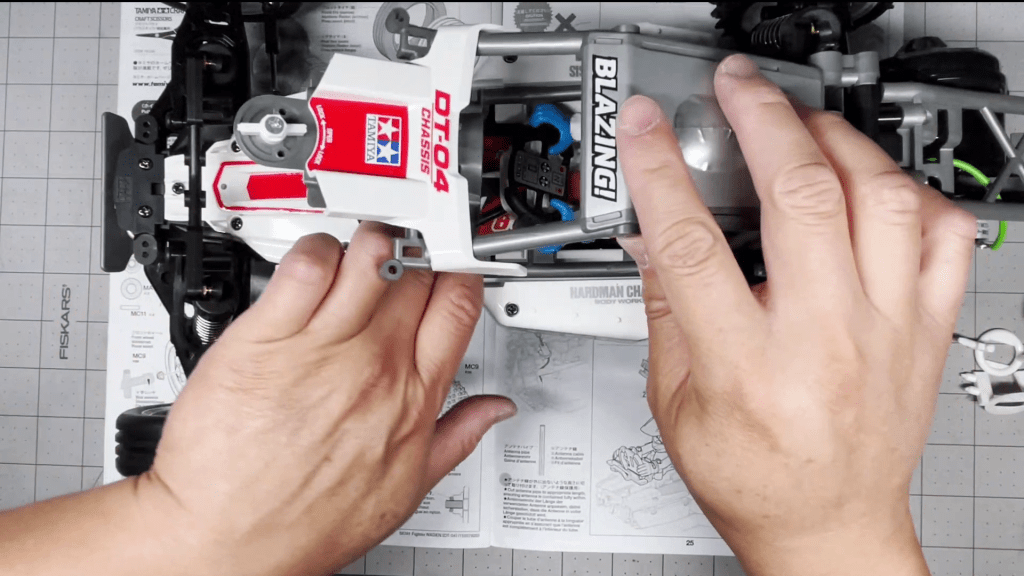
Lock the hatch and replace the two body pins.
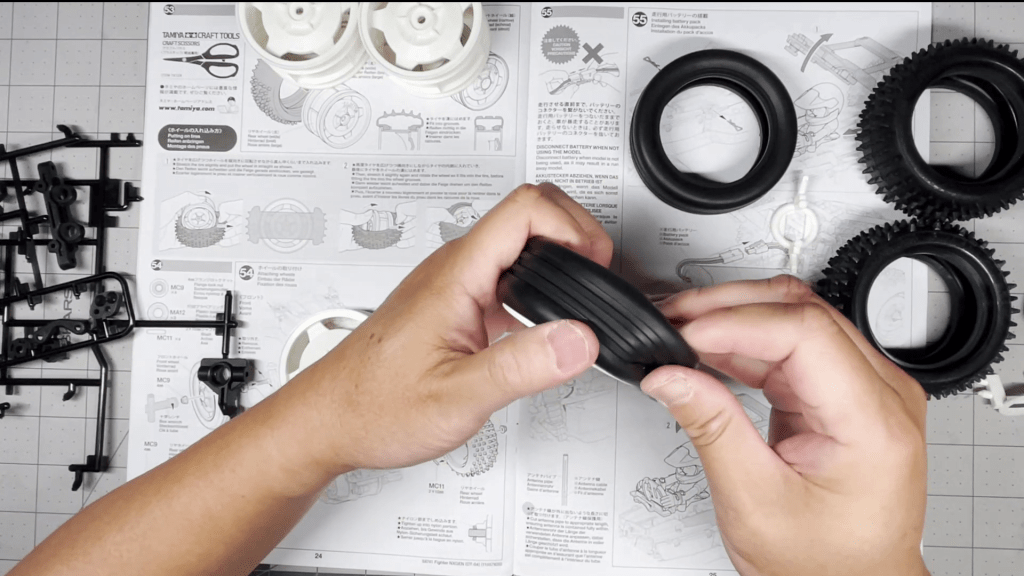
And we are 100% done with the kit! Congratulations. Thanks for reading this article. I hope it helped you build the Tamiya DT-04 Fighter NXGEN kit.


Leave a comment